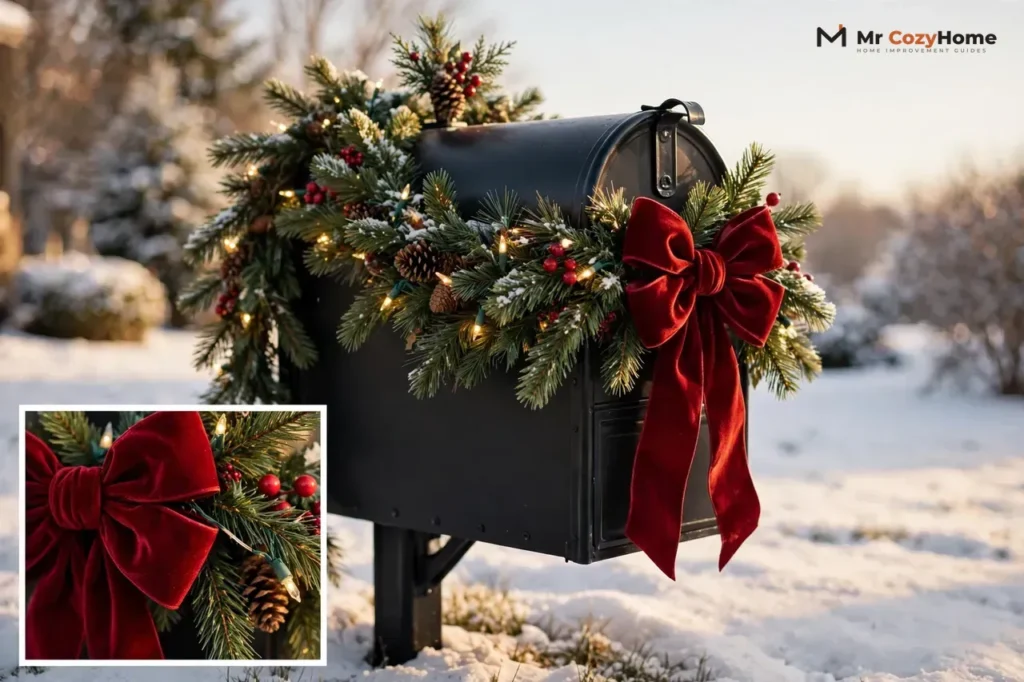
Decorated mailboxes for Christmas work best when they look festive from the street and still work like a mailbox. Pick a cover, a swag, or a garland-and-bow combo, keep the door and the red flag free, and leave your house number easy to read. That simple rule gives you almost all the charm with none of the delivery trouble.
Your mailbox sits at the very edge of your holiday display, so guests and neighbors see it first. A little greenery goes a long way here. You do not need a big budget, a ladder, or a full afternoon to make it look like part of the season. This guide walks you through covers, garland, bows, lights, and weatherproofing, plus the mailbox rules that matter and an easy takedown plan for January.
First, Keep Your Mailbox Working
Christmas mailbox decor should dress up the box, not shut it down. Before you hang anything, run this quick check. Open and close the door all the way. Lift and lower the red flag with one hand. Read your house number from the street. If any of those steps feels tricky, move the decor before the mail carrier has to fight it.
The United States Postal Service (USPS) allows decorative art and devices on the outside of an approved mailbox as long as they do not interfere with mail delivery or create a safety hazard. Its delivery guidance also requires the house or box number in contrasting letters at least 1 inch tall, on the side the carrier approaches. In plain terms, never cover the number, never block the door, and never pin the flag down. Advertising on a mailbox or its post is also prohibited, so skip signs that promote a business.
Your homeowners association (HOA) may add its own limits, and common HOA holiday decoration rules often cover timing, size, placement, and brightness. Many HOAs allow holiday lights and wreaths but set a takedown date soon after the new year. Check your community rules before you buy anything large or bright. When in doubt, choose a smaller display and take it down on time. A tidy mailbox never starts a neighborhood argument.
Pick a Look That Matches Your House
Start with the style you already use on your porch and front door. Your mailbox should echo that look, not compete with it. A classic red-and-green house calls for pine garland and a big red bow. A calm, modern front yard looks better with silver, white, and soft green. A cozy farmhouse suits burlap ribbon, pinecones, and natural wood tones.
Pick one main color, one accent, and one texture. For example, pair deep green garland with red berries and a burlap bow. Or pair frosty white picks with silver ornaments and a soft white bow. When you limit the palette, even a small mailbox looks planned instead of cluttered. If your porch already glows with lights, let the mailbox stay simpler. If your porch stays quiet, the mailbox can carry a bit more cheer.
Think about how people see the box, too. Drivers pass it fast, so bold shapes and strong contrast read best from the road. A single large bow beats five tiny ornaments that blur together. Walkers see it up close, so neat wiring and clean edges matter at arm’s length. Step back to the curb after you finish and check both views.
Mailbox Covers and Magnets: The Fastest Makeover
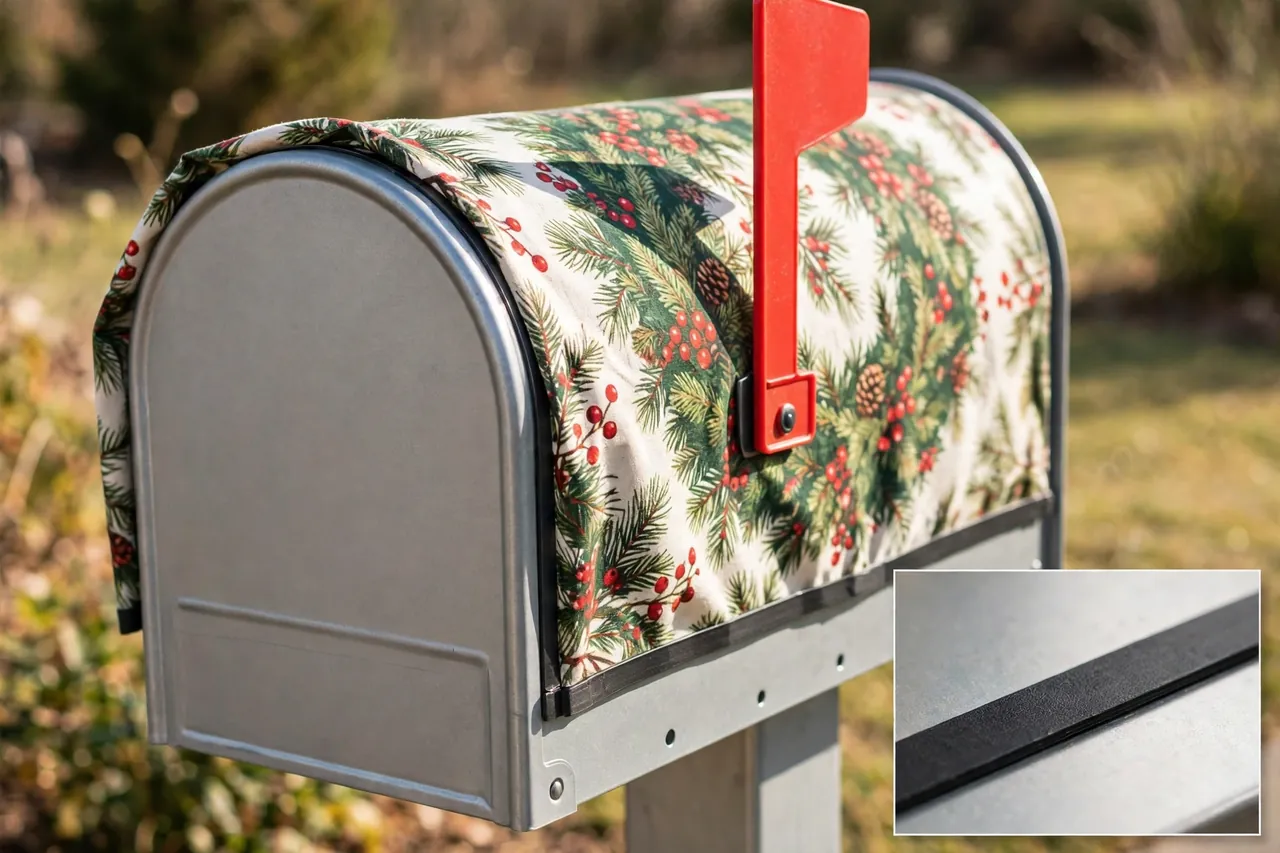
A Christmas mailbox cover gives you the biggest change in the least time. Most covers drape over a standard metal mailbox and hold on with magnetic strips on each side. Clean the box first, dry it fully, and press each magnetic strip flat against the metal. A dirty or damp surface weakens the grip, and a loose edge flaps in the wind.
Check the size before you order. Covers usually fit standard mailboxes, but oversized and extra-large boxes need a larger cover. Measure the length, width, and curve of your box, then match those numbers to the cover size. A cover that stretches too tight can pull the door out of shape, and a cover that hangs too loose can sag over the opening.
Magnets only work on steel. If your box is plastic, aluminum, or another non-magnetic material, use a magnetic adapter kit with adhesive receiver strips, or choose a wrap that ties or fastens on instead. Vinyl wraps and fabric covers suit many boxes, but read the maker’s instructions first. Some wraps need a smooth surface, and some fabrics need a tie at each end to stay put.
Watch the front of the box as you fit any cover. The door must still swing open, the flag must still move, and the address must still show. Some covers print a space for your house number, while others cover it completely. If your cover hides the number, add clear numbers on the side the carrier approaches, or pick a different design. A pretty cover that hides your address helps no one.
Garland, Swags, and Bows That Stay Put
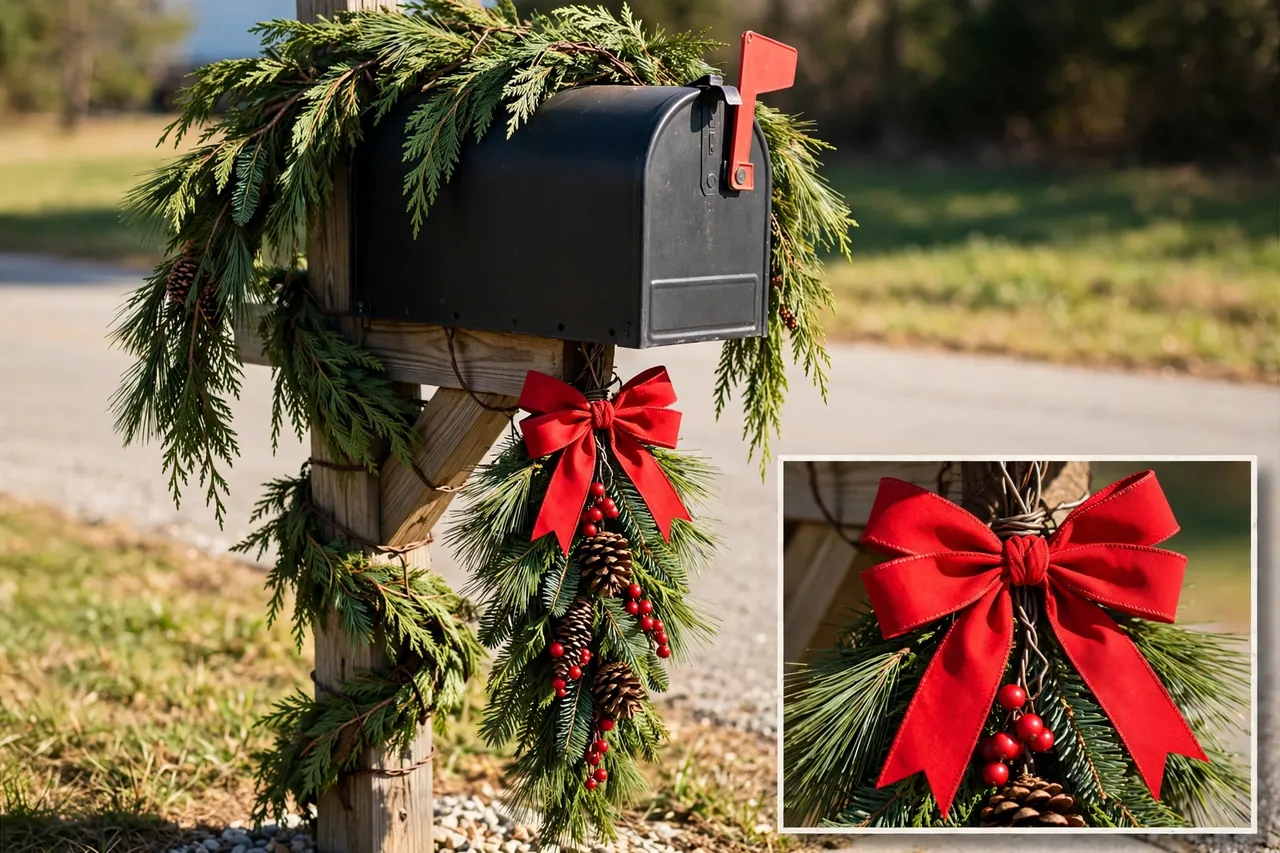
Garland and a swag give you the classic Christmas mailbox decor look without a full cover. Drape faux pine garland over the top of the box, or wrap cedar garland up the post and tie it with ribbon. Tuck the ends under so they do not dangle into the door path. Then add a bow where the garland meets the post, and the whole display looks finished in minutes.
A swag works a little differently. A swag is a short, flat bundle of greenery that hangs on top of the box or down the post. You can buy one ready-made, or build one from fresh or faux stems. Start with a base of pine or cedar, layer in fir for fullness, then wire on pinecones and berries. Finish with a wired-edge bow, because wired ribbon holds its loops in wind and rain far better than flat ribbon.
Use floral wire or zip ties to fasten greenery, not tape alone. Tape loosens in cold and wet weather, and a swag can slide right off the box. Wire gives you a firm hold, and you can snip it off cleanly in January. Protect the paint under a heavy swag with a small cloth or felt pad, and skip sharp wire ends near the door hinge. Test the door and flag one more time after you tie everything down.
Fresh greenery smells wonderful, but it dries out fast in wind and sun. Mist it lightly on dry days, and bring a spare stem or two for quick repairs. Faux greenery lasts all season and handles rain better, yet cheap faux stems can look thin and shiny. Mix two types of faux greenery, such as pine and cedar, for a fuller and more natural drape. When you step back, the mix reads as real from the street.
How to Build a Simple Mailbox Swag
- Lay out your greenery and sort it into a base layer and an accent layer.
- Bundle the base stems together and bind the middle with floral wire.
- Add pinecones and berries in small odd-numbered groups for a natural look.
- Wire a bow to the top of the bundle and trim the ribbon ends at an angle.
- Set the swag on the mailbox, wire it to the post or box, and test the door and flag.
Lights on a Mailbox Without a Mess of Cords
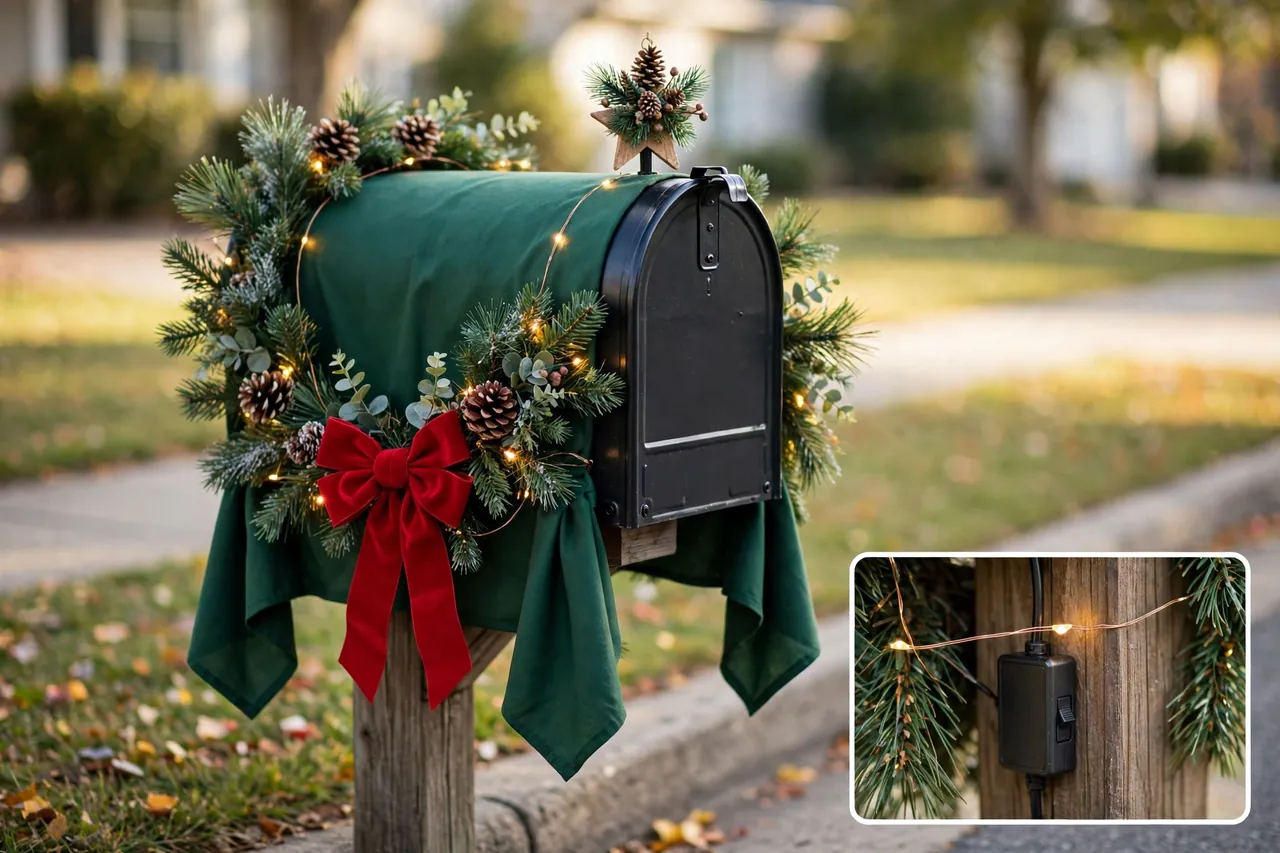
Lights turn Christmas mailbox decorations into an evening display, but a mailbox rarely sits near an outlet. Battery-operated fairy lights solve that problem. Tuck the small battery box behind the post or under the swag, where rain cannot reach it easily, and wind the lights loosely through the garland. Keep the wire clear of the door, the hinge, and the flag.
Solar lights offer another cord-free choice, yet they need direct daylight to charge. A mailbox under a big tree or on a shaded north side may glow weakly on dark winter days. Test solar lights for a few nights before you commit to them for the whole season. If they fade too fast, switch to battery lights with a timer so they shine at dusk and rest overnight.
Use outdoor-rated lights only, and check the wire for cracks before you wrap it around the post. Indoor lights can fail fast outside, and a cracked wire near wet garland is a risk you do not need. For broader outdoor lighting ideas, see these Christmas light ideas. A timer plug also helps when your display plugs in closer to the house, because it switches the lights on and off without a nightly trip outside.
What Works for Your Mailbox Type
Not every mailbox takes the same decor. A curbside box on a post gives you the most room to decorate, since you can dress the post, the box, and the ground around it. A wall-mounted box gives you far less room, so keep the display flat and light. A rural box on a long driveway faces more wind and passing trucks, so it needs stronger fasteners than a sheltered porch box.
Curbside and Rural Mailboxes
Wrap garland around the post, add a bow near the top, and keep the base clear of loose items. Loose planters, signs, and lanterns near a rural box can block the carrier’s approach or blow into the road. If snowplows pass your box, skip anything that hangs low or sticks out toward the street. Snow and slush can rip a loose swag off in one pass.
Rural boxes also take more wind, so double up your fasteners. Use two wires instead of one, and check the display after the first big storm. A cover with full magnetic contact holds better than a cover with one edge lifting. If your box faces open fields, choose heavier ribbon and thicker garland that will not shred in a week.
Wall-Mounted Mailboxes
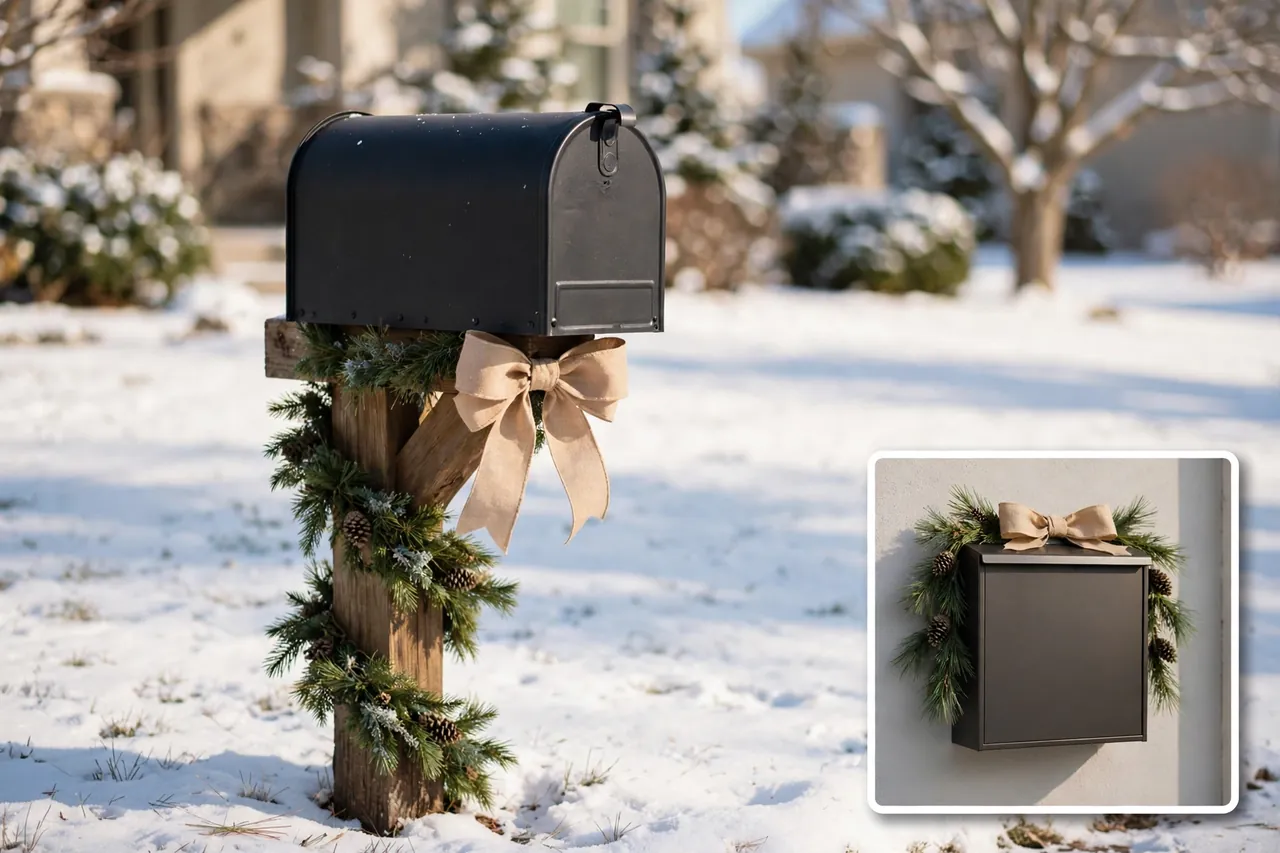
Wall-mounted boxes suit a small swag, a flat bow, or a slim cover that hugs the box. Skip heavy toppers and wide garland that can block the slot or snag on the door. Mount decor with removable hooks or wire that will not damage siding or brick. A light touch looks best here, because a wall box already sits close to your front door decor.
Keep the door and the slot fully clear, and leave the house number visible from the walkway. If your wall box sits beside a wreath, match the ribbon or berries so the two pieces read as one display. Small and neat beats big and crowded on a wall, especially when guests walk right past it.
Weatherproofing: Rain, Snow, and Wind
Outdoor Christmas mailbox decor lives outside for weeks, so plan for bad weather from day one. Choose outdoor-rated ribbon, faux berries, and rust-proof wire. Natural pinecones hold up well, but paper ornaments and thin cardboard signs soak up rain and fall apart. If you love a delicate ornament, hang it under the swag where the greenery shields it a little.
Water causes most mailbox decor failures. It loosens tape, rusts cheap wire, and weighs down fresh greenery until it sags. Angle your swag slightly so rain runs off instead of pooling in the middle. Wipe the box dry before you fit a magnetic cover, and check the cover after rain to make sure no edge has lifted. A quick mid-season check takes two minutes and saves a soggy redo.
Wind causes the rest. Tie ribbon ends short enough that they cannot whip against the box and fray, or braid them into the garland so they stay put. Remove toppers before a forecast storm if they feel top-heavy or loose. A snowman hat or a star that flies off in a storm becomes litter, and it can startle a driver at the curb.
Mistakes That Ruin the Look or Cause Trouble
Most mailbox decor mistakes come from adding too much, not too little. A box buried under five layers of garland, lights, signs, and ornaments looks messy from the road and frustrates the carrier. Start small, step back, and add one piece at a time. Stop as soon as the display reads clearly from the curb.
- Covering the house number or the carrier flag with garland or a cover.
- Blocking the door so it sticks, drags, or will not close fully.
- Using indoor lights, weak tape, or single wires that fail in the first storm.
- Adding advertising, flyers, or business signs to the box or post.
- Hanging loose items that can blow into the road or block the carrier’s path.
- Leaving decor up so long that faded ribbon and dead greenery drag the whole yard down.
Color clashes cause quieter mistakes. A bright neon bow can fight with a warm porch display, and too many ornament colors can turn a small box into visual noise. Match the mailbox to your porch palette, and let one strong accent do the talking. For a whole-house plan, these themes for Christmas decoration help you pick a look once and repeat it at the door, the windows, and the curb.
Compare Your Options Before You Buy or Build
Each style of Christmas mailbox decoration suits a different budget, skill level, and mailbox type. Use this table to pick the option that fits your weekend, not just the prettiest photo.
Mailbox decor options at a glance
| Option | Best for | Time needed | Watch out for |
|---|---|---|---|
| Magnetic cover | Fast, bold change on a steel box | Under 10 minutes | Hidden house numbers and loose edges |
| Garland and bow | Classic look on almost any post box | 15 to 30 minutes | Sagging garland and blocked doors |
| DIY swag | Natural, custom look from yard greenery | 30 to 60 minutes | Drying stems and weak fasteners |
| Lights | Evening glow at the curb | 15 to 30 minutes | Dead batteries and cords near the door |
| Topper or hat | Playful family fun | Under 10 minutes | Wind and top-heavy wobble |
Takedown and Storage After the Season
Plan your takedown when you put the decor up, and you will thank yourself in January. Take photos of the finished mailbox before you remove anything, so you can repeat a look you love next year. Then work in reverse: remove lights first, then toppers, then garland and bows, and finally the cover.
Clean the box as you go. Wipe off sap, dust, and tape marks with a soft cloth and mild soap, and dry the surface before you store anything against it. Coil garland loosely instead of crushing it into a bag, and store bows in a box where their loops keep their shape. Label each bag with the year and the spot it belongs to, such as mailbox post or mailbox top.
Check the box itself before you walk away. Tighten any loose screws on the post, clear leaves from the base, and make sure the flag still moves freely. A clean, bare mailbox in January looks far better than faded decor in February. Most HOAs set a takedown window soon after the new year, so aim for the first dry weekend in January and get it done.
Related Guides
Keep the whole front of your house working together with these guides. Plan the big picture with decorated Xmas houses, brighten the windows with decorating a Christmas window, and finish the tree with tree decorating ideas for Christmas. If you want lights that stay up all year, compare permanent outdoor Christmas lights and pair them with an automatic light switch timer for hands-free evenings.
Frequently Asked Questions
Can you decorate your own mailbox?
Yes. You can decorate your own mailbox for Christmas as long as the decor does not block mail delivery or create a safety hazard. Keep the door working, the flag moving, and the house number visible, and check your HOA rules before you add anything large.
What should I put in my mailbox for Christmas?
Put decor on the outside of the box, not inside it. A bow, garland, a small swag, bells, or battery lights all work well. Never place flyers, gifts, or non-mail items inside the box, since only official mail belongs there.
Can you put a magnetic cover on any mailbox?
No. Magnetic covers grip steel mailboxes best. Measure your box first and match the cover size to it. For a plastic or aluminum box, use an adhesive magnetic adapter kit or choose a wrap that ties on instead.
How do you keep Christmas mailbox decor from blowing away?
Fasten greenery with floral wire or zip ties, press every magnetic strip flat on a clean, dry box, and tie ribbon ends into the garland. Check the display after the first storm, and remove loose toppers before high winds arrive.
When should you take Christmas mailbox decorations down?
Take them down in early January, inside your HOA window if you have one. Remove lights first, then garland and covers, clean the box, and store bows and garland loosely so they hold their shape for next year.
A Small Display With a Big Welcome
A decorated mailbox does not need to shout to work. One clean cover, one full swag, or one neat garland-and-bow combo can set the tone for your whole yard. Keep the door free, the flag moving, and the number clear, and your mailbox will welcome guests all season while the mail keeps flowing. Start with the look you love, test it from the curb, and enjoy the first festive hello of every visit home.