Door weatherstripping is the flexible seal that fills the gaps around a door — along the top, down both sides, and across the bottom — so the air you paid to heat or cool stays inside, and drafts, dust, and bugs stay out.
Here is the fastest way to fix a drafty door. Close the door on a dollar bill at a few spots around the frame. Where the bill slides out with almost no pull, the seal has failed. Replace the worn strip on the top and sides, and fit a door sweep at the bottom if you can see light underneath. For most doors, the whole job takes about an hour and one trip to the hardware store.
One honest limit before you start: new seals only work on a door that closes straight. If your door sags, rubs the frame, or leaves a gap that is wide at the top and tight at the bottom, deal with the alignment first (covered below). Sealing a crooked door just gives you a crooked seal.
First, Find the Leaks: Three Quick Draft Tests
You do not need special tools to find air leaks. You need five minutes, a dollar bill, and a helper or a flashlight. The U.S. Department of Energy’s Energy Saver guidance gives the same starting rule: detect the leaks first, then choose the seal that fits each spot. Weatherstripping is made for parts that move, like doors. Caulk is for cracks in parts that stay still, like the outside trim.
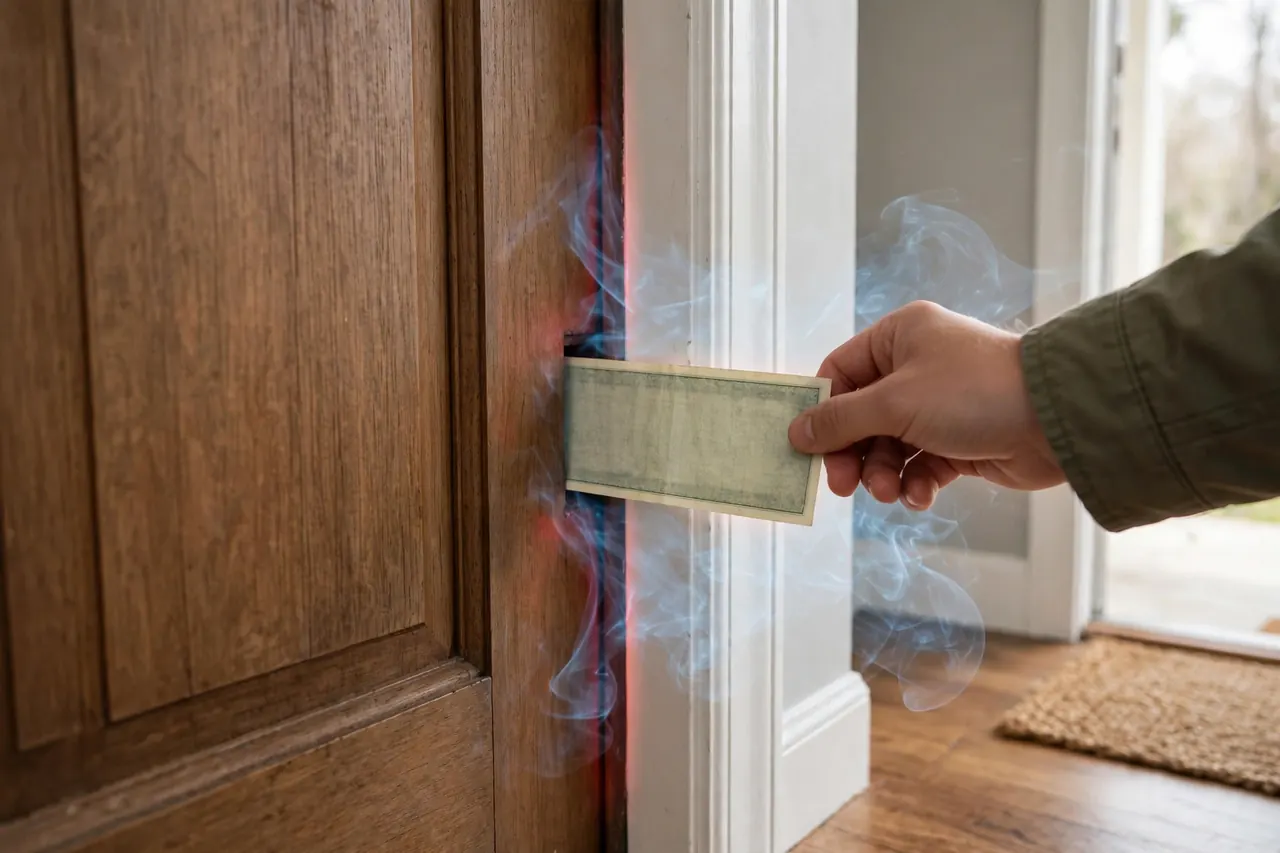
The dollar-bill test
Open the door, lay a dollar bill across the seal, and close and latch the door on it. Now pull the bill gently. A healthy seal grips the bill and makes you tug. If the bill slides out easily, the seal is flat, torn, or missing at that spot.
Repeat the test at six or eight points: both top corners, the middle of each side, and the bottom corners. The bottom corners fail most often, so do not skip them. Mark each weak spot with a small piece of painter’s tape so you remember exactly where the gaps are when you measure.
The light test
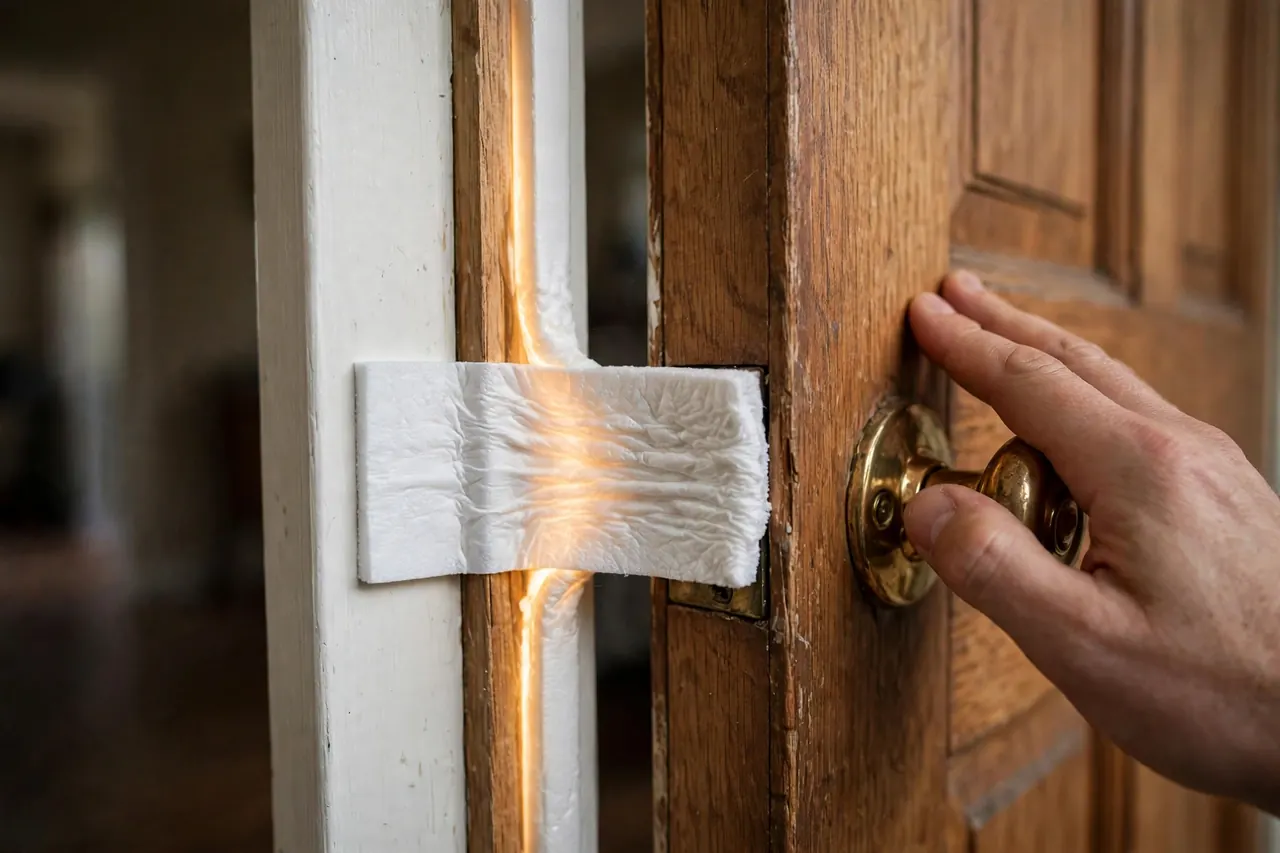
On a sunny day, stand outside and look at the closed door, or have someone shine a flashlight along the edges from the other side at night. Any line of light you can see is a path for air. If you can see daylight, you have a leak — no debate, no guessing.
The hand and incense tests
On a windy day, run the back of your hand slowly around the closed door. Moving air feels cool on skin, even when the draft is small. For leaks you still cannot pin down, hold a lit incense stick near the frame edges and watch the smoke. Where the smoke wavers or streams sideways, air is moving through the gap.
Check the door hardware while you are there
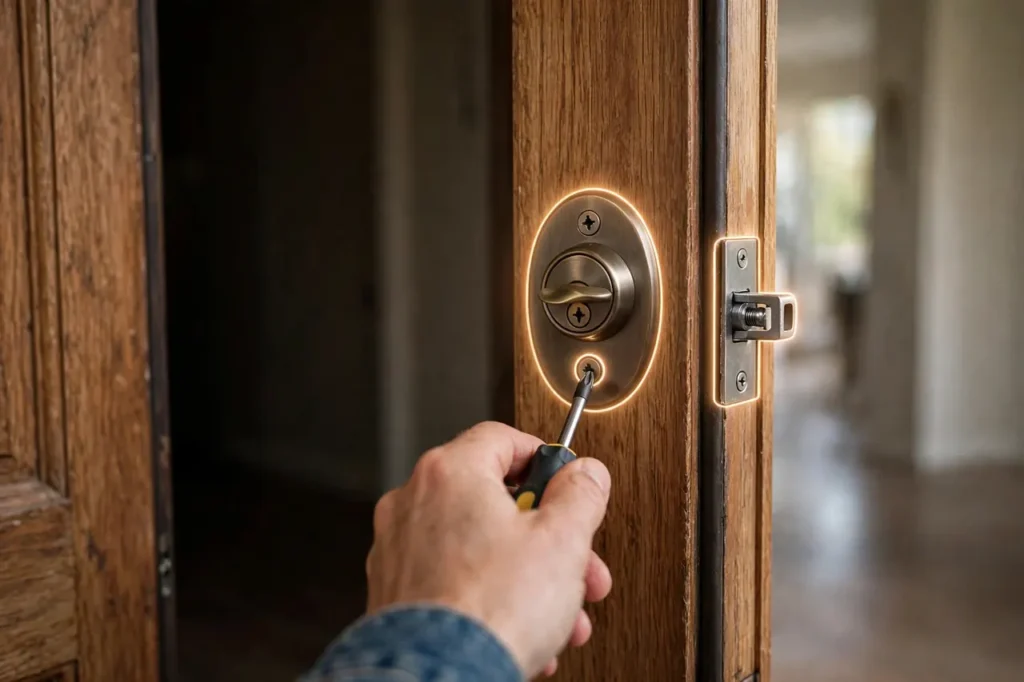
A good seal needs a door that pulls in tight. Tighten loose hinge screws, and check that the latch clicks in and holds the door snugly against the stop — a rattling door may need a small latch-plate adjustment before any seal can work. This is also the natural moment to look at the lock itself: if your key or knob is worn, our smart key lock guide explains what to check before you replace it.
Door Weatherstripping Types, Compared Honestly
Most confusion at the hardware store comes from one simple fact: different gaps need different seals. Before you read the table, look at your door frame and check for a kerf — a thin groove cut into the door stop. Many newer doors have one. That single detail decides your easiest option.
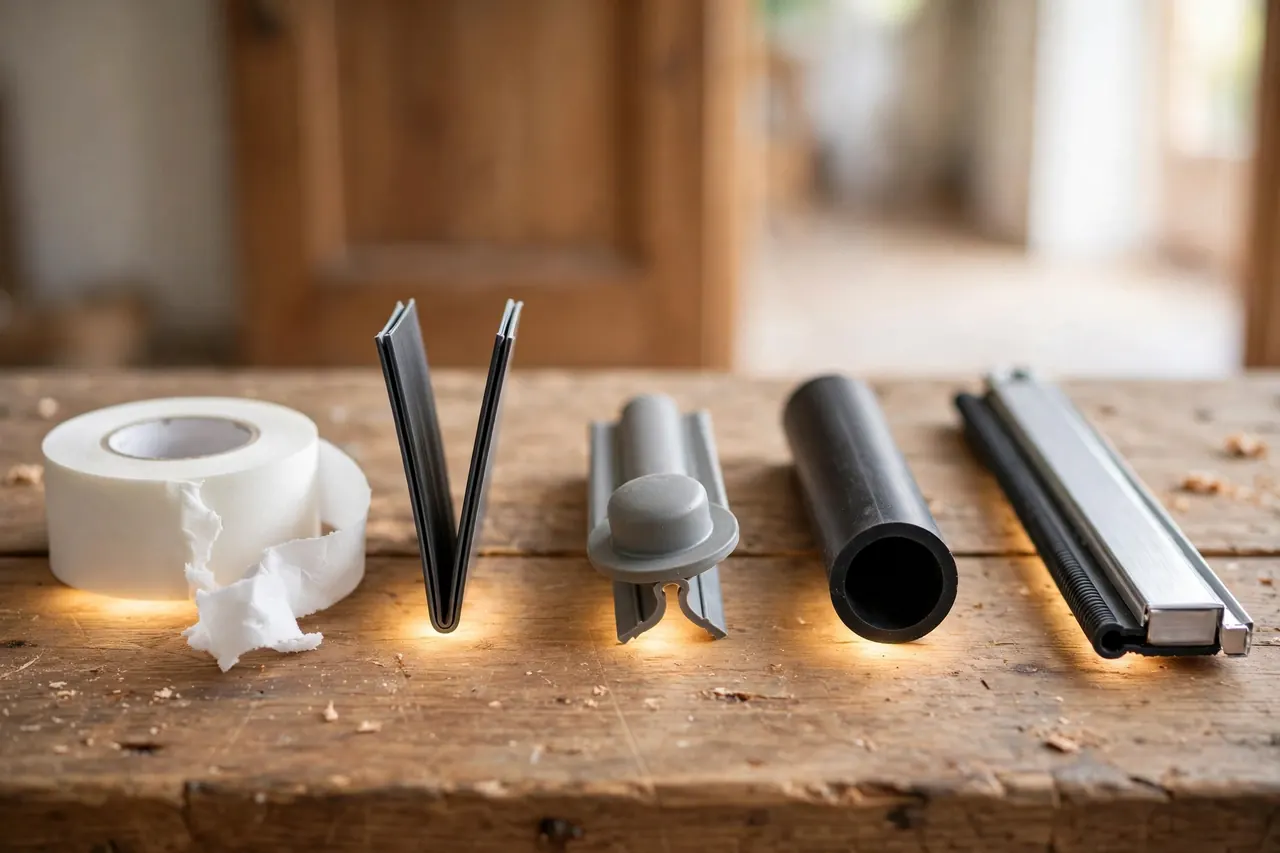
Door weatherstripping types at a glance
| Type | Best for | How long it lasts | DIY difficulty | Typical cost (checked Oct 19, 2026) |
|---|---|---|---|---|
| Foam tape | Small, fairly even gaps on the top and sides; renters and quick fixes | 1–3 years | Very easy — peel and stick | About $5–$10 per roll |
| V-strip (tension seal) | Sides and top of the jamb, especially older doors with slightly uneven gaps | 5+ years; metal versions last much longer | Easy to moderate — needs careful alignment | About $10–$15 per door |
| Kerf-in seal | Frames that already have a groove (kerf) in the stop — most modern prehung doors | 5–10 years | Easy — presses in by hand, no glue or nails | About $10–$20 per door kit |
| Tubular rubber or silicone | Wider or less even gaps that need a thick, springy seal | 5–10 years | Easy to moderate — nailed, screwed, or pressed into a kerf | About $10–$20 per kit |
| Door sweep | The gap under the door, against the threshold | 3–5 years | Easy — cut to width and screw on | About $10–$25 each |
Costs above are typical U.S. prices gathered on October 19, 2026, and they cover the product only, not a pro’s labor. To give one real example: a 10-foot roll of Frost King high-density rubber foam tape was $5.47 at Home Depot on that date. Store prices vary, so treat every figure here as a planning number, not a promise.
Foam tape: the beginner-friendly starter
Foam tape is a soft strip with sticky backing. You peel, press, and you are done. It squeezes into small and slightly uneven gaps, costs the least, and needs no tools beyond scissors. The trade-off is life span: foam flattens with use and usually needs replacing within one to three years. Pick closed-cell or rubber foam over cheap open-cell foam — it resists moisture and spring back far better. Frost King, which makes these tapes, points its rubber foam at exterior doors and high-traffic spots for exactly that reason: it rebounds after compression instead of staying flat.
V-strip: the spring that seals uneven gaps
A V-strip is a thin strip of vinyl or metal folded into a V. It sits in the corner of the jamb, and the open side of the V springs against the door edge every time the door closes. Because it works by spring tension, not squish, it seals gaps that vary a little along their length, and it lasts for years. Vinyl versions stick on; metal versions (bronze is the classic) are nailed and can outlast the door. The catch is fitting: a crooked V-strip can catch or leave the ends open, so measure and align with care.
Kerf-in: the cleanest seal, if your frame has the groove
Kerf-in weatherstripping has a barbed fin that presses into the groove in your door stop and a soft bulb or foam body that the door squeezes shut. There is no glue, no nails, and nothing to peel later — and when it wears out in five to ten years, you pull it out and press in a new one. The groove is typically about 1/8 inch wide, and the fin shape varies by brand, so cut off a 2-inch piece of your old strip and take it to the store to match the profile. A “universal” strip fits most frames, but a matched one seals better.
Tubular rubber and silicone: for wider gaps
Tubular seals are hollow or sponge-filled tubes of rubber, vinyl, or silicone. The door closes on the tube, the tube squashes, and the springy wall of the tube pushes back to fill the space. That makes them the forgiving choice for wider or less even gaps where flat foam tape is too thin. Silicone versions stay flexible in deep cold and sit at the top of the durability range. Some tubes nail on with a flange; others press into a kerf like the seal above.
Door sweeps: a different job entirely
None of the four seals above can fix the bottom of the door — the gap there is too wide and takes too much wear. That is the sweep’s job, and it is covered in its own section below. Plan on a sweep for almost every exterior door, alongside whatever you choose for the top and sides.
And one type to skip: felt
Felt is cheap and still sold everywhere, but it barely compresses, soaks up moisture and dirt, and usually lasts only about a year. This Old House’s guidance is blunt: treat felt as a stopgap for a rarely used door, not as a real entry-door seal. Your time is worth more than the small saving.
💡 Practical Home Tip: Do the dollar-bill test on a calm evening and mark every weak spot with painter’s tape before you shop. That little map tells you which seal to buy, how thick it needs to be, and whether the bottom corners need corner pads too — so you make one store trip, not three.
What You Need Before You Start
Materials
- Your chosen seal for the top and sides (foam tape, V-strip, kerf-in, or tubular)
- A door sweep for the bottom, if yours is worn or missing
- Corner pads, if the bottom corners failed the bill test
- Mild cleaner or rubbing alcohol, and a clean rag
Tools
- Tape measure and pencil
- Scissors or a utility knife (a hacksaw if you cut a metal sweep or metal V-strip)
- Screwdriver or drill/driver, for a screw-on sweep
- Putty knife or flat scraper, for prying off old strips and staples
- Pliers, for stubborn nails or staples
Buy about 10 percent more length than your measurements add up to. Corners, one bad cut, and a test piece eat more material than beginners expect.
How to Install Door Weatherstripping, Step by Step
- Remove the old stripping. Kerf-in strips usually pull out of the groove by hand — start at one end and work along. Foam tape peels off, though it may take a little paint with it. Nailed or screwed strips need the fasteners out first. Pull every staple and nail; a leftover staple holds the new seal off the surface and leaves a leak.
- Clean and dry the surface. Wash the jamb and door stop with soapy water or wipe with rubbing alcohol, then let it dry fully. Adhesive fails on dust and grease more often than for any other reason. If flaking paint is in the way, sand it smooth first and wipe the dust away.
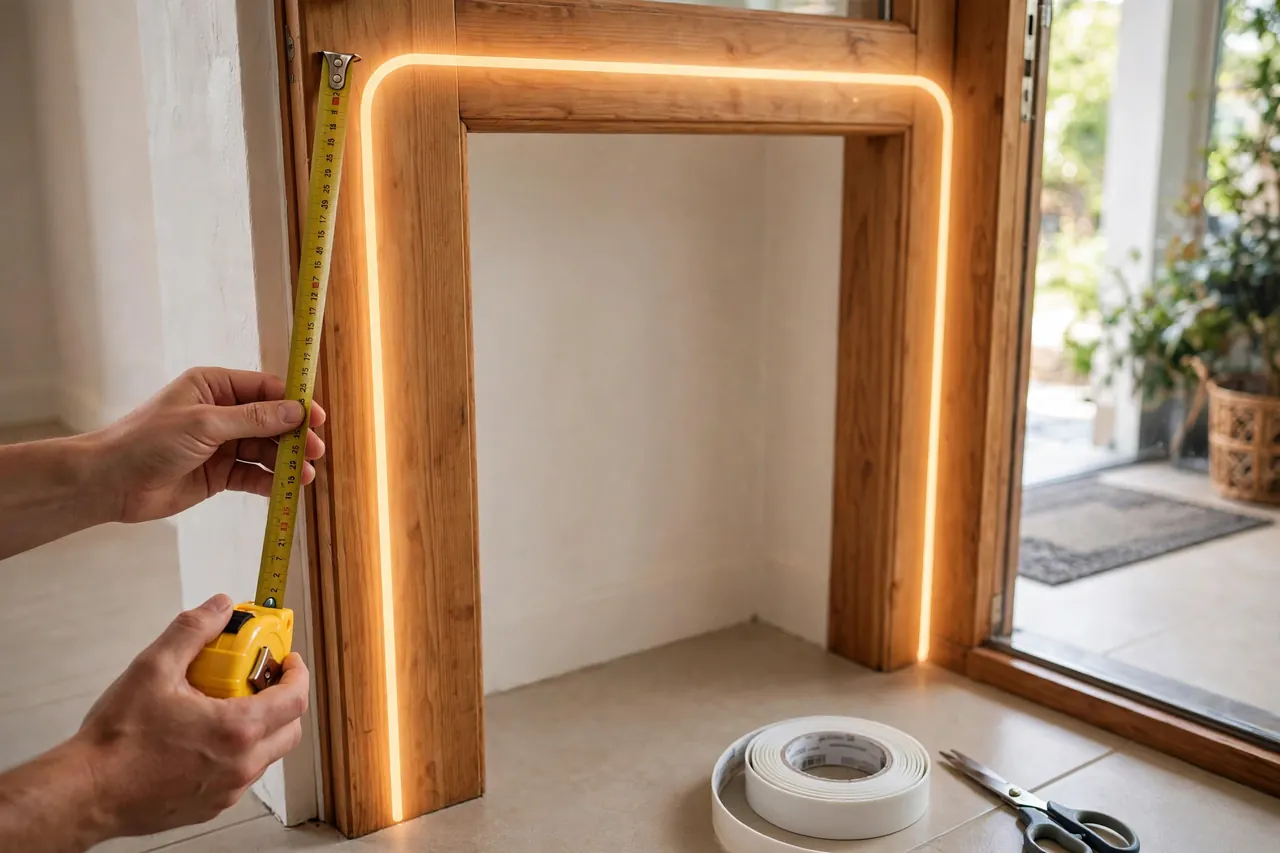
- Measure every run separately. Measure the top, the hinge side, and the latch side on their own — they are rarely equal. Measure twice before you cut once. Note the gap size at a few points too, so the seal you bought is thick enough to touch the door everywhere without jamming it.
- Cut each piece slightly long, then trim. A piece that is 1/4 inch too long can be trimmed in place; a piece that is too short leaks at the corner forever. Test-fit before you peel any backing or press any fin home.
- Fit the top piece first, then the sides. For foam tape, peel back a foot of backing at a time and press firmly as you go — and do not stretch the tape, because stretched foam shrinks back later and opens gaps at the ends. For kerf-in, push the fin into the groove with your thumb or the handle of a screwdriver, working steadily along the slot. For V-strip, keep the open side of the V facing the door stop so it springs against the door edge. Pieces should meet tightly at the corners with no gaps and no bulky overlaps.
- Test the door — twice. Close and latch the door several times. It should shut with firm, even pressure, not a slam and not a shove. Run the dollar-bill test again at your marked spots, and do the light test after dark. If one spot still leaks, fix it now while the adhesive is fresh or the strip can still be reseated.
Sealing the Bottom of the Door: Sweeps and Thresholds
The bottom gap is often the biggest leak in the whole doorway, because floors and thresholds are rarely perfectly level. Jamb seals cannot help here. You have three tools, and most doors need the first one.
Door sweeps
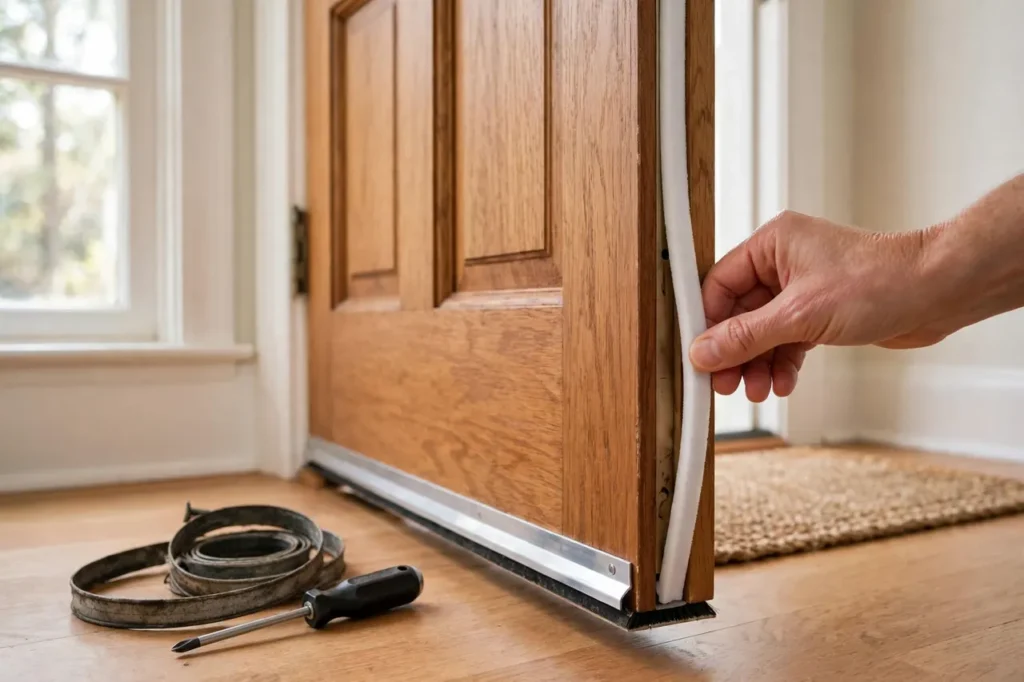
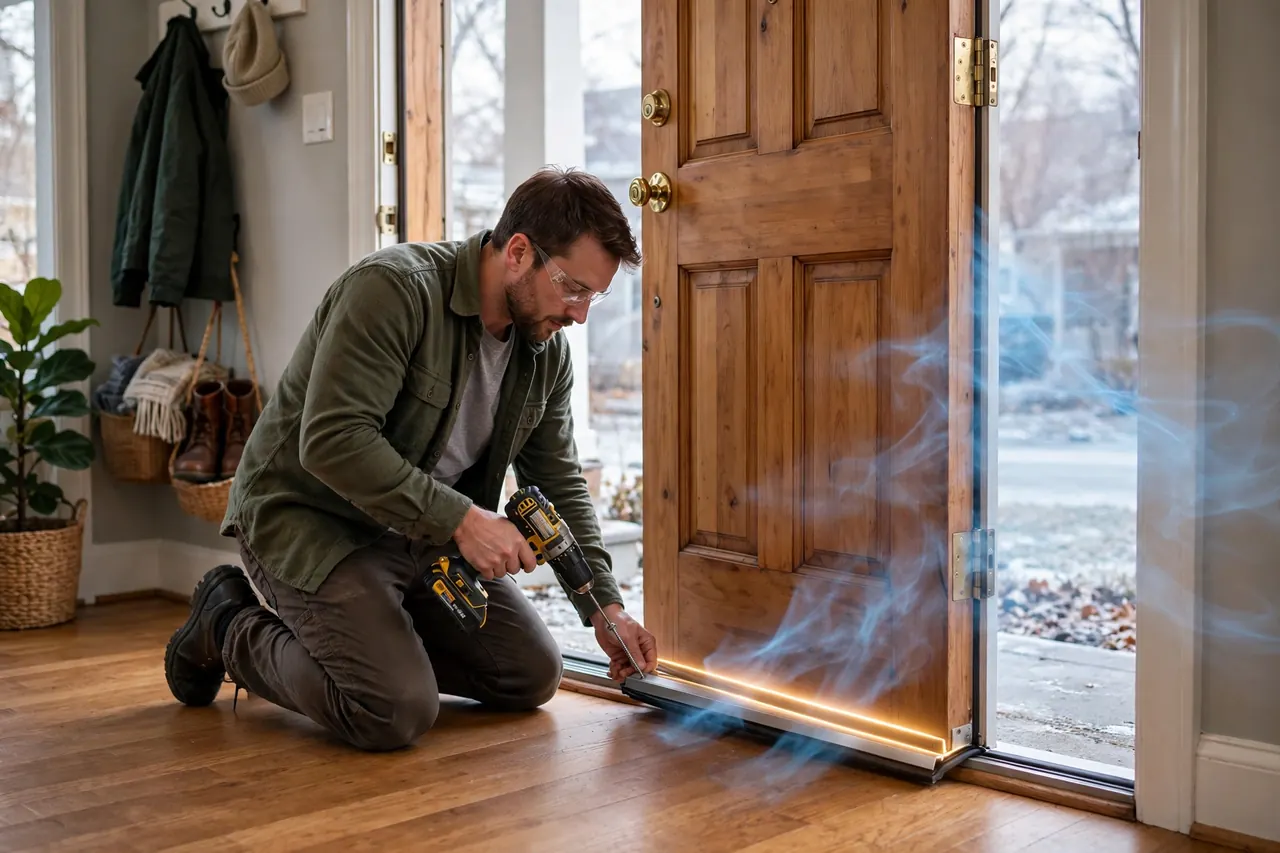
A sweep is a metal or vinyl strip with a flexible fin, brush, or tube along its bottom edge. It mounts on the inside face of the door and bridges the gap to the threshold. Screw-on sweeps are the most secure. Slide-on (U-shaped) sweeps wrap under the door’s bottom edge and need no screws. Set the sweep so the fin just touches the threshold along the full width — contact, not heavy drag. A dragging sweep wears fast and strains the hinges.
Good news if your old bottom seal is shot: you can usually replace it with the door still hanging. A screw-on sweep comes off with its screws. A slide-on seal pulls off along the bottom edge — a little dish soap on the edge helps the new one slide on. Some thresholds hold a rubber bulb in a channel instead; pry the old bulb out and press the new one in.
Door shoes and threshold seals
A door shoe is a U-shaped channel with a built-in vinyl seal that wraps the whole bottom edge of the door. It protects the door’s bottom from water as well as sealing it, and it suits high-traffic doors. Fitting one may mean taking the door off and trimming it slightly, so it is a step up in effort. Separately, many exterior thresholds are adjustable: screws along the threshold let you raise or lower its center strip to meet the sweep or door bottom.
When the bottom gap is just too big
If the gap under the door is more than about 3/4 inch, a sweep alone will not close it. Raise the adjustable threshold if you have one, fit a door shoe, or have the threshold replaced. Stacking thicker and thicker seals under a door with a structural gap is money spent on the wrong problem.
When Weatherstripping Is Not the Real Problem
Sometimes the gap itself is the symptom. If your gap is wide at the top on the latch side and tight at the bottom, the door is probably sagging on its hinges. A common, cheap fix is to replace the short screws in the top hinge with 2.5- to 3-inch screws. Driven through the jamb into the framing behind it, they pull the top of the door back up and can close a gap no foam tape ever will. Thin shims behind a hinge leaf fine-tune the fit in the other direction, and moving the strike plate slightly makes the latch pull the door tighter against its seal.
Call a door professional instead when the door slab is warped, the frame is rotted or badly out of square, or the door binds in one corner while gaping in another. No seal fixes geometry. For scale, Angi puts typical professional weatherstripping installation at roughly $130 to $436 per project — real door and frame repairs cost more, which is exactly why the cheap checks above come first.
Mistakes That Make New Weatherstripping Fail
- Buying the thickest seal “to be safe.” A seal that is too thick over-compresses, wears out fast, and can stop the door from latching. The right seal presses firmly against the door and still lets it close with normal effort.
- Stretching foam tape as you apply it. Stretched foam creeps back over days and opens gaps at the ends and corners. Lay it down relaxed and press it in.
- Sticking adhesive to a dirty or damp jamb. Dust, grease, and moisture are the top reasons peel-and-stick seals peel off within a season. Clean, dry, then stick.
- Guessing the kerf profile. Kerf fins are not all the same shape. Match your old strip’s fin (take a sample piece to the store) or the new seal will work loose or tear at the corners.
- Leaving gaps at the corners. Runs that stop short or overlap in a lump leak exactly where drafts are strongest. Cut corners to meet tightly, and add corner pads at the bottom.
- Painting at the wrong time. Paint the jamb before you install, not after — fresh adhesive does not come off cleanly for a repaint. And never paint over the soft seal itself: paint stiffens foam and rubber, and a stiff seal stops compressing.
- Sealing three sides and forgetting the fourth. The under-door gap is usually the largest of all. A perfect jamb seal with an open bottom is a job three-quarters done.
How Long It Lasts, and Simple Maintenance
Weatherstripping is a wear item — it is crushed and rubbed every time the door moves, so plan on inspection, not permanence. As a guide: foam tape lasts about 1 to 3 years, door sweeps 3 to 5 years, and V-strip, kerf-in, and tubular seals about 5 to 10 years, with metal V-strip lasting far longer. Busy front doors wear faster than quiet back doors, and harsh sun and deep cold shorten every number here.
Twice a year — fall is the smart time, before heating season — walk the door with the bill test and your eyes. Replace any section that is cracked, flattened, torn, peeling, or missing, and any spot where you can see daylight or feel moving air. Keep seals clean with a damp cloth and mild soap; dirt ground into a seal wears it like sandpaper. That two-minute check is also a money check: the U.S. Department of Energy estimates that reducing drafts can cut a home’s energy use by 5% to 30%, and that caulking and weatherstripping commonly pay for themselves within about a year.
Door Weatherstripping FAQ
What type of weather stripping is best for doors?
There is no single winner — the best type matches your door. If your frame has a groove (kerf) in the stop, a kerf-in seal gives the cleanest fit and the easiest replacement. Older frames without a groove do well with V-strip. Foam tape is the cheap, fast option for small gaps, and a sweep handles the bottom.
How do you know when door weather stripping needs replacing?
Look for cracking, flattening, tearing, or peeling, and run the dollar-bill test: if the bill slides out of the closed door with no grip, the seal has failed at that spot. Daylight around the edges, a draft you can feel, dust or bugs along the threshold, and winter bills that jump without a change in use are the other clear signs.
How do you replace the bottom door seal without removing the door?
Most bottom seals swap with the door hanging. Unscrew a screw-on sweep and fit the new one at the same height. Slide a U-shaped seal off along the bottom edge and slide the new one on — a little dish soap helps it move. For a threshold bulb, pry the old rubber out of its channel and press the new bulb in.
How often should you replace door weatherstripping?
By material, not by calendar. Expect foam tape to need replacing every 1 to 3 years, sweeps every 3 to 5 years, and kerf-in, V-strip, and tubular seals every 5 to 10 years. Inspect every fall and replace any piece that fails the bill test, whatever its age — a cheap seal replaced on time beats an expensive one left flat.
What is the most common type of weatherstripping?
Adhesive foam tape is the most common, because it is the cheapest and anyone can install it with scissors. Common is not the same as best, though: it is also the shortest-lived. On doors that already have a kerf groove, press-in kerf seals are the standard fitting on most modern prehung doors.
Can renters weatherstrip a door?
Usually, yes — with the right products. Peel-and-stick foam tape and slide-on door sweeps come off without screws or damage, so they suit rentals and can leave with you. Check your lease first, keep the landlord informed about anything permanent like a screw-on sweep, and never remove a seal the door came with without asking.
Start With One Door This Weekend
You do not need to seal the whole house at once. Pick the door that bothers you most — the one with the cold puddle of air in front of it — and run the bill test tonight. Buy the seal that matches your frame, fit it on Saturday morning, and test it again. One sealed door before winter is worth more than a perfect plan in January.