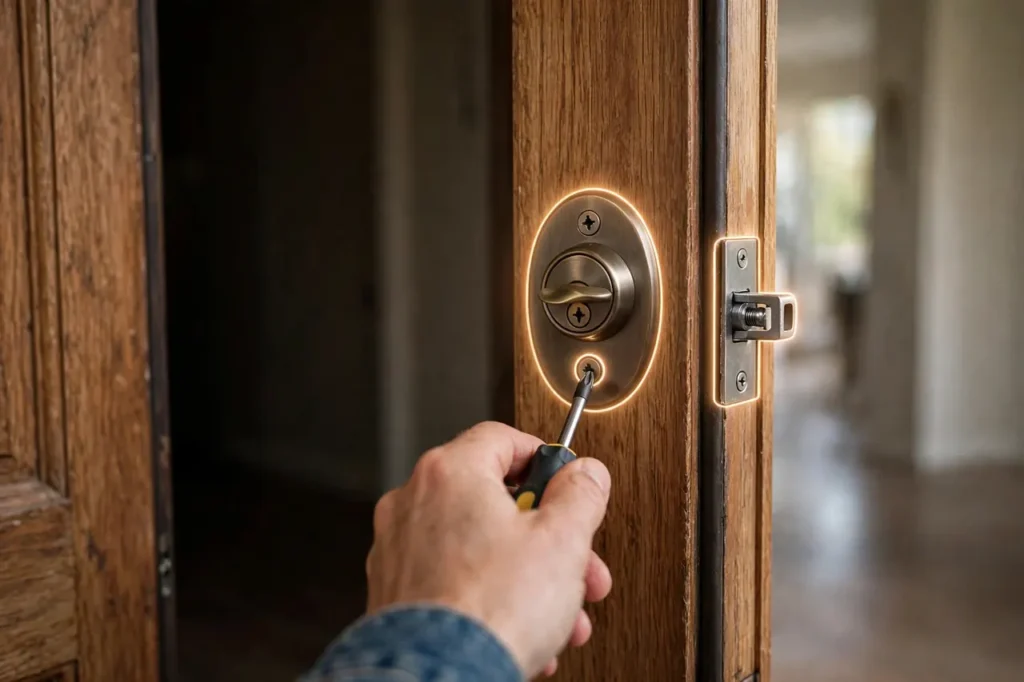
Yes, you can install a door lock yourself. A standard single-cylinder deadbolt goes in with a Phillips screwdriver when the door already has holes, usually in about 15 to 30 minutes. If you need to drill fresh holes, plan on about an hour, a drill, a 2-1/8 inch hole saw, and a 1 inch spade bit.
This guide walks through the whole job in order: tools, the four measurements that decide whether a lock fits, drilling without splitting the door, fitting the bolt and strike plate, and fixing the two problems almost every beginner meets — a bolt that will not throw, and a door you must push before it locks. One limit first: if your door frame is rotted or the door hangs crooked, fix that first or call a locksmith. No lock works well in a bad frame.
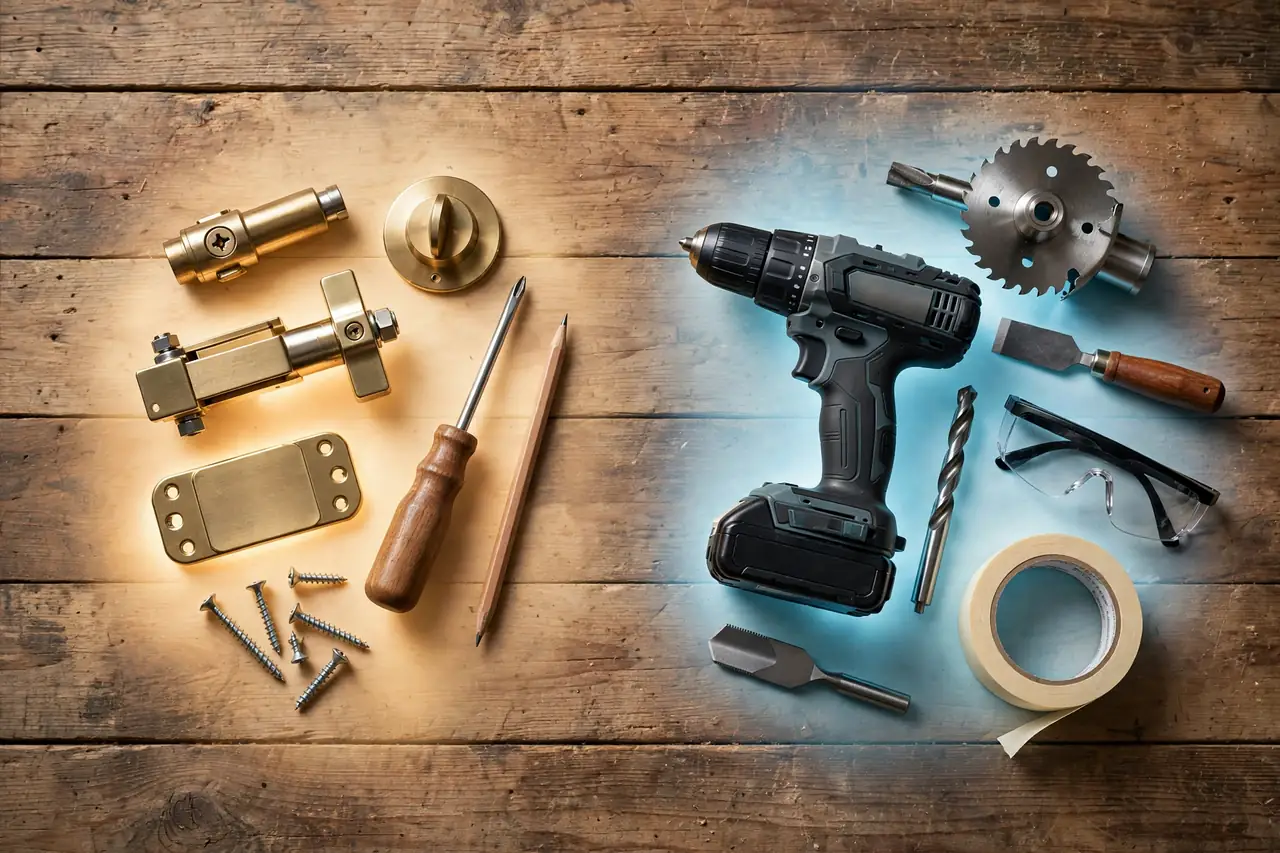
What You Need: Tools and Materials
The list is short, and it splits in two. Replacing an existing deadbolt takes only a screwdriver. Drilling a door that has no deadbolt hole yet takes the drill tools as well.
For any deadbolt install:
- The new deadbolt kit (lock body, bolt, strike plate, screws, and usually a paper template)
- Phillips screwdriver (a power driver speeds things up, but a hand screwdriver gives you better feel)
- Tape measure
- Pencil
- Three-inch wood screws for the strike plate — these are usually not in the box, so buy them separately
- Graphite lock lubricant for the final test (never oil)
Only if you are drilling new holes:
- Drill (corded or a strong cordless)
- 2-1/8 inch hole saw — choose a bimetal one if your door is steel
- 1 inch spade bit or 1 inch hole saw for the door edge
- Sharp 1 inch wood chisel and a utility knife
- Safety glasses
- A scrap wood block to clamp or hold behind the door while drilling
- Painter’s tape
Before You Drill: The Four Measurements That Decide Everything
Almost every failed install is really a measuring failure. Deadbolts are built to a small set of standard sizes, and your door either matches them or it does not. Kwikset’s installation guides start with the same four checks before a single part goes on the door: hole diameter, backset, edge hole, and door thickness. Measure all four before you buy the lock, not after.
Standard deadbolt door measurements
| Measurement | Standard size | How to check it |
|---|---|---|
| Cross bore (the round hole in the door face) | 2-1/8 in (54 mm) | Measure straight across the hole your old lock sat in, or mark it from the template on a blank door |
| Backset | 2-3/8 in (60 mm) or 2-3/4 in (70 mm) | Measure from the door’s edge to the center of the cross bore |
| Edge bore (the hole in the door edge) | 1 in (25 mm) | Measure across the hole where the bolt lives |
| Door thickness | 1-3/8 in (35 mm) or 1-3/4 in (44 mm) | Measure the door slab at the edge |
| Bolt throw | 1 in | How far the bolt reaches into the frame when locked — a full inch is what you want on an entry door |
Backset is the measurement beginners get wrong most often: the distance from the door’s edge to the center of the big hole. Most house doors use 2-3/8 inches; some use 2-3/4 inches. Most bolts adjust — twist the faceplate 180 degrees to extend from the short setting to the long one — so set yours to match before fitting anything.
Door thickness matters too. Standard kits fit doors 1-3/8 or 1-3/4 inches thick. A thicker door needs a thick-door kit from the lock’s maker; a thinner one may not close around the lock body at all.
While you measure, check the grade on the box. ANSI and BHMA test and grade deadbolts, and Family Handyman advises Grade 1 — the toughest of three grades — for entry doors. Residential boxes may show BHMA letter grades instead (A is best, AAA the top mark), so Grade 2, or B or better, is a sensible floor.
Already have holes? Measure them against the table. If all four numbers match the new lock, skip the drilling steps and go straight to fitting — that swap is the 15-minute version of this job.
Door Lock How to Install, Step by Step
Work through these steps in order. Each one sets up the next, and most mistakes happen when a step gets skipped.
Step 1: Remove the Old Lock (Replacement Only)
Prop the door open — a wedge or a heavy book under the bottom edge — and keep it open the whole time you work. Unscrew the two mounting screws on the interior thumb turn plate and pull the inside and outside halves apart; the exterior cylinder slides straight out. Then unscrew the bolt’s faceplate at the door edge and slide the bolt out. Closing a half-finished door is how people lock themselves out with their tools on the wrong side.
Step 2: Mark the Door and Tape the Template
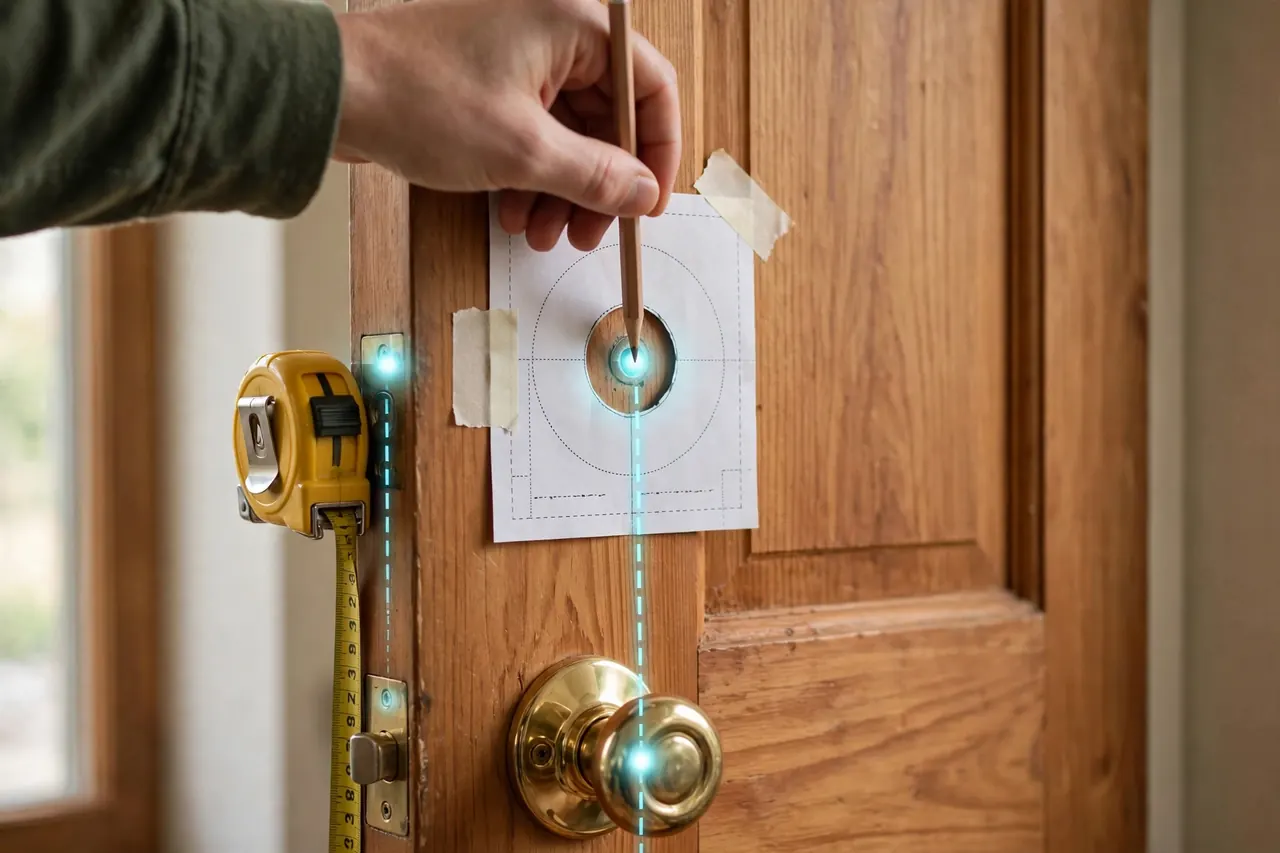
Every kit includes a paper template. Tape it to the inside face of the door, not the outside — wood doors have a slight bevel on the edge, and Family Handyman notes that measuring from the exterior side lets that bevel throw your marks off.
Position the template so the center of the deadbolt sits 6 inches above the center of the doorknob. One check matters here: Schlage’s door preparation instructions call for at least 5-1/2 inches between the center of the knob’s hole and the center of the deadbolt hole, so the two lock bodies do not collide inside the door. Mark the center points for the face hole and the edge hole with a pencil, pushing through the template.
Step 3: Drill the Cross Bore (the Big Face Hole)
Caution first: put your safety glasses on before the drill comes out, and clamp or hold a scrap wood block against the back of the door where the saw will break through. The block stops the wood from splintering out around the hole.
- Fit the 2-1/8 inch hole saw and center its pilot bit on your mark.
- Drill slowly until the pilot bit pokes through the other side — do not push through in one go.
- Move to the other side of the door and finish the hole from there, using the pilot hole as your guide.
Drilling halfway from each side is the single best trick in this guide: a clean edge on both faces instead of a torn ring of splinters on the exit side. On a steel door, run the bimetal saw slowly and let the teeth cut instead of forcing them.
Step 4: Drill the Edge Bore and Chisel the Faceplate Recess
Drill the 1 inch hole into the center of the door edge, straight into the big hole. Keep the drill level and square — an angled edge hole is the hidden cause of many stiff bolts later.
Slide the bolt into the edge hole and trace around its faceplate with a pencil. Then score the outline with a utility knife before you touch the chisel; Family Handyman recommends this because the knife cut stops the chisel from splitting the wood past your line. Chisel out the recess so the faceplate sits flush with the door edge, about 3/16 inch deep. Take thin shavings, test the fit, and shave a little more if the plate stands proud.
Some bolts use a round drive-in collar instead of a faceplate; those tap into a plain round hole with a wood block and hammer, no chiseling needed. Match the style your door edge is cut for.
Step 5: Fit the Bolt
First set the bolt’s backset: if your door measured 2-3/4 inches and the bolt is still at 2-3/8, rotate the faceplate or twist the bolt housing 180 degrees to extend it, as your kit’s sheet shows. Most bolts carry a “TOP” or “UP” stamp — that side faces up.
Slide the bolt into the edge hole and drive the two faceplate screws. Then turn the bolt’s drive slot with a flathead screwdriver a few times: the bolt should shoot out and pull back smoothly. If it scrapes or sticks now, it will not get better once the lock body is on, so fix the fit before you go on.
Step 6: Install the Exterior Cylinder and Interior Thumb Turn
Caution first: keep the bolt fully retracted (unlocked) during this step. Schlage warns that if it extends while you work, locking and unlocking can end up reversed.
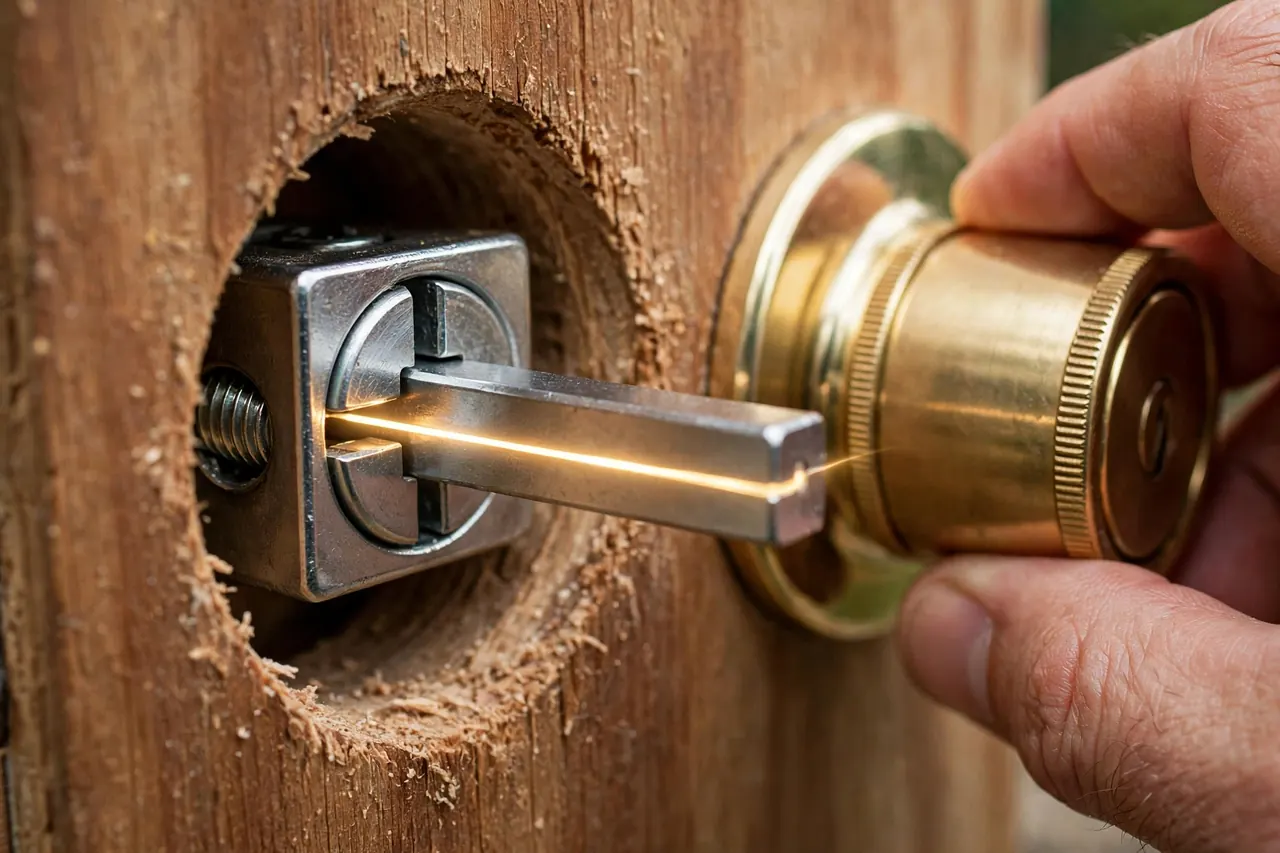
- From outside, set the exterior cylinder against the door. Feed its flat connecting bar — called the tailpiece or torque blade — through the slot in the bolt you just fitted.
- From inside, place the thumb turn assembly over the same bar so it lines up with the bolt’s drive.
- Start both long mounting screws by hand, then tighten them evenly, a little on each side at a time, so the lock pulls down square instead of crooked.
- Stop at snug. Cranking the screws down hard squeezes the cylinder and is the most common cause of a key that turns stiffly — if that happens later, backing each screw off half a turn is the first fix to try.
Now test with the door still open: turn the thumb turn and then the key from outside. The bolt should extend a full inch and retract fully, with no grit, catch, or spring-back. Do not close the door yet.
Step 7: Mark, Drill, and Fit the Strike Plate
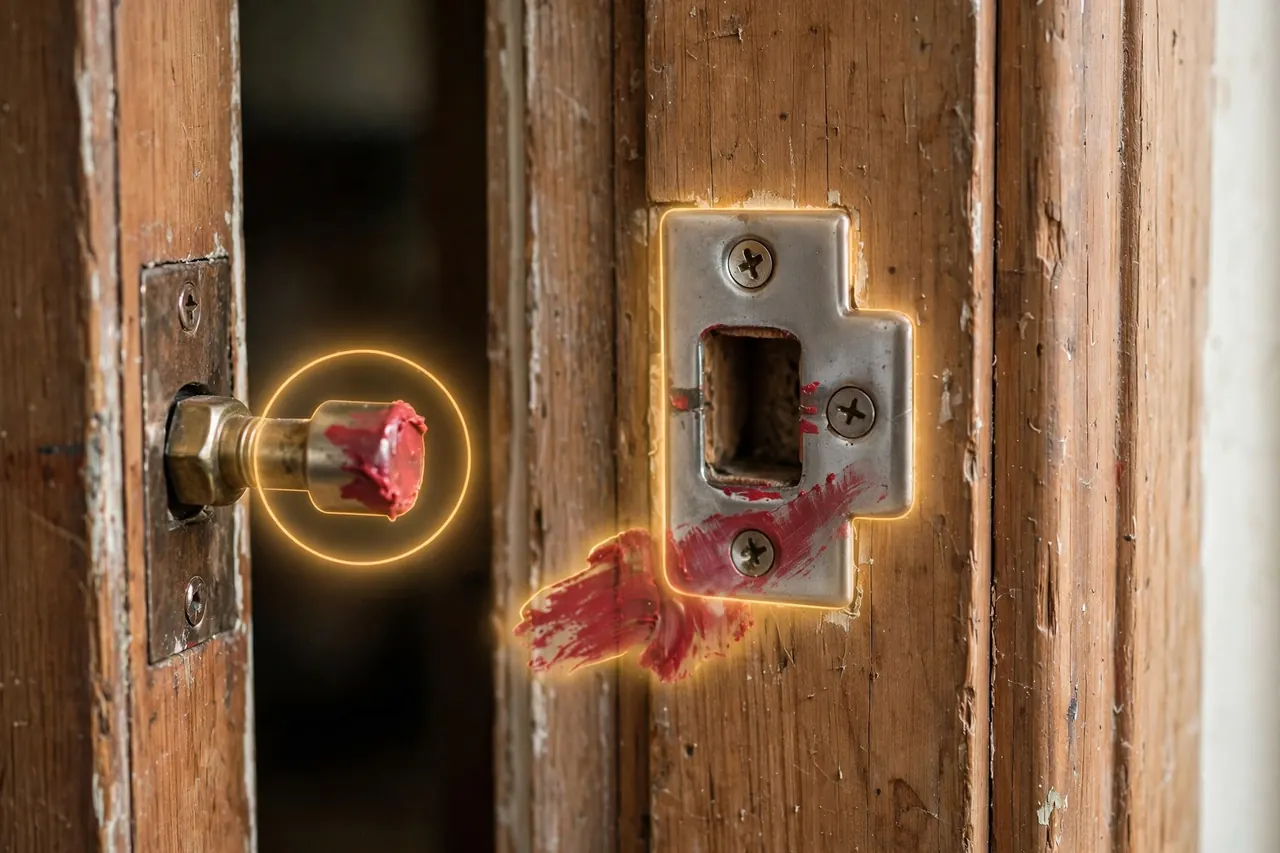
The strike plate is the frame plate the bolt locks into, and its position must match the bolt exactly. The oldest trick in the trade works best and comes from Family Handyman: smear a little lipstick or paint on the end of the bolt, close the door gently, and throw the bolt so it kisses the jamb. Open the door and the mark shows you exactly where the bolt lands.
- Center the strike plate on that mark and trace its outline on the jamb.
- Drill the bolt pocket about 1 inch deep inside the outline — one 1 inch hole, or two overlapping holes chiseled into one smooth pocket. The bolt needs its full inch of depth, or it can look locked while barely holding.
- Chisel a shallow recess so the strike plate sits flush with the jamb, scoring the outline with your knife first, same as the door edge.
- If your kit includes a strike box or reinforcement plate, fit it behind the strike plate. It spreads a kick’s force over a wider area and ties the strike into the framing, not just the thin jamb.
Step 8: Reinforce the Strike With 3-Inch Screws
This two-minute upgrade is worth more than the lock itself: the short screws in the box only bite into the jamb, while 3-inch screws reach the wall stud behind it — and that is what resists a kick.
Caution first: drill a pilot hole for each long screw, and drive them slowly. There is usually a hollow gap behind the jamb before the stud, and Family Handyman warns that driving screws too deep too fast can warp the jamb and move the very alignment you just set. Ease each screw in until the plate is firm and flush.
Step 9: Test Everything, Open Door First
- Door open: throw and retract the bolt with the thumb turn ten times, then with the key from outside. It should feel the same every time.
- Door closed: lock and unlock again. The bolt should glide in without you pushing, pulling, or lifting the door.
- Check the gap: the bolt should extend its full inch into the strike pocket. A bolt that only partly enters is a lock that looks secure and is not.
💡 Practical Home Tip: Always test a new lock with the door wide open before you ever close it. A bolt that runs smoothly with the door open but stiffens with it closed is telling you the strike is misaligned, not that the lock is faulty — and finding that out with the door open keeps you on the same side as your tools.
When the Bolt Won’t Throw: Alignment Fixes, Cheapest First
A bolt that grinds, stops halfway, or only locks when you shove the door is almost never a broken lock. It is an alignment problem, and most fixes cost nothing. Work down this list in order.
- Isolate the problem. Open the door and throw the bolt. Smooth open but stiff closed means the bolt is hitting the strike plate, or the pocket is too shallow. Stiff even with the door open points back to the install — usually mounting screws tightened too hard, so back each off half a turn and retest.
- Find the contact point. Repeat the lipstick or paint mark from Step 7. The smear on the jamb shows exactly where the bolt strikes — high, low, or to one side.
- Shift the strike plate. Loosen the strike screws, nudge the plate toward the smear, and retighten. A sixteenth of an inch is often all it takes.
- Widen or deepen the pocket. If the bolt hits the pocket’s edge, open that side with a round file or chisel, a shaving at a time. If the bolt cannot reach full depth, deepen the pocket to a full inch.
- Check the hinges. A sagging door drops its bolt below the strike. Tighten every hinge screw, then swap one short screw in the top hinge for a 3-inch screw that grabs the framing and pulls the door back up.
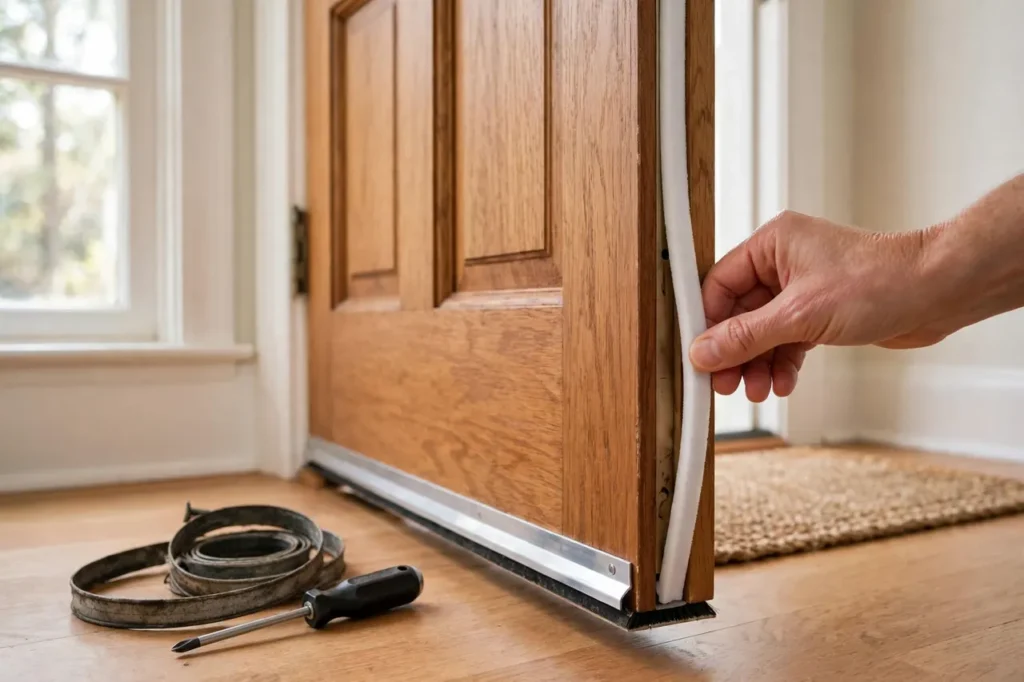
- Check what is holding the door out. If you must push the door hard before the bolt will travel, something is holding the door off the frame — often thick or brand-new door weatherstripping that needs a hard squeeze before the bolt can line up.
If the bolt misses by more than about a quarter inch, or the door rubs the frame at one corner while gaping at another, the frame itself has shifted and the door needs rehanging — locksmith or carpenter territory, covered below.
How a Smart Deadbolt Install Is Different
A smart deadbolt uses the same holes, bolt, and strike logic as everything above. If your door passes the four measurements, the metalwork is identical. The differences sit inside the door, and after the last screw:
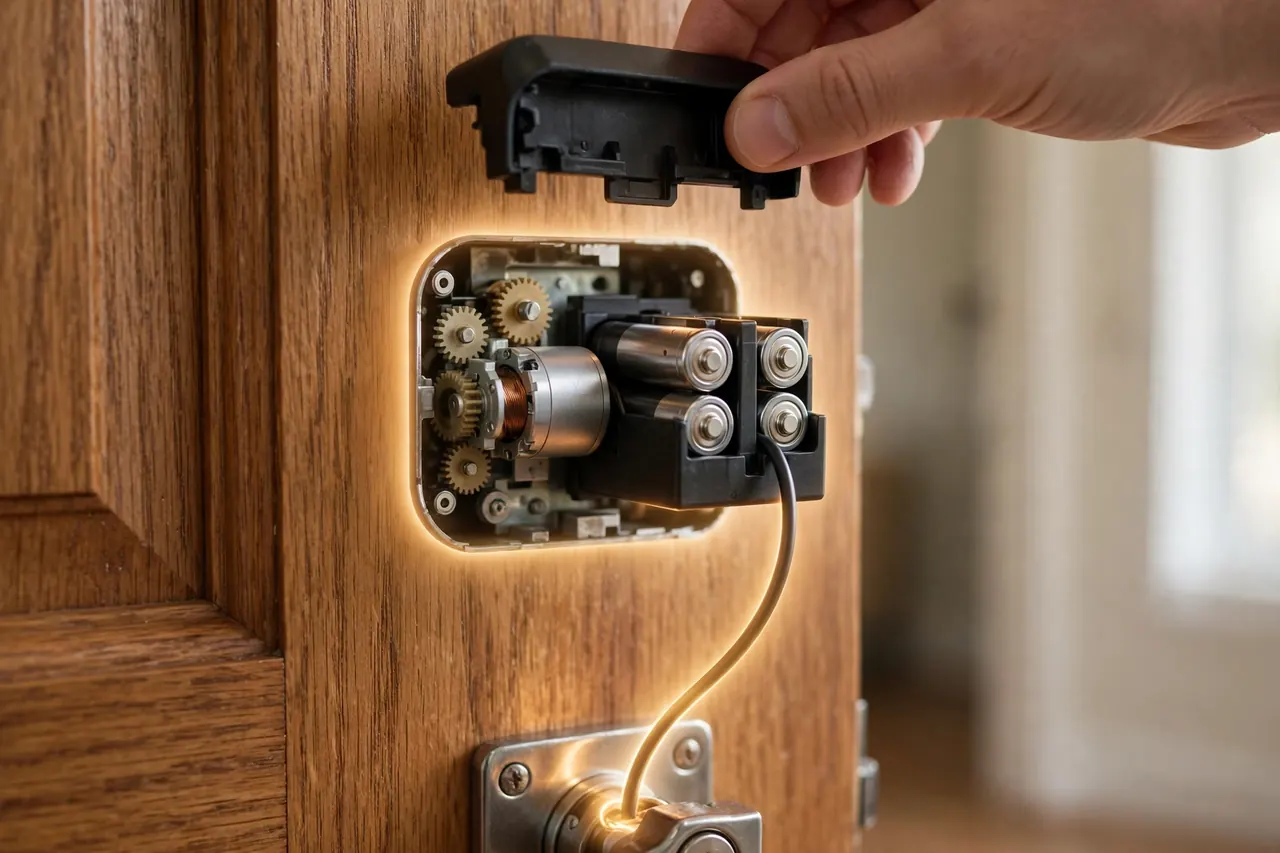
- A bigger interior assembly. The inside thumb turn is replaced by a housing with a motor and a battery pack — most use four AA batteries. The cable from the outside keypad routes under the bolt and plugs into this housing.
- Handing and calibration. Once powered, most smart deadbolts run a door-handing routine that learns which way your door swings and how far the bolt travels. Kwikset’s guides demand the same thing manual makers do: the door aligned first, bolting smoothly with no pushing, pulling, or lifting. A motor cannot muscle a bolt past a bad strike the way your hand can, so sloppy alignment a keyed lock tolerates will stall a smart one.
- App setup replaces the last mechanical step. Codes, fingerprints, and auto-lock timers are set in the app once the hardware is on.
If you are choosing between models rather than fighting an install, our smart key lock guide covers the types, the costs, and who should skip them. One habit carries over: test with the door open first, because a smart lock that fails calibration behind a closed door can leave you outside.
When to Call a Locksmith Instead
A standard deadbolt in a sound wood or fiberglass door is a fair beginner job. Stop and call a locksmith — or a carpenter first, for frame work — when you meet any of these:
- The frame is rotted, cracked, or soft. Screws cannot hold in bad wood, and the lock is only as strong as what surrounds it.
- The door is steel or a rated fire door and needs new holes. Cutting steel cleanly takes the right bimetal tools and a steady hand; drilling a fire-rated door can also void its rating.
- The existing holes are non-standard sizes. Oversized or oddly placed bores left by an old mortise lock are not a template job.
- The door has shifted badly. If gaps are uneven and the door binds, the hang needs correcting before any lock will behave.
- You rent. Get your landlord’s written OK first — the lock, and the holes, belong to the property.
One more judgment call: a double-cylinder deadbolt — keyed on both sides — resists a reach-through attack near glass, but in a fire it can trap you if the key is not in the lock. If you fit one, your family must know where the inside key lives, always, and some local codes restrict them on entry doors. For most homes, a single-cylinder deadbolt with a thumb turn is the safer default.
This guide covers standard single-cylinder deadbolts on common residential doors, as general information. Where it ever disagrees with your lock maker’s sheet, follow the sheet — and local building and fire codes win over any guide, including this one.
Frequently Asked Questions
Can I replace a front door lock myself with no prior experience?
Yes. A standard deadbolt swap needs only a Phillips screwdriver and takes about half an hour when the holes are already drilled. Keep the door propped open, work in order, and test the key and thumb turn with the door open before closing it. Drilling new holes is the harder version — it adds basic drill and chisel work.
How long does it take to install a deadbolt lock?
Most replacements take around 15 to 30 minutes with a screwdriver when the door is already prepared. Cutting fresh holes from scratch adds roughly 20 to 30 minutes for drilling and chiseling. A careful first-timer should allow a full hour.
Do I need a professional locksmith to install a deadbolt?
Usually not. Standard deadbolts — including most keypad and smart models — are designed for homeowner installation with a screwdriver and basic measuring. Call a locksmith when the frame is rotted, the holes are non-standard, the door is steel or fire-rated and needs cutting, or the door hangs so crooked that no lock will line up.
What size bore hole does a standard deadbolt need?
The standard is a 2-1/8 inch cross bore through the door face for the lock body and a 1 inch edge bore for the bolt, with a backset of 2-3/8 or 2-3/4 inches. Some locks also fit an older 1-1/2 inch cross bore using an adapter ring. Measure your door before buying; the box lists which sizes the model fits.
Can I install a deadbolt on any type of door?
Most solid wood, fiberglass, and steel entry doors 1-3/8 to 1-3/4 inches thick accept a standard deadbolt. Hollow-core interior doors are the exception — too little solid material to hold a bolt securely. Steel doors need a bimetal hole saw for new holes; never drill a fire-rated door without checking its rating.
Can I install an electronic door lock without drilling new holes
Often, yes. If your door has a standard deadbolt preparation and the electronic lock fits the common measurements — 2-1/8 inch cross bore, 1 inch edge bore, standard backset — it swaps into the existing holes with only a screwdriver. Check thickness, backset, and hole size before buying.
How often should I replace my front door lock?
Replace or rekey immediately when you move in, lose a key you cannot account for, or see tamper marks around the cylinder. Otherwise a good deadbolt lasts for years with a yearly drop of graphite and a strike-screw check every six months. Replace it when the bolt binds even after alignment fixes, or the cylinder feels loose and worn.
The Short Version
Measure four things — 2-1/8 inch cross bore, 1 inch edge bore, 2-3/8 or 2-3/4 inch backset, 1-3/8 or 1-3/4 inch door. Set the bolt’s backset, keep it retracted while you work, tighten the mounting screws to snug and no more, and anchor the strike with 3-inch screws that reach the stud. Test everything with the door open first.
Your next step takes two minutes: take a tape measure to your front door, check the backset and thickness, and write them down. With those two numbers, you can buy the right deadbolt the first time.