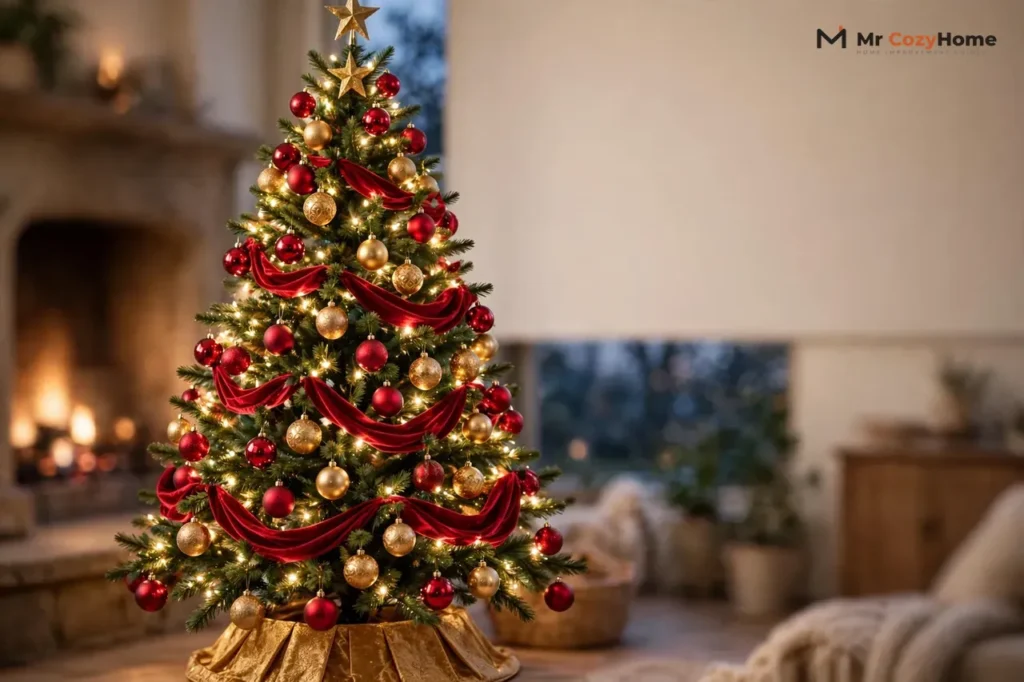
Here is the simplest way to get a beautiful tree: pick two or three colors, then decorate in this order — lights first, then ribbon and garland, then ornaments, then the topper, and finally the skirt or base. That order matters more than any single ornament you buy, because each layer builds on the one before it instead of fighting it.
Tree decorating ideas for Christmas work best when you start with a plan, not a shopping cart. Look at what you already own, choose colors that fit your room, and give yourself an unhurried hour. The trees people remember are rarely the most expensive ones. They are the ones where every piece looks like it belongs.
💡 Practical Home Tip: Decorate with the room lights on first, then turn them off and switch the tree lights on before you call it done. A tree that looks perfect in daylight can show dark holes and clumps in the dark, and that last check in tree light only is when you spot them.
Start With a Simple Plan: Pick Your Colors First
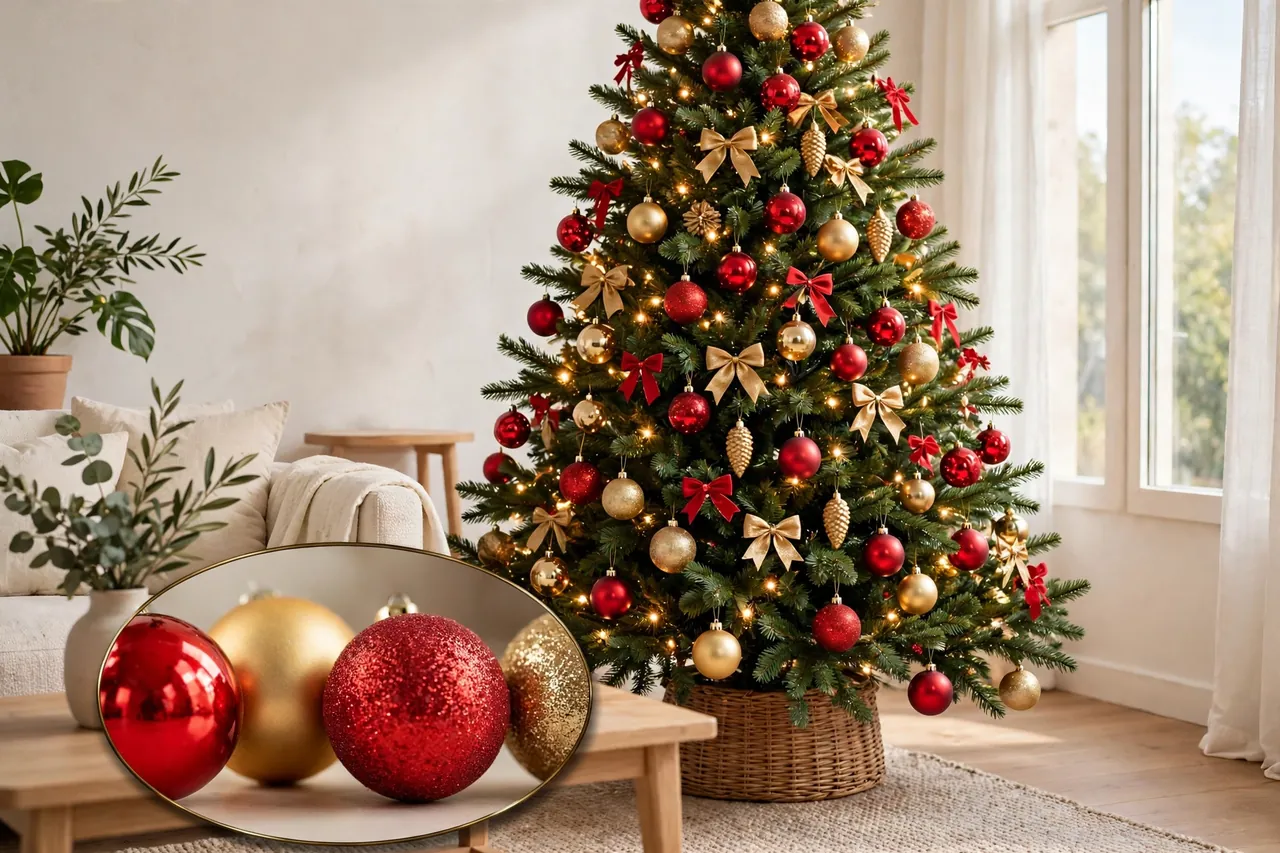
Every good tree starts with one decision: two or three colors, repeated everywhere. Red and gold is the most forgiving classic scheme you can choose, and it suits almost any living room. If red feels too loud for your space, try champagne and ivory, icy blue and silver, or deep green with cream and brass.
Use one simple rule to keep the colors calm. Make one color the star at about 60 percent, the second color the support at about 40 percent, and let a metallic like gold or silver tie them together. Mix finishes inside each color — glossy balls for shine, matte balls to calm the sparkle, and a little glitter for texture — so the tree does not look flat. Sticking to one scheme like this is also the first rule in the Christmas Lights Etc decorating guide, which builds its classic, winter wonderland, and metallic looks the same way.
Before you buy anything new, pull out the box you already own and sort it on the floor. Most families already own a tree’s worth of ornaments, and the gaps you see will tell you exactly what to buy. That one habit saves more money than any sale, and it keeps you from bringing home a third set of red balls you did not need.
Light the Tree First, and Light It Well
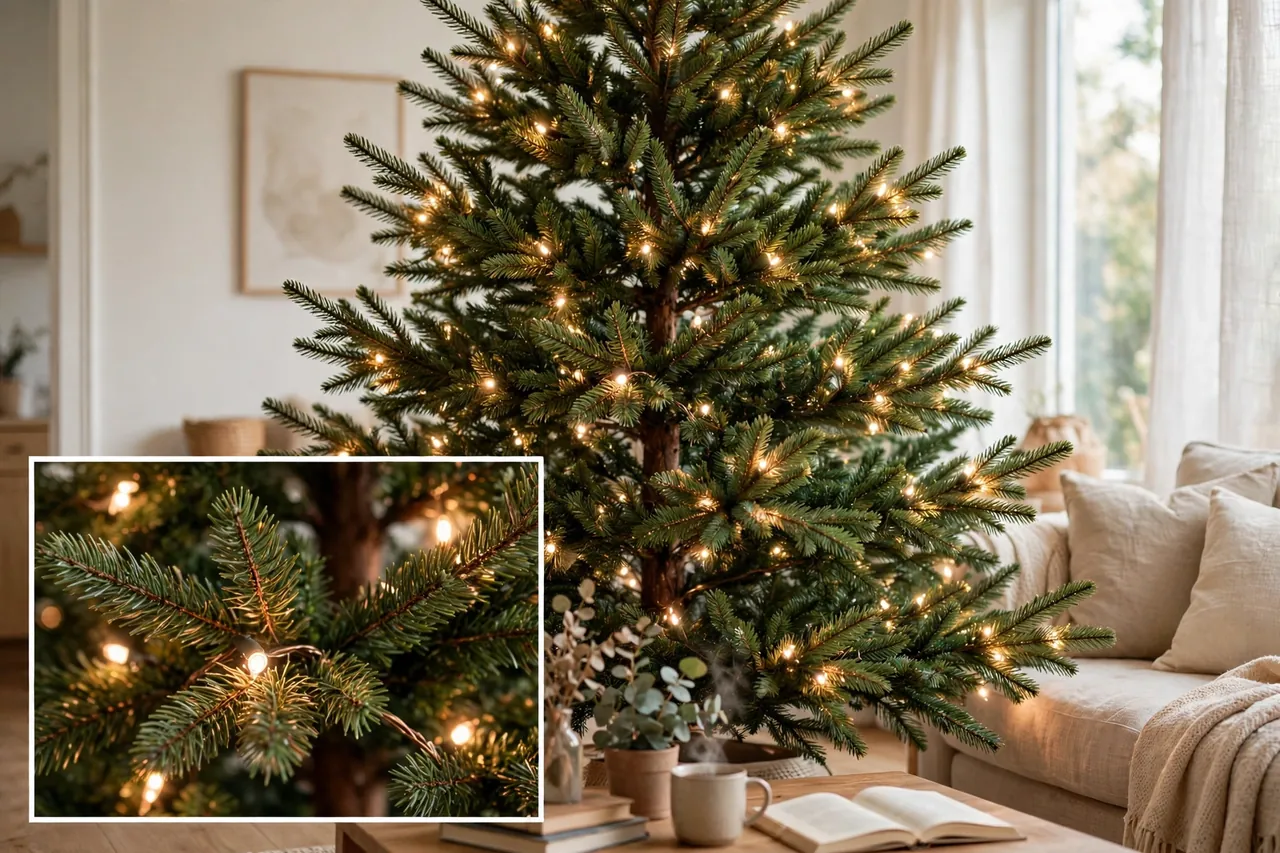
Always test your lights before a single ornament goes on. Plug each strand in, look for dark sections, and replace dead bulbs now, because fixing lights after decorating means taking half the tree apart again. If you use a pre-lit tree, check it the same way and keep a spare strand handy for the one section that always seems to quit.
Start at the bottom and weave the lights in and out of the branches as you work your way up, pushing some lights deep near the trunk and letting others sit near the tips. Lights tucked deep inside the tree make the whole tree glow from within, while lights only on the surface look thin and flat. A common guideline shared by decorating guides is about 100 bulbs per foot of tree height, so a 6-foot tree wants roughly 600 bulbs for a full, warm look, as noted in MyHomeMyGlobe’s 20 tree decor ideas.
Warm white lights flatter almost every color scheme, while cool white can look harsh on a traditional green tree. If your tree sits near a window or you leave the house a lot, put the lights on a timer so they switch on at dusk and off at bedtime without you thinking about it. Our guide to how to use a timer plug walks through the setup step by step.
Hang Ornaments Like a Designer: Big Inside, Small at the Tips
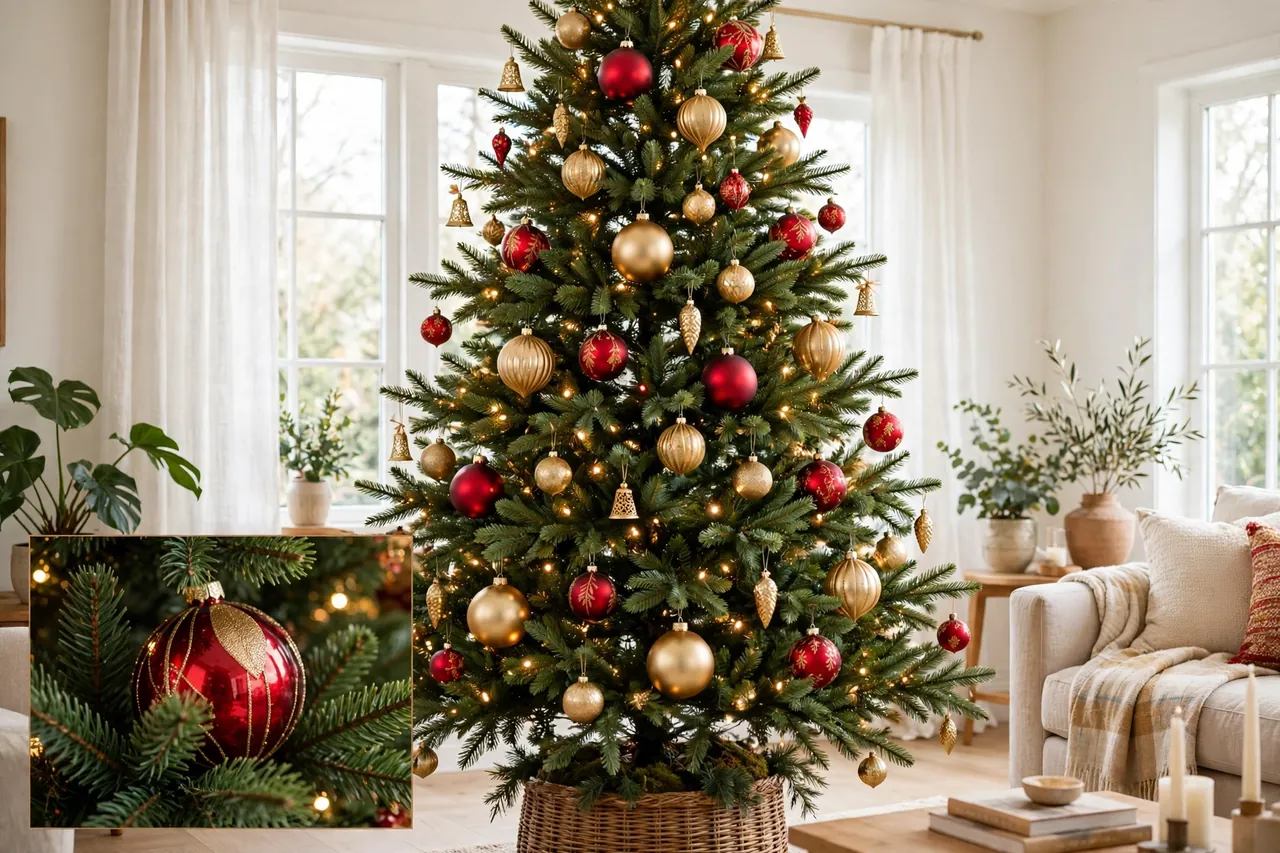
Professionals hang ornaments in layers, and the trick is easy to copy. Put your largest ornaments deep inside the branches first, where they add depth and make the tree look full. Then hang medium ornaments in the middle, and finish with your smallest, prettiest pieces near the branch tips, where the eye lands first. This inside-out layering is the core of the professional approach described in Balsam Hill’s guide to decorating like a pro.
Mix shapes as well as sizes. Balls alone look tidy but dull, so add a few icicles, finials, stars, and one or two unusual pieces — a bird, a lantern, a handmade ornament — to break up the pattern. Hang a few shiny ornaments close to the trunk too, because they catch the lights and throw sparkle back out through the branches.
Step back every ten minutes and look at the tree from across the room, then from the doorway. You will spot the bare patch and the clump of three red balls in seconds from far away, and you will never see them standing six inches from the branches. Spread similar ornaments out so no two matching pieces sit side by side, and treat the back of the tree lightly if it faces a wall.
Six Tree Looks to Steal This Year
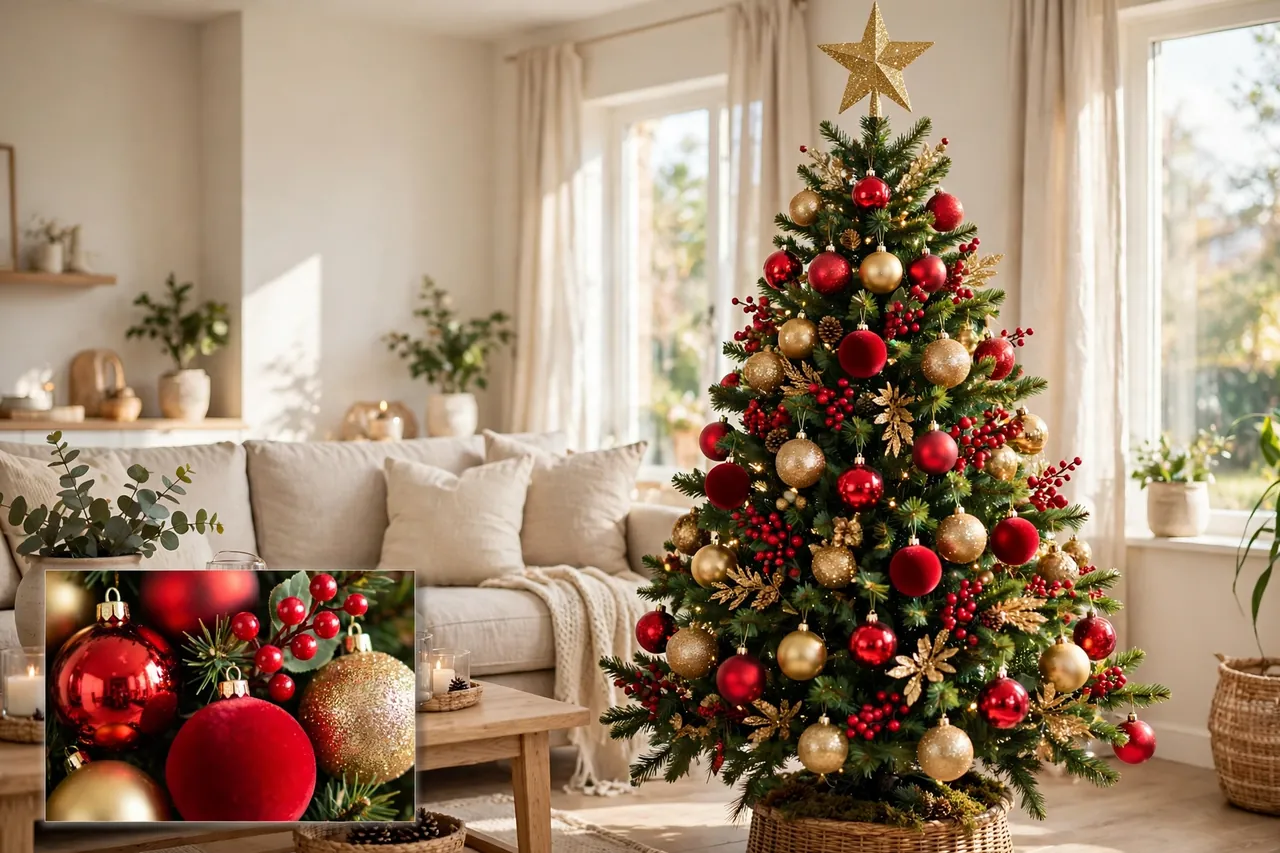
If you want simple Christmas tree decorating ideas that still look planned, steal one of these looks instead of inventing your own from scratch. Each one starts with the same steps above and changes only the colors and a few accent pieces.
Pick your look in 30 seconds
| Look | Colors | Best for |
|---|---|---|
| Classic red and gold | Red, gold, warm white lights | Any living room, family homes |
| Champagne and pearl | Champagne, ivory, cream | Formal rooms, neutral interiors |
| Winter wonderland | Blue, silver, white | Calm, snowy, elegant rooms |
| Scandinavian | Natural wood, red, white | Minimal rooms, real greenery lovers |
| Rustic woodland | Burlap, pinecone, cream | Farmhouse and cabin interiors |
| Memory tree | Whatever your ornaments already are | Families, heirloom collections |
Classic red and gold. Glossy red balls, matte red balls, glitter gold, and red berry picks tucked between ornaments. Add a gold star and a red velvet ribbon, and you have a tree that never looks wrong.
Champagne and pearl. Champagne and ivory baubles in mixed sizes, faux pearl garlands draped in shallow swags that dip about 6 to 8 inches, and a cream satin ribbon. This is the elegant Christmas tree decorating idea for a dining room or a neutral living room.
Winter wonderland. A flocked tree or plain green branches with powder blue, ice blue, and mirrored silver ornaments, plus frosted icicles and snowflakes. Warm white lights keep the cool palette from feeling cold, and the whole look reads like fresh snow.
Scandinavian. Straw stars, small red or white felt hearts, wooden beads, and paper snowflakes, with plenty of green showing between ornaments. Twenty to thirty pieces on a 6-foot tree is plenty here, because restraint is the whole point, and warm white lights carry the style.
Rustic woodland. Pinecones, wood slices, burlap ribbon, and cream ornaments, with a wooden crate or galvanized bucket instead of a skirt. If you gather your own pinecones, decorating guides suggest baking them at 200°F for 30 to 45 minutes first to open the scales and drive out insects.
Memory tree. Grandparents’ glass ornaments, kids’ handmade school crafts, baby’s first Christmas pieces, and souvenirs from trips, tied together with black-and-white photo ornaments. A memory tree costs almost nothing if the box already exists, and guests always ask about it first.
Decorate in Order: The Step-by-Step Method
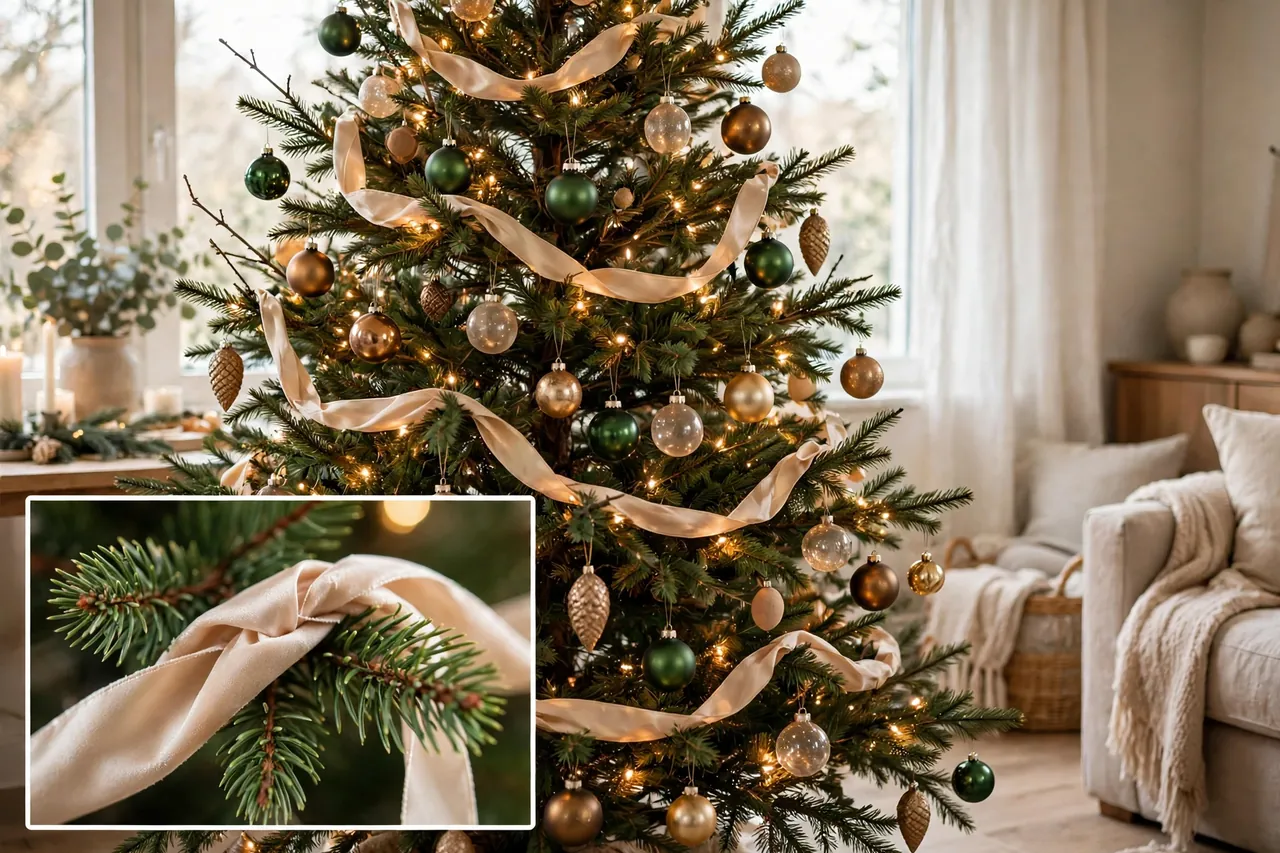
Here are the steps to decorate a Christmas tree, in the order that causes the fewest do-overs. Follow them exactly the first time, and you will learn the rhythm fast enough to improvise next year.
- Shape the tree. Fluff every branch, pulling tips outward and filling holes, starting at the bottom. A well-shaped tree does half the decorating work before you hang anything.
- Test and hang the lights. Work bottom to top, weaving in and out, and plug them in to check your coverage before moving on.
- Add ribbon and garland. Drape garland in loose swags or weave ribbon through the branches now, while you can still reach inside easily. Keep ribbon simple here — a full ribbon technique of its own belongs in a dedicated ribbon guide, and a few well-placed swags are all a general tree needs.
- Hang the big ornaments deep. Place large pieces inside the branches first, spaced evenly around the tree.
- Hang the rest by size. Medium ornaments next, then small and special pieces at the tips, stepping back often to check the balance.
- Fill the gaps. Tuck berry picks, floral sprays, or pinecone picks into thin spots instead of buying more ornaments. Ten to twenty picks of one type look intentional; a mixed handful looks accidental.
- Top the tree and finish the base. Add the topper last so you do not knock it off while reaching, then hide the stand with a skirt, collar, or basket.
The best way to decorate a Christmas tree is not a secret technique. It is this order, plus stepping back often. Skip the order and you will hang ornaments, then fight the lights around them, then move ornaments again. Follow it and the tree comes together in one calm pass.
Fill the Gaps and Fix What Looks Off
Almost every tree has one thin side and one crowded side, and picks are the fastest fix. Berry, floral, or pinecone picks fill sparse areas while adding texture, and crystal or pearl picks add sparkle without weight. Push the pick stem deep into a branch so it looks like it grew there, not like it got stuck on.
If the tree leans, check the stand before you blame the ornaments. Tighten the stand screws, center the trunk, and turn the tree so its best side faces the room. If the topper droops, wire it to the top branch instead of balancing it, and choose a lighter topper for a slim or small tree.
If the whole tree looks busy, take five ornaments off, not five more on. Beginners almost always over-decorate the front and under-decorate the sides, so walk around the tree once and move pieces from crowded spots to thin ones before you buy anything else.
Top It and Finish the Base
The topper should match the tree’s theme, not fight it. A gold star suits a classic tree, a snowy angel suits a winter wonderland tree, and a simple bow suits a rustic tree. If a big topper overwhelms a small tree, try a cluster of picks tied into a small bouquet at the top instead — it reads as a topper without the weight.
The base matters as much as the top, because every photo of the tree includes it. A tree skirt hides the stand softly, a metal collar looks tidy and modern, and a basket or crate fits a rustic tree perfectly. Tuck the light cords behind the skirt and run them straight to the outlet so nobody trips over them on Christmas morning.
Small Trees, Tight Budgets, and Kid-Friendly Trees
Small trees follow the same ideas, just scaled down. A 2- to 4-foot tabletop tree suits an apartment, a kitchen, or an entryway, and tiny ornaments, battery lights with a timer, and a pretty pot instead of a skirt make it look finished. Keep ornament sizes small too, because one big ball can swallow a tabletop tree.
For a tight budget, decorate with what costs almost nothing: paper stars and chains made with the kids, dried orange slices baked low and slow until crisp, cinnamon bundles tied with twine, and the ornaments you already own. One new ribbon in your theme color can make an old ornament box look brand new.
For kids and pets, hang shatterproof ornaments low, where little hands and paws reach, and save glass and heirlooms for the upper half. Let kids own one branch each, and keep the tree’s most precious pieces high enough to survive the season. A tree the kids helped decorate always looks better to the family than a perfect one they were told not to touch.
Keep Your Tree Safe
A few safety habits protect the whole season. Use LED lights where you can, because they run cooler than old incandescent strings, and never hang real candles on a tree. Turn the lights off when you leave the house and before bed, and never plug so many strands together that the cords feel warm.
Keep the tree away from fireplaces, heaters, radiators, and heat vents, and keep dried flowers and paper ornaments away from hot bulbs. If you have a real tree, water it every day and take it down when the needles drop at a touch, because a dry tree is a fire risk. These are small habits, but they are the ones that keep a beautiful tree from becoming a dangerous one.
Related Guides
How to Put Ribbon on a Christmas Tree · Christmas Trees With Frost: How to Style a Snowy Tree That Glows · What Is a Flocked Christmas Tree? · Christmas Light Ideas for a Home That Glows All Season
Frequently Asked Questions
How do you decorate a Christmas tree step by step?
Shape and fluff the branches first, then test and hang the lights from the bottom up. Add ribbon or garland, hang large ornaments deep inside, then medium and small ornaments toward the tips. Fill gaps with picks, add the topper last, and finish with a skirt or collar at the base.
What is the best way to decorate a Christmas tree?
Pick two or three colors and repeat them in every layer, then decorate in order: lights, ribbon, ornaments, topper, base. Hang big ornaments deep and small ones at the tips, step back often to check balance, and stop when the tree looks full rather than crowded.
What order do you decorate a Christmas tree in?
Lights first, then ribbon or garland, then ornaments, then the topper, then the skirt or base. This order prevents the most common do-over: hanging ornaments first and then fighting the light strands around them. Test the lights before anything else goes on.
How many lights do I need for my Christmas tree?
A common guideline is about 100 bulbs per foot of tree height, so a 6-foot tree wants roughly 600 bulbs for a full look. Push some lights deep near the trunk for glow and leave others near the tips for sparkle. Add more if your tree is wide or very dense.
What are some simple Christmas tree decorating ideas?
Choose one palette, use the ornaments you already own, and add one fresh element like a new ribbon or a set of berry picks. Paper stars, dried orange slices, and cinnamon bundles cost little and look handmade in the best way. Simple trees look best when every piece repeats the same two or three colors.
What colors look best on a Christmas tree?
Classic red and gold suits almost any room, champagne and ivory looks elegant in neutral spaces, and blue, silver, and white create a calm winter wonderland feel. Pick colors that flatter your room, not just the tree, and let one metallic tie the whole palette together.
Start with your colors, follow the order, and step back often, and your tree will look like you meant every bit of it. When the tree is done, the ribbon details and the lights on a timer are the two finishing touches that make the whole room feel ready — and both are worth doing properly rather than rushing at the end.