To hang garland, pick your spot, measure it, and anchor the garland at both ends before you shape the drape. Use removable hooks or floral wire on a mantel, hooks or a tension rod frame around a doorway, and zip ties or wire on a railing. Then let the garland fall into one soft swoop, fluff the branches to hide the fasteners, and add lights and ornaments last. You can hang most mantel and doorway garlands in under an hour, and you do not need nails or power tools to get a clean, secure result.
Garland works so well because it does one simple job beautifully. It frames the places your eye already lands on: the fireplace, the front door, and the entryway. This guide walks you through each of those spots, plus a quick look at stair railings, so you can hang garland with confidence anywhere in your home.
Choose the Right Garland First
Your garland choice shapes everything else. Fresh garland smells wonderful and looks lush, but it dries out, drops needles, and needs more care. Faux garland costs more up front, yet you can reuse it year after year, and it holds its shape through the whole season.
Pre-lit garland saves time because the lights already run through the branches. Unlit garland gives you more control, so you can pick your own light color and brightness. If you love a full look, buy two strands and layer them together. Mix pine with cedar, for example, or pair two of the same style for extra depth.
Before you buy, bend a branch in the store or check the product photos closely. Good garland bends softly and drapes instead of springing back stiffly. Look for natural color variation rather than one flat, bright green. Real evergreens never look perfectly uniform, so a little variation makes faux greenery look far more believable.
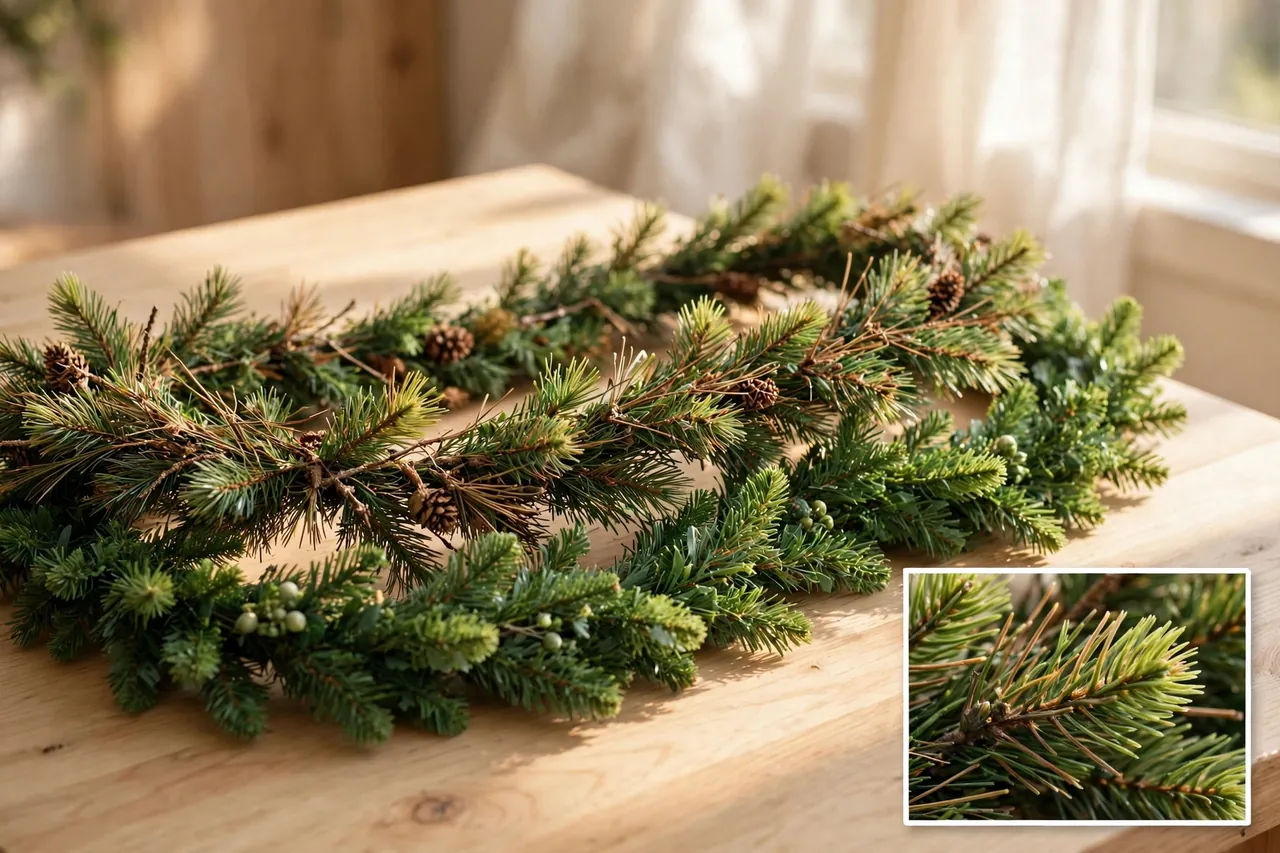
Fresh vs. Faux: Which One Fits Your Home?
Fresh garland suits a short display, a covered porch, or a home where you enjoy the scent of real evergreen. Keep it away from heat vents and sunny windows, mist it lightly if the maker suggests it, and check it every few days for dryness. Retire it as soon as the needles turn brittle.
Faux garland suits busy households, warm rooms, and anyone who wants to hang garland once and enjoy it all season. Choose a flame-resistant label for mantel use, and store it carefully (see the storage section below) so it still looks full next year. For a fireplace you actually light, faux garland is the safer pick, and you must keep every part of it well away from the firebox opening.
Pre-Lit vs. Unlit Garland
Pre-lit garland works best when you want a fast setup and an even glow. Check the power source before you hang it. Battery packs hide easily on a mantel top, while plug-in strands need an outlet close by and a cord path that no one trips over.
Unlit garland works best when you already own lights you love or you want a specific look, such as warm white micro lights or multicolor bulbs. Wrap the lights into the garland before you hang it if you can, because weaving lights through a garland that already hangs takes longer and tugs at your anchors.
Measure Before You Buy or Hang
Measure first, and you avoid the most common garland frustration: a strand that ends inches short of the corner. Grab a tape measure and measure the full run you plan to cover, end to end.
For a straight run along a mantel top, add a little extra for the drop on one or both ends. For a swag, add much more, because the drape itself eats up length. A good planning rule from experienced decorators runs like this: for a swooping drape, allow about one and a half times the length of the span you want to cover. A six-foot mantel, for example, needs about nine feet of garland for a generous swag.
For a mantel with one side drop, add the mantel length to the drop length. A five-foot mantel with an 18-inch drop needs at least six and a half feet of garland. When you sit between two sizes, buy the longer one. You can tuck or trim extra length, but you cannot stretch a short garland into a graceful drape.
Gather Your Tools and Fasteners
You need only a small kit for most garland jobs. Gather everything before you climb a ladder or stick a hook to the wall, because stopping halfway with a half-hung garland invites sagging and frustration.
- Tape measure and pencil for marking anchor points
- Removable adhesive hooks or cord bundlers, rated for your garland’s weight
- Green floral wire, green zip ties, or green pipe cleaners
- Wire cutters or sturdy scissors for trimming wire and garland ends
- A stable step ladder for high mantels and doorways
- String lights, ribbon, and ornaments, if you plan to add them
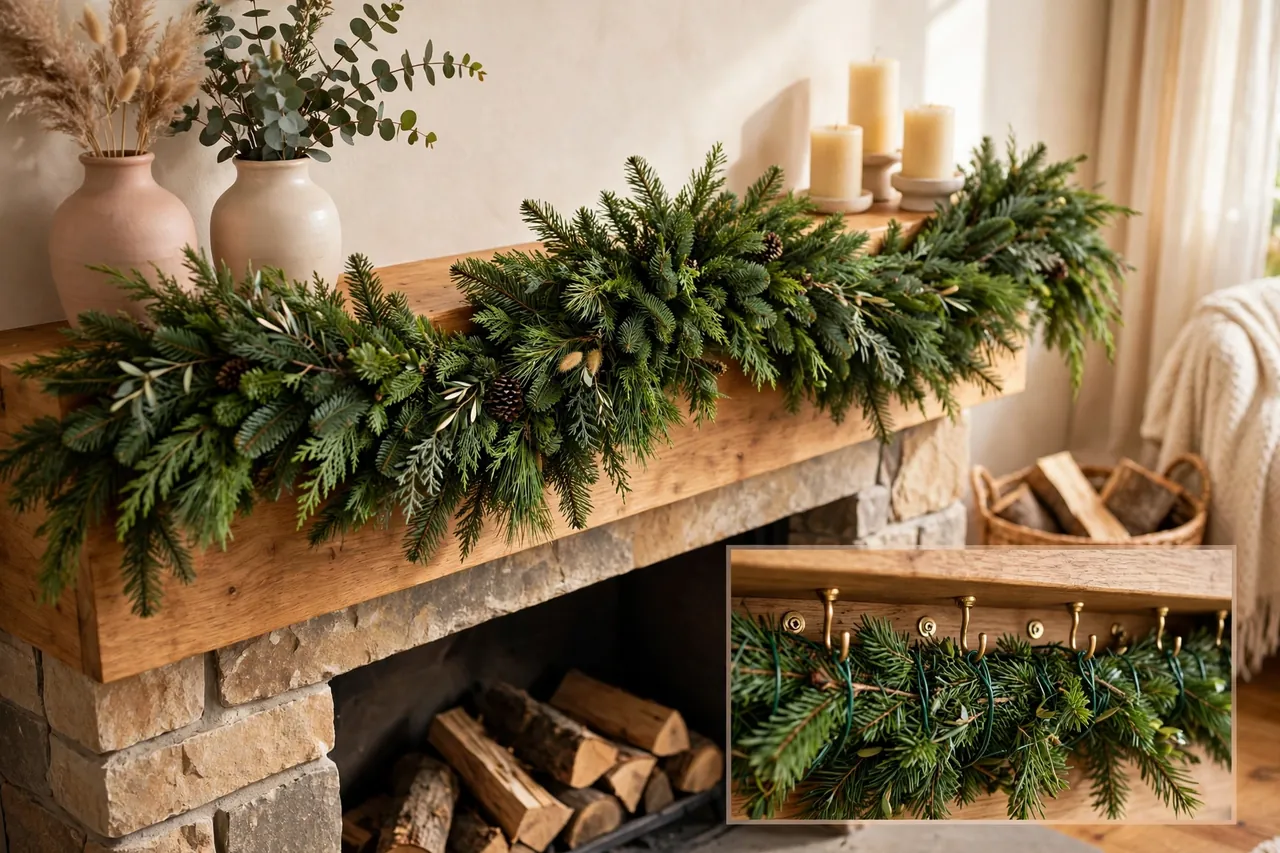
Match the fastener to the surface. Removable adhesive hooks work well on smooth painted wood, trim, and mantel fronts, and they peel away cleanly after the season. Floral wire ties garland to a hook or railing without showing, because the greenery swallows it. Zip ties grip railings and porch posts firmly, and you can snip them off at takedown time. For brick or stone, use brick clips that grip the mortar joints instead of drilling into the masonry.
Always check the weight rating on your hooks, and spread the load across several hooks rather than trusting one hook with the whole garland. Heavy garland with lights and ornaments weighs more than bare greenery, so add an extra hook when the strand feels heavy in your hands.
Hang Garland on a Mantel
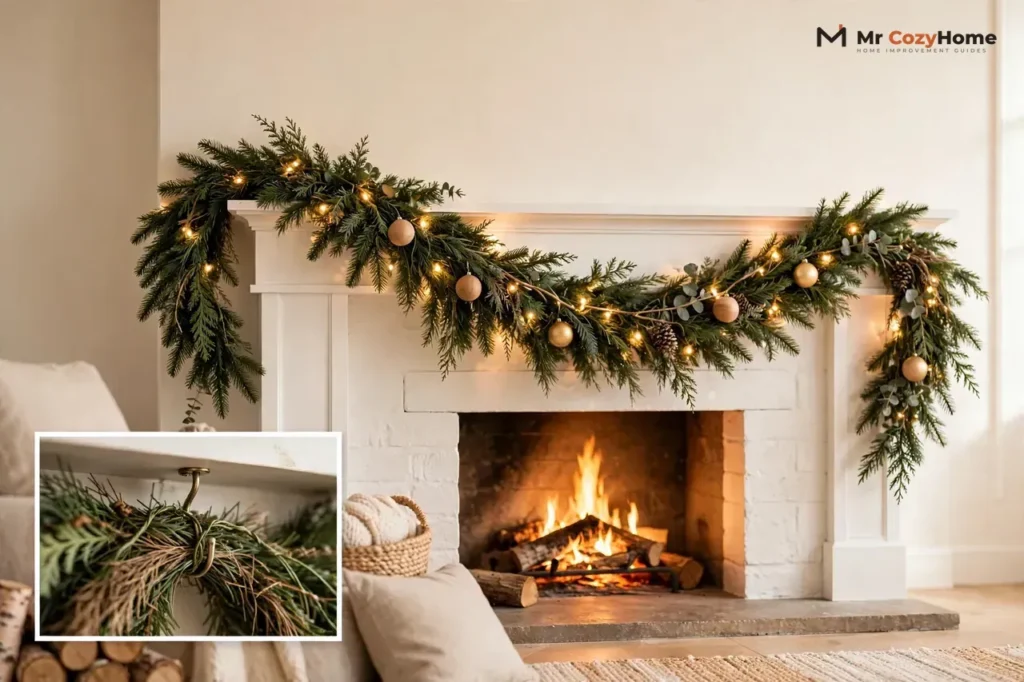
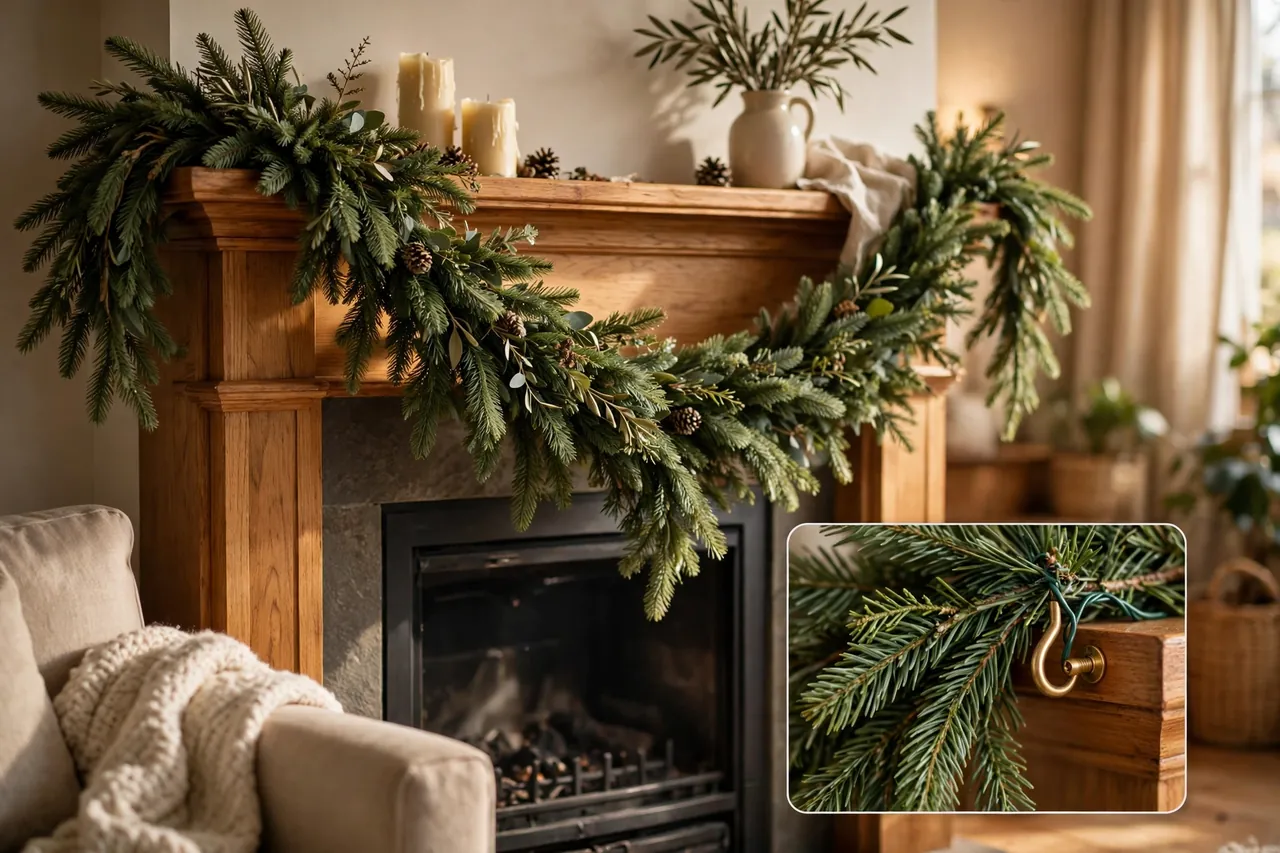
The mantel makes the best starting point for most beginners. You can reach it easily, step back to judge the drape, and fix mistakes without a ladder. Start with clean, dry surfaces so adhesive hooks grip well, and press each hook firmly for about 30 seconds. Then wait the full curing time on the package, usually about an hour, before you hang anything heavy on it.
- Place one hook at each end of the mantel, plus one in the middle for a long or heavy strand. Face the hooks so the garland wire can loop over them easily.
- Twist the two layered strands together lightly if you use two garlands, so they read as one full piece.
- Make a small loop of floral wire at one end of the garland and hook it onto the first hook.
- Let the garland drop down the side of the mantel if you want a side fall, usually about 18 inches, and let it fall naturally. Never force a stiff bend.
- Sweep the garland across the front in one soft curve. Aim for the lowest point of the swoop to sit about 10 to 12 inches below the mantel top.
- Hook the far end onto the last hook, then adjust the middle hook so the curve looks even.
- Fluff the branches forward, one small section at a time, until the hooks and wire disappear into the greenery.
Step back to the far side of the room before you call it done. Garland always looks different from ten feet away than it does from two feet away. Shift the swoop slightly, fluff any thin spots, and hide any bare wire before you add decorations.
Protect a wood mantel with a thin runner or a strip of felt under the garland, especially under fresh greenery, because sap and moisture can mark the finish. And keep the garland clear of the firebox. If you light fires, never let garland dangle toward the opening, and never drape it across a hot surface.
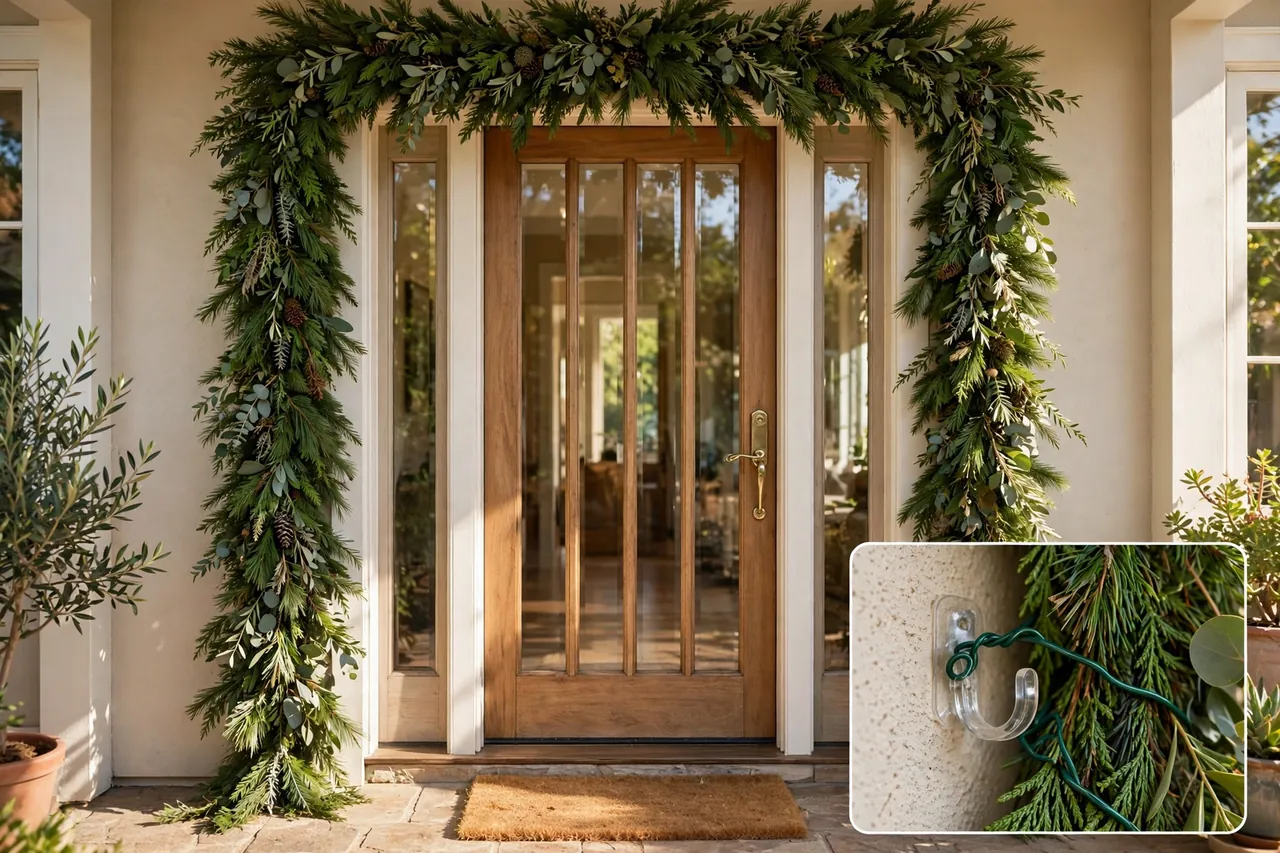
Hang Garland Around a Doorway
A doorway garland frames your entry and welcomes guests before they even step inside. It also takes more planning than a mantel, because the garland must frame the door without blocking it.
- Measure the top and both sides of the door frame, and add extra length for any swags you want.
- Place removable hooks or cord bundlers around the frame, spaced about every 12 inches, with extra support at the top corners.
- Start at the top center and work outward toward each side, so both sides end up even.
- Loop floral wire around the garland and each hook, and pull it snug without crushing the branches.
- Check the door swing before you finish. Open and close the door fully and confirm the garland never catches on the door, the handle, or the hinges.
- Fluff the branches over the hooks and wire until the hardware hides completely.
For an outdoor doorway, use outdoor-rated hooks and lights, and pick a spot where the garland stays clear of the walkway. HGTV’s front-door garland guide also recommends a center nail or hook above the frame so the garland cannot droop over the door itself. Wind tugs at outdoor garland all season, so add more attachment points outside than you would inside, and check the anchors after the first storm.
If you rent or you want zero holes, a spring-tension garland hanger that fits inside the door frame offers another damage-free option. It works best on standard interior door frames, so measure your frame depth before you buy one.
Hang Garland in an Entryway or Hallway
Entryways and hallways reward a lighter touch. These spaces already carry foot traffic, coats, bags, and keys, so garland should decorate the edges, never the path. Run it along a console table, a mirror frame, or the top of a hallway shelf rather than across a narrow passage at head height.
Keep every strand above head height or tight against a wall or frame. Never let garland droop into a walkway where someone can catch a foot, a bag strap, or a sleeve on it. In a narrow hallway, a slim garland on one side beats a thick, double-layered garland that eats up the space. For more ideas on dressing these tight spots, see our guide to Christmas decorating hallway ideas for narrow spaces.
Windows in an entryway also make a lovely garland spot. Drape a short strand across the top of the frame or loop it down each side, and keep it clear of curtain cords and blinds. Our decorating a Christmas window guide shows how window greenery can glow from both inside and outside.
Hang Garland on a Stair Railing: A Quick Overview
Stair garland looks stunning, but it deserves care, because the railing also serves as a handhold. As a general rule, attach garland to the balusters or the side of the rail with zip ties or wire, and keep the top of the handrail clear so hands can grip it fully. Space your ties so the garland cannot sag onto the steps, and run any light cords along the rail, never across a step.
This guide covers stairs only in passing, because stair garland needs its own detailed treatment: slope, spacing, and safety checks differ from a flat mantel or doorway. Our dedicated stair guide covers that depth, so use this section as a starting point and follow the stair-specific steps there before you dress a full staircase.
Shape a Beautiful Swag or Drape
The swag makes the difference between garland that looks hung and garland that looks styled. A swag simply means a curve that dips down between two anchor points and rises back up again. You create it by anchoring the ends higher and letting the middle fall.
Start with enough length, because a tight pull ruins the effect. Anchor the ends, then let the middle drop on its own. Aim for a gentle, even curve rather than a deep V shape. For a mantel, the lowest point usually sits about 10 to 12 inches below the top edge. For a doorway, match the drop on both sides so the frame looks balanced.
For multiple swags along a long run, space your anchors evenly and keep every dip the same depth. Uneven dips catch the eye at once, while even dips read as intentional. Stand back after each swag and compare it with the one beside it before you move on.
Layering adds fullness fast. Twist a second, thinner garland into the first one, or tuck short sprigs of a different green into thin spots. Fluff the branches outward and forward, not downward, because forward fluffing builds depth while downward pulling flattens the shape.
Add Lights and Ornaments
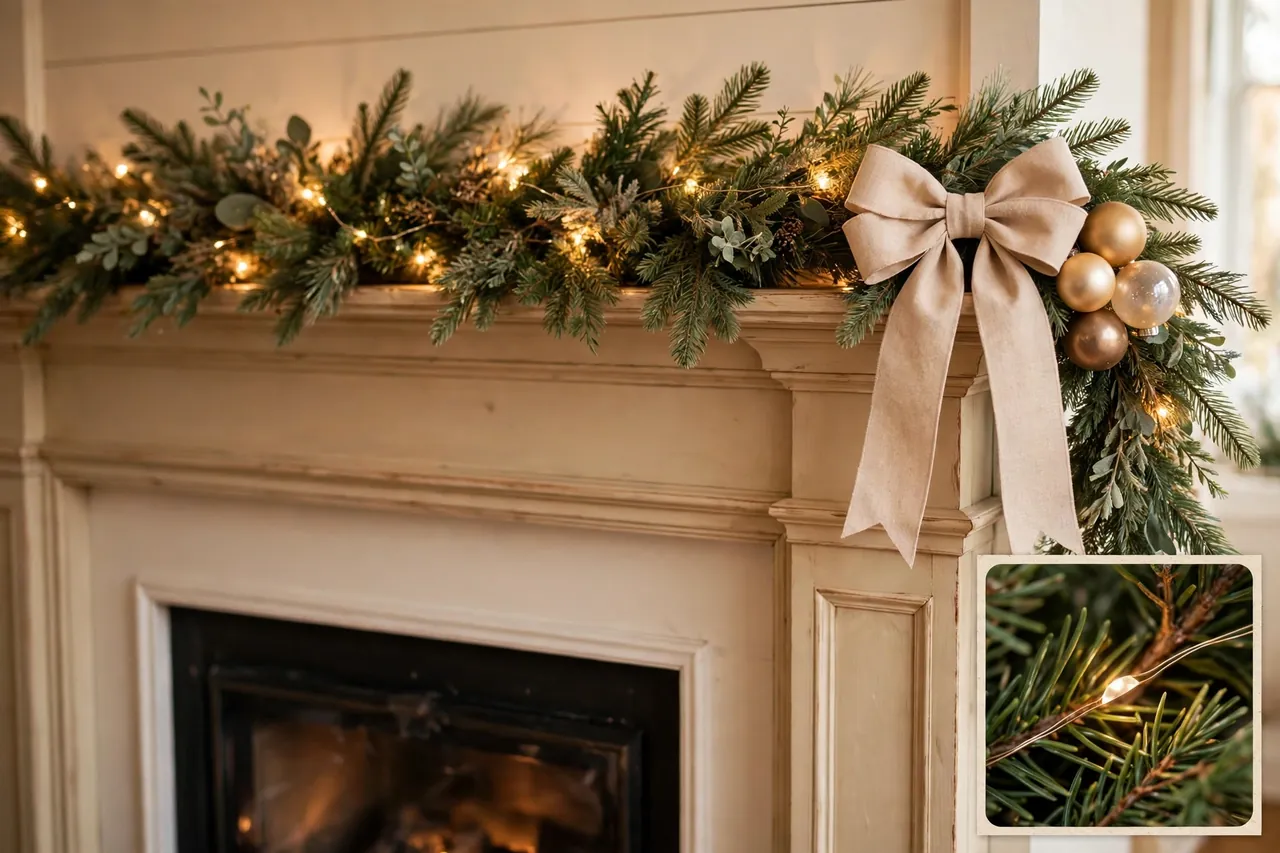
Add lights before ornaments, and add both after the garland hangs securely. This order matters, because lights and ornaments add weight, and you want the anchors tested before the extra load goes on.
For lights, start at the middle of the light strand and match it to the middle of the garland, so the lights spread evenly in both directions. This center-first method matches the approach in Better Homes & Gardens’ garland-lighting guide, which warns against simply wrapping lights around the outside of the garland. Weave the strand loosely through the branches rather than wrapping it tightly around the outside, and tuck the wire into the greenery so it reads as a glow, not a cord. Hide battery packs behind mantel decor or inside the garland itself, where you can still reach them to switch them off.
For ornaments, less usually looks better. Hang a few shatterproof ornaments at different heights near a focal point, such as a bow at a corner or at the top of a side drop, and leave the rest of the garland simple. Wire each ornament on rather than hanging it from a loose hook, because loose hooks slip off when someone brushes past. For more glow ideas, browse our Christmas light ideas for a home that glows all season.
Choose one focal point per garland run: a big bow, an ornament cluster, or a pinecone grouping. One strong focal point looks calm and elegant, while decorations scattered along the whole length often look busy. Ribbon also ties the look together beautifully, and our guide on how to put ribbon on a Christmas tree shows bow and ribbon techniques that transfer well to garland.
Electrical and Fire Safety Before You Decorate
Read this part before you plug anything in. Use indoor-rated lights indoors and outdoor-rated lights outdoors, and never run an indoor light strand outside. Check every strand for frayed wires, cracked bulbs, or loose plugs, and retire any damaged strand instead of taping it up. Keep cords out of walkways, door swings, and stair treads, and never overload one outlet with several heavy strands.
Keep garland, ribbon, and ornaments away from candles, heaters, and fireplace openings. Never hang garland where it touches a heat source, and never drape it over a lampshade or a heating vent. If you use real candles near a mantel, keep them well clear of the garland, and never leave them burning unattended.
Keep Garland Looking Good All Season
Garland rarely falls down all at once. It sags slowly, one hook at a time, so a quick weekly check keeps it looking fresh. Tug each section gently, re-fluff any flattened branches, and tighten any wire that has loosened.
Fresh garland needs the most attention. Check it every two or three days, especially on a warm mantel, and pull it down as soon as it turns dry and brittle. Dry evergreen needles also drop onto floors and stairs, so sweep underneath regularly to keep surfaces safe to walk on.
Faux garland mainly needs dusting and the occasional re-fluff. If a section looks flat after a few weeks, lift the branches forward again and twist a spare sprig into the thin spot. If you use a timer for your lights, your garland glows on schedule without daily fiddling, and our how to use a timer plug guide walks through that setup step by step.
Plan your whole-home look before you add more garland, so each room feels connected instead of competing. Our themes for Christmas decoration guide offers ten whole-home looks that help mantel, doorway, and entryway garland read as one plan.
Take Garland Down and Store It Well
Takedown takes less time than hanging, but rushing it damages garland you want to reuse. Work in reverse: remove ornaments and lights first, then unhook one section at a time, starting at one end.
- Unplug lights and remove ornaments, bows, and picks. Pack fragile ornaments separately.
- Snip zip ties carefully with scissors, and unwind floral wire instead of yanking it free.
- Pull adhesive hooks slowly downward along the wall, following the package directions, so the paint stays intact.
- Shake faux garland gently outdoors to drop dust, then fold it loosely. Never crush it flat under heavy boxes.
- Label each storage bag with its spot, such as mantel or front door, so next year starts faster.
Store garland in a cool, dry place in a breathable bag or box, with the branches loosely coiled. Tight compression flattens faux branches for months, and damp storage invites musty smells. A quick note on the bag about the length saves you from measuring all over again next December.
Mistakes That Make Garland Sag, Slip, or Look Thin
Most garland problems trace back to a handful of avoidable mistakes. Check this table before you hang, and you will skip the fixes most people learn the hard way.
| Mistake | What Happens | Fix It This Way |
|---|---|---|
| One hook for a long strand | The middle sags by mid-December | Space hooks every 12 to 24 inches |
| Skipping the hook curing time | Hooks pop off the wall overnight | Wait the full hour on the package |
| Pulling the drape tight | The swag looks stiff and flat | Let the middle fall on its own |
| Garland across a walkway | Someone trips or snags it | Keep strands tight to frames and walls |
| Garland near heat or flame | Greenery dries out or catches fire | Keep it clear of every heat source |
Related Guides
If you enjoyed this guide, these MrCozyHome guides continue the project: Christmas decorating hallway ideas for narrow spaces, decorating a Christmas window, Christmas light ideas, how to put ribbon on a Christmas tree, how to use a timer plug, and themes for Christmas decoration.
Frequently Asked Questions
How do I hang a Christmas garland without nails?
Use removable adhesive hooks or cord bundlers on the mantel or door frame, and loop green floral wire around the garland and onto each hook. This gives you a firm hold without holes, and the wire hides inside the greenery. Let adhesive hooks cure for the full time on the package before you load them.
How do I get my garland to drape nicely?
Start with enough length and never pull the garland tight. Anchor both ends, then let the middle fall into one soft swoop. On a mantel, the lowest point usually sits about 10 to 12 inches below the top edge, and a relaxed curve always looks more natural than a stiff one.
How long should a garland be for a mantel?
Add the mantel length to the drop length you want. A five-foot mantel with an 18-inch drop needs about six and a half feet of garland. For a deep swag, allow about one and a half times the span, and buy the longer size when you sit between two lengths.
Should I use two garlands for fullness?
Yes, in most cases. Most single garlands look a little thin on their own, even good ones. Layer two strands together, either two of the same style or two different greens such as pine and cedar, and you gain the depth, length, and soft drape that one strand rarely gives.
Do I need to decorate the entire garland?
No. Pick one focal point, such as a bow or an ornament cluster at a corner or a side drop, and keep the rest simple. The greenery and the drape carry the look, so a single calm focal point usually looks more elegant than decorations spread along the whole length.
A Garland That Welcomes You Home
Hang garland one spot at a time, and start with the mantel or the front door. Measure, anchor both ends, shape one soft swoop, and step back to enjoy it before you add lights or ornaments. That simple order gives you a full, secure garland that lasts all season and comes down cleanly in January.
Pick your spot this weekend, gather your hooks and wire, and hang your first strand. Your home will feel festive the moment that first swoop falls into place.