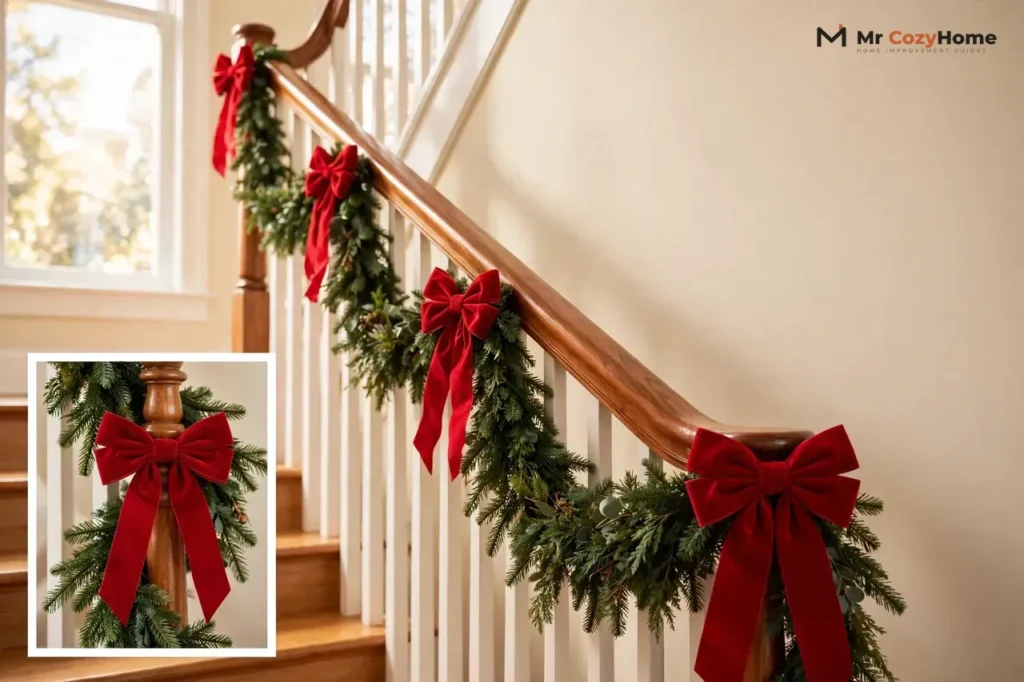
To hang garland on stairs, fix it to the side of the banister, not on top of the handrail, so you can still grip the rail as you walk up and down. Start at the top newel post, anchor the garland with a zip tie or floral wire, then let it dip into an even swag before you anchor it again a few feet lower. Repeat that anchor-and-swag pattern all the way down, fluff the branches to hide the ties, and keep every cord off the steps.
This guide covers stairs only, not mantels or doorways. You will learn how to measure for swags, how to attach garland to a banister without damaging it, what changes for wood, iron, and glass railings, and how to run pre-lit garland safely. Follow the pattern below, and your staircase will look finished from the front door, not just from one step.
What You Need Before You Start
Gather everything before you climb a step, so no half-hung strand slides down while you hunt for supplies.
- Garland, measured for your staircase (see the math below), plus one spare strand if you can manage it
- Green zip ties, floral wire, or garland ties, depending on your banister type
- Scissors or wire cutters for trimming ties and wire
- Ribbon, bows, ornaments, and extra greenery picks, if you plan to decorate the garland
- A sturdy step stool, never a wobbly chair, for the top of the stairs
- Battery-operated lights or a pre-lit strand, if you want lights
- Soft cloth or felt scraps to protect a painted or stained finish
Fluff artificial garland on the floor first: shake out the branches and check for bare spots while the strand is easy to reach.
How Much Garland Do You Need for Stairs
Measure along the slope of the banister, from the top newel post to the bottom newel post, not straight across the floor. A piece of string follows every turn and landing, so add landings and turns to the total.
For a straight, tight run along the rail, buy at least the full banister length. For the classic swag look, most stair guides use about one and a half times the banister length. That extra length creates the dips between anchor points instead of pulling the garland taut like a rope. If you want a tail that cascades down the bottom newel post, add about three more feet for that end.
| Banister length | Straight run | Swag run (about 1.5 times) |
|---|---|---|
| 6 feet | 6 feet | 9 feet |
| 8 feet | 8 feet | 12 feet |
| 10 feet | 10 feet | 15 feet |
| 12 feet | 12 feet | 18 feet |
| 14 feet | 14 feet | 21 feet |
Wrap the garland around the rail instead, and you will need roughly twice the banister length. The swag method suits most homes better: it looks generous, uses less garland, and leaves the handrail free. When in doubt, buy a little extra.
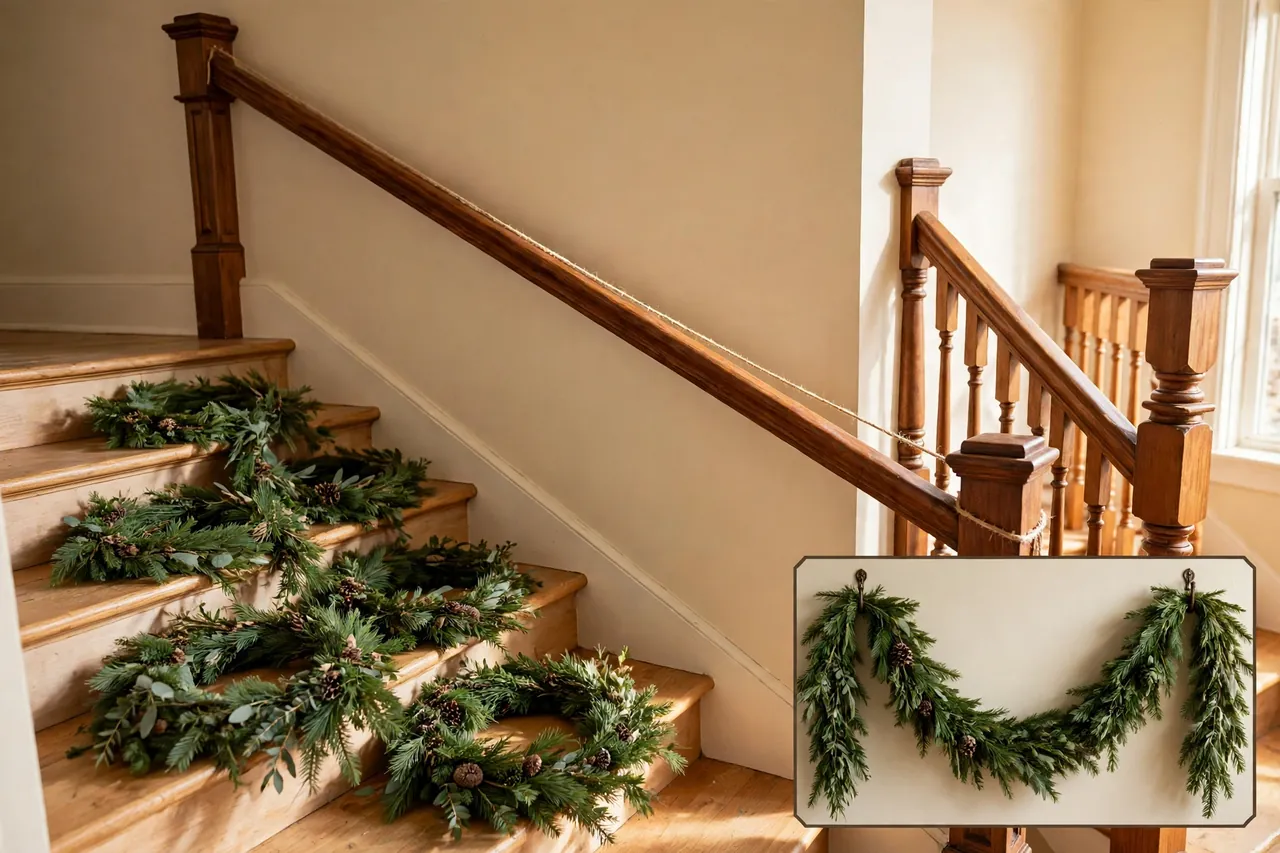
Choose Where the Garland Sits on the Staircase
Decide the side before you attach anything. Stand where guests first see the stairs, usually the front door, and hang the garland on the open side, where people see it as they enter.
You have three main placements. Hang it on the front face of the banister for the classic look, with the top of the handrail left clear. Hang it low along the spindles for a modern look that also keeps the rail clear. Wrap it around the rail only if you accept the trade-off: it looks lush, but it covers the grip.
Keep the garland on one side only unless your staircase is wide and grand. On a narrow staircase, choose a slimmer garland and shallower swags, then walk up and down before you add ornaments.
How to Attach Garland to a Banister, Step by Step
This is the core method for how to attach garland on stairs, and you can repeat it around a landing or a gentle curve. Work from the top down, so gravity helps you.
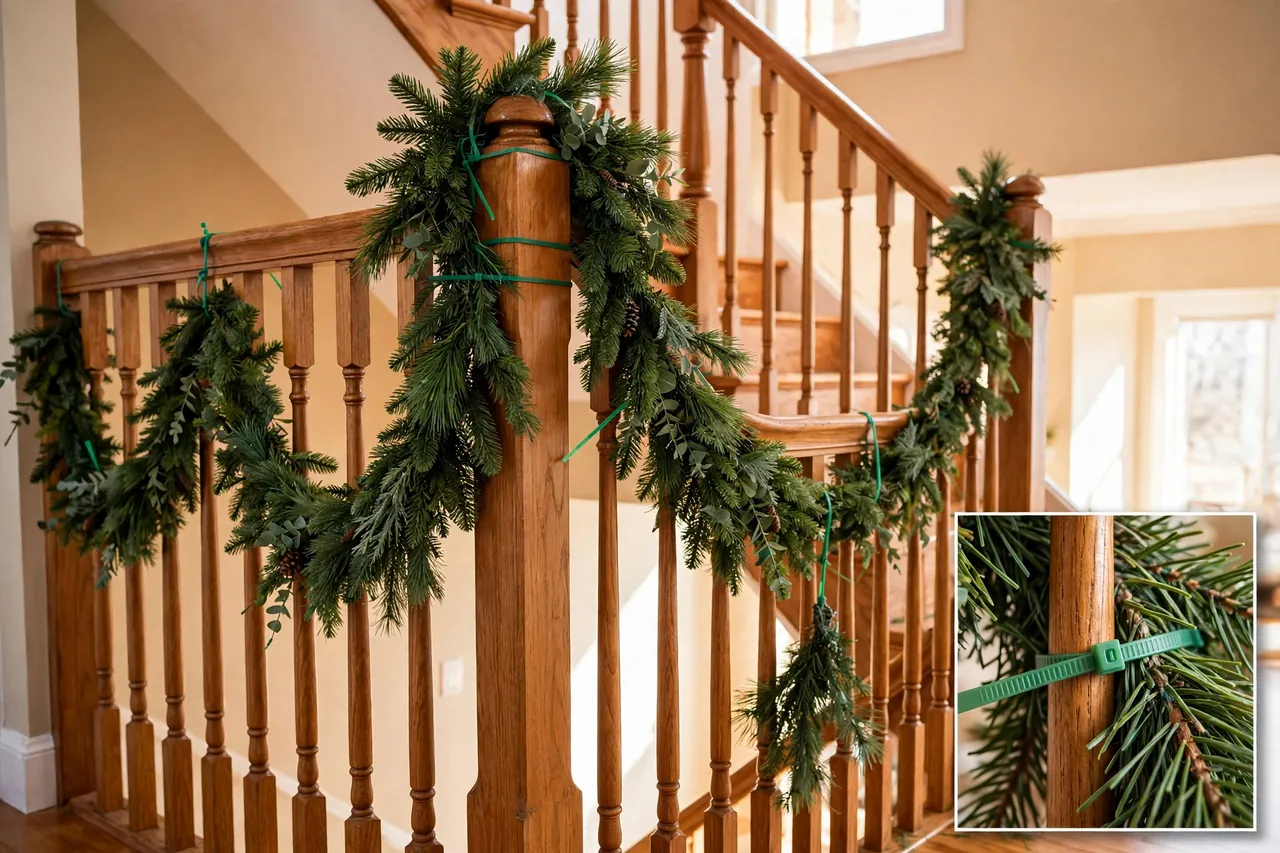
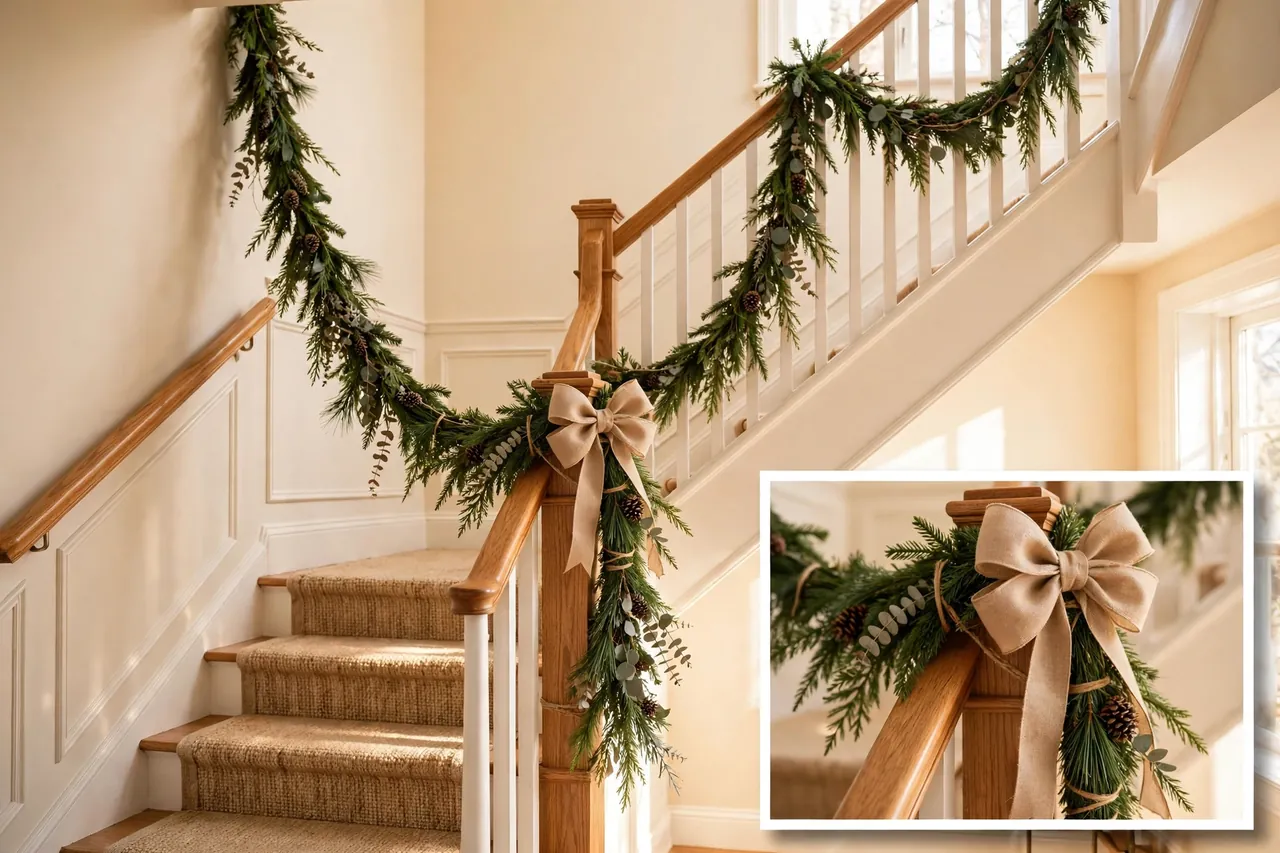
- Anchor the top end to the top newel post. Loop a zip tie or floral wire around the post and through the garland core, pull it snug, and trim the tail close.
- Let the garland fall naturally to the next anchor point, about three to four feet down the slope. Do not pull it tight yet.
- Shape the dip between the two points into a smooth swag, then anchor the garland to the banister or a spindle at that point.
- Repeat the dip-and-anchor pattern down the stairs, and keep each swag about the same depth and length as the last one.
- Join a second strand when the first one runs out. Overlap the ends by six to eight inches, twist or tie their cores together, and fluff branches over the joint.
- Anchor the bottom end to the bottom newel post, and leave a short cascade tail only if it hangs clear of the first step.
- Step back to the floor, even out any swag that dips much deeper or shallower than its neighbors, then fluff the branches over every tie.
Do not lock every tie down hard on your first pass. Leave middle anchors a little loose until you can see the full run, because one deep swag early on can steal length from every swag below it.
Zip Ties, Wire, Hooks, or Ribbon: Which One Holds Best
Zip ties hold the most weight for the least fuss, and green ties blend into evergreen garland better than white or clear ones. Loop each tie around the banister and through the garland core, not just around loose branches, or the strand can slide. Snip the tail close and tuck the cut end behind the greenery, because a sharp tail can snag clothing.
Floral wire works well for lighter garland and small additions, and you can reuse it next year. Pipe cleaners and padded garland ties suit delicate finishes, because they grip without a hard edge. Ribbon ties double as decoration, but ribbon alone can stretch under a heavy strand, so pair it with a hidden tie on heavy runs. For more damage-free ideas, see this staircase garland guide from Blesser House.
| Method | Best for | Watch out for |
|---|---|---|
| Zip ties | Heavy or pre-lit garland | Sharp tails and pressure on soft paint |
| Floral wire | Light garland and small picks | Thin wire can cut soft branches |
| Pipe cleaners or garland ties | Delicate finishes | Less hold on very heavy strands |
| Ribbon ties | Hiding anchors and adding color | Can stretch under heavy loads |
| Hooks or hook-and-loop straps | Light ends and cord guides | Hooks may slip on a sloped rail |
Never use nails, staples, or hot glue on a banister. Nails and staples leave holes and can split a spindle, glue leaves residue, and tape can peel paint and lose its grip.
Attachment Methods by Banister Type
The banister decides the method. A tie that grips a square wooden spindle may slide off smooth glass, and a wire that suits iron can scratch stained wood.
Wood Spindles and a Wooden Handrail
Wood gives you the most options. Loop a zip tie or floral wire around a spindle and through the garland core, and hide the tie behind the greenery. If you want to know how do you put garland on a banister with a fresh stain or soft paint, slip felt or soft cloth under each tie first, so it cannot rub a shiny line into the finish. Keep the garland on the front face of the spindles, below the handrail.
Iron Balusters
Iron balusters are slim and smooth, so ties can slide down the slope if you loop them around only one baluster. Anchor to two nearby balusters at each point, or loop the tie around the handrail where it meets the baluster. Floral wire grips iron well; use ribbon as a cover over a wire or tie, not as the only hold.
Glass Panels
Glass panels change the job, because you cannot loop a tie around a solid sheet. Anchor to the handrail, the newel posts, and any metal brackets that hold the glass, not to the glass itself. Suction hooks can guide a light cord, but do not trust one to carry a heavy run, so choose a lighter garland and small ornaments.
Newel Posts
Newel posts carry the most weight, so they deserve the strongest anchors. Wrap a tie or wire twice around the post at the top and bottom of the run, and hide it under a large bow. If your post has a ball or cap, anchor below it, where the post is straight.
How to Get Even Swags Without Sagging
Even swags come from even spacing. Mark anchor points before you hang anything heavy: top post, bottom post, then evenly spaced points between them. On most staircases, an anchor every three to four feet, or every third or fourth spindle, gives a calm rhythm. For a heavier or pre-lit strand, move closer, to about every two feet.
Swag depth matters as much as spacing. A dip of about six to ten inches suits most homes, with deeper dips on a grand staircase and shallower dips on a narrow one. Measure the first dip, then match the rest to it. Anchor the top end twice, and check the run after a day, since gravity pulls a sloped run downhill over time.
Pre-Lit Garland on Stairs: Power and Cord Safety
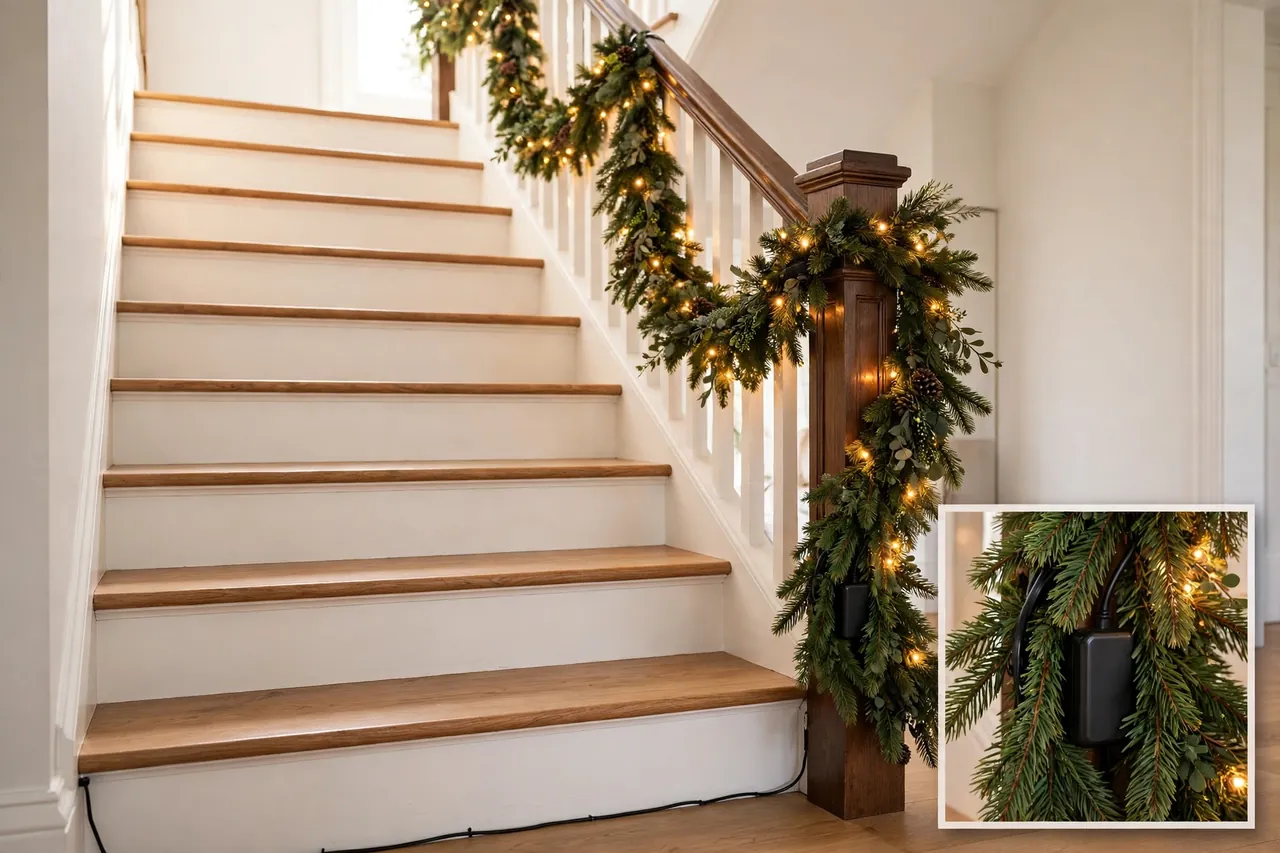
Stop and plan power before you hang a single lit strand. Find the nearest outlet, decide whether the plug or battery pack will sit at the top or bottom, and map a cord route that never crosses a tread. A cord across a step is a trip hazard, even taped down.
Battery-operated lights solve most stair power problems, because you can hide the pack behind greenery near the bottom newel post. If you use plug-in lights, run the cord along the wall side or baseboard, never across the walkway, and keep plugs clear of the garland so they stay cool and easy to unplug. Use only lights rated for indoor use, check every strand for frayed wire or cracked sockets first, and throw out a damaged set. CPS Energy safety guidance also stresses approved lights, no overloaded outlets, and switching lights off before bed or when you leave the house; read those holiday home safety tips before you plug anything in.
Do not chain more light strands together than the maker allows, and do not run a cord under a rug or runner to hide it. A timer plug switches the lights on in the evening and off at bedtime without you climbing the stairs in the dark. See our guide on how to use a timer plug. When you weave lights in, twist them around a few branches, keep bulbs facing outward and slightly up, and strap the battery pack so it cannot dangle.
Add Bows, Ornaments, and Lights to Stair Garland
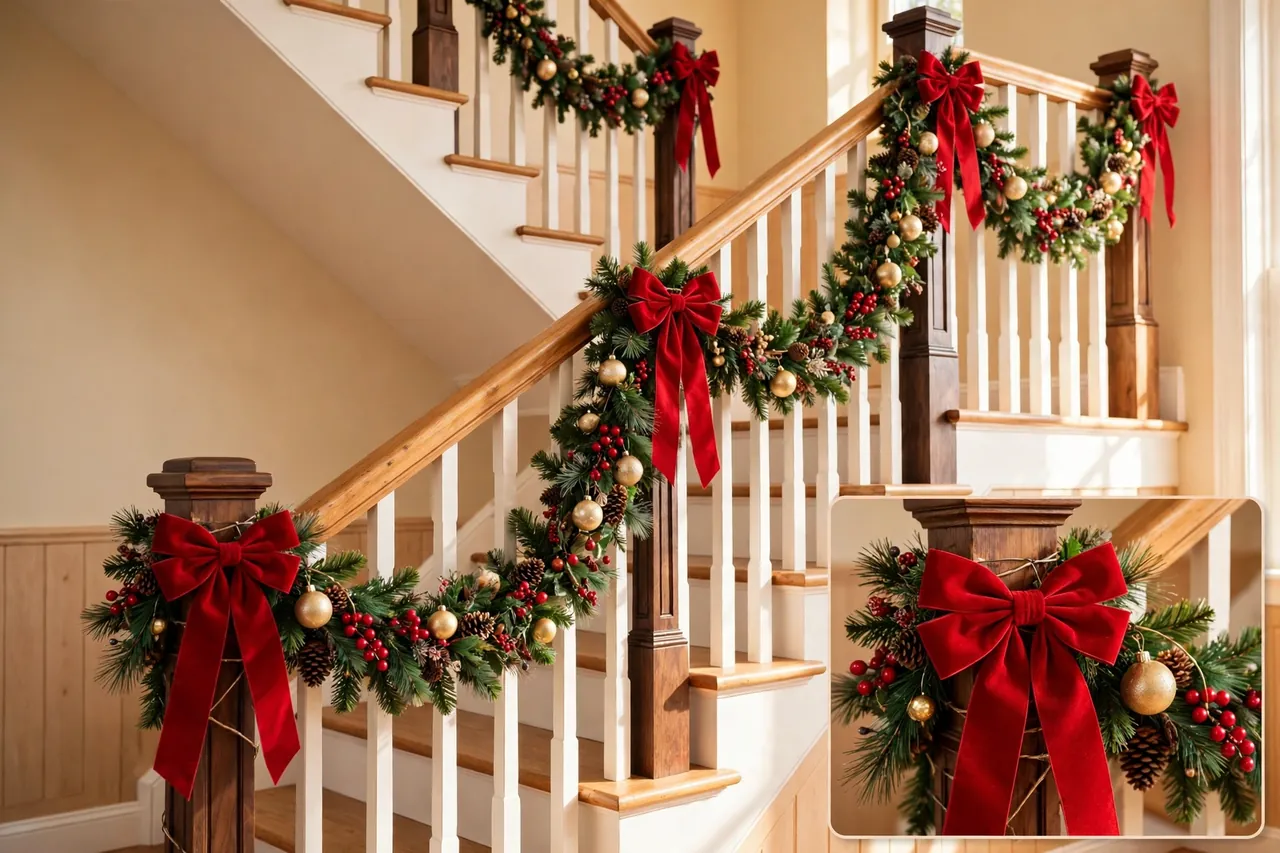
Add decorations only after the base garland hangs evenly, because ornaments add weight and weight changes sag. Start with ribbon and bows at the anchor points: tie each bow around the anchor, let the tails fall six to twelve inches, and snip the ends at a diagonal.
Next, add ornaments and picks with short pieces of floral wire. Push each ornament into the greenery, keep heavy ones near anchor points, and mix textures to make plain garland look real: cedar or eucalyptus picks, pinecones, and berry clusters. Step back often, because what looks balanced from one step can look crowded from the floor.
Keep the Handrail Safe and Usable
This rule outranks every style choice: a person must be able to grip the handrail along the full staircase, even in the dark and even while carrying something. Learning how to hang garland on a handrail safely comes down to one choice: hang it on the front or side of the banister, and leave the top surface clear. The same rule covers how to hang garland on a railing or how to put garland on a railing without creating a hazard.
Check the full run with your own hand before you call the job done. Walk up and down slowly, grip the rail at several points, and feel for branches, wires, or hooks that poke into your palm. Trim any branch that brushes a hand, and keep garland, ribbon tails, and cords clear of every tread.
Think about kids and guests, too. Skip sharp hooks, small parts a toddler could pull off, and anything that looks like candy at a child’s eye level. Keep candles far from garland, because dried greenery and fabric ribbon catch fire fast. If someone uses the rail for balance daily, choose the low spindle-level run and the lightest garland you like.
Straight, Landing, and Curved Staircases
A straight staircase is the simplest case: one run, one pattern, one set of even swags. Anchor top and bottom first, then fill in the middle anchors, and join long strands at an anchor point, so the joint has support and hides under a bow.
Staircases With a Landing
Treat a landing as a fresh start, not as a continuation. End the first run at the landing newel post, and start the second run there with its own anchor, so each run’s swags stay even. Use the landing post for a larger bow, since it also hides a battery pack or a cord turn.
Curved and Spiral Staircases
Curved stairs need more anchors and a more flexible garland. Space anchors about every two feet, so the garland follows the curve instead of cutting across it. Choose a soft, bendable strand, and test it around the tightest bend first. On a spiral staircase, keep swags shallow, and check the run from below as well as from above.
Mistakes That Ruin Stair Garland
Most stair garland problems come from a few repeatable mistakes:
- Covering the handrail. Fix it by moving the garland to the front face or the low spindle line.
- Pulling the garland taut. Fix it by adding length and letting each span dip into a real swag.
- Spacing anchors unevenly. Fix it by marking even points before you tighten anything.
- Running a cord across a tread. Fix it by switching to battery lights or rerouting along the wall.
- Joining strands in the middle of a swag. Fix it by moving every joint to an anchor point and covering it with a bow.
- Forgetting the view from below. Fix it by checking the staircase from the floor and the top landing before you finish.
If a swag still looks thin after fluffing, add a short pick behind it rather than pulling the whole run tighter. Fullness comes from branches, not tension.
Take Garland Down and Store It for Next Year
Start at the bottom and work up, snip ties one at a time, and catch the garland as each anchor releases. Wipe the banister with a soft, dry cloth, coil each strand loosely, and store it flat or hanging rather than crushed in a tight bin. Label the bin with the staircase length it fits.
Related Guides
If your stairs lead into a hallway, match the two spaces with our Christmas decorating hallway ideas for narrow spaces. For the lights on your stairs, see our Christmas light ideas for a home that glows all season and our how to use a timer plug guide, and for the whole-house look, browse our themes for Christmas decoration.
Frequently Asked Questions
How much garland do I need for a staircase?
Measure the banister along its slope, then use about 1.5 times that length for a swag look. For example, an 8-foot banister needs about 12 feet of swagged garland. Add about 3 feet if you want a cascade tail at the bottom newel post.
How do you hang Christmas garland on a staircase without damaging the railing?
Use zip ties, floral wire, or padded garland ties, and never use nails, staples, or glue. On painted or stained wood, slip felt or soft cloth under each tie first. Snip tie tails close and fluff branches over each anchor to hide it.
How do you attach Christmas lights to staircase garland without visible cords?
Weave battery-operated fairy lights through the greenery, twist them around a few branches, and hide the battery pack behind dense branches near the bottom newel post. Choose lights with a built-in timer so they switch on each evening on their own.
How do you make artificial Christmas garland look fuller and more realistic?
Mix greenery types: start with your base garland, then wire in cedar, eucalyptus, or leafy picks, plus pinecones and berry clusters. Fluff branches in different directions, fill thin spots with picks, and change the ribbon color for a fresh look.
How do you attach garland to a banister?
Loop a zip tie or floral wire around the banister or a spindle and through the garland core, pull it snug, and trim the tail close. Anchor the top and bottom newel posts first, then add anchors every three to four feet, and hide each tie with branches or a bow.
Will command hooks hold heavy garland?
Standard hooks often fail on a sloped rail under a heavy strand, so do not rely on them for the main weight. Use zip ties or wire for the garland itself, and save hooks for light ends, wall-side guides, or light cords only.
A quick safety note: keep the handrail grip clear, keep cords off the steps, check lights for damage before use, and switch lights off when you leave the house or go to bed. If a railing feels loose or a light set looks damaged, fix that first and decorate second.
Start at the Top, and Let the Swags Do the Work
You do not need a perfect staircase or a costly garland to get this look. Measure along the slope, add length for swags, anchor top and bottom first, and keep each dip even. Keep the rail free, keep cords off the treads, and let the greenery, a few bows, and soft light carry the rest.