When your garage door won’t close, the cause is usually one of a short list: something is breaking the safety sensor beam, the sensors are dirty or out of alignment, a travel limit or force setting has drifted, or something is binding in the tracks. The fastest way to find the real cause is to start with what the door actually does — reverses right away, stops partway, won’t move at all, or closes and then pops back open — and match that symptom to the checks below, in safest and cheapest order.
One warning before any check: look at the spring above the door and the cables on each side. If a spring is broken or a cable is frayed or hanging loose, stop here. Do not touch them and do not run the opener. That is a professional repair, for reasons explained in the spring section below.
Start With the Symptom: What Is Your Door Doing?
Symptoms are diagnostic clues. A door that reverses instantly is telling a different story than a door that travels all the way down, touches the floor, and bounces back up. Find your row, do the first check, and then read the matching section for the full diagnosis.
Symptom, likely cause, and first check
| Symptom | What It Usually Means | First Check |
|---|---|---|
| Door won’t start down, or reverses instantly, and the opener lights flash | The safety sensor beam is blocked, dirty, or misaligned | The sensor lights and anything crossing the doorway at floor level |
| Door starts down, stops partway, then goes back up | Something is binding or blocking the door at that height | The tracks and rollers at the exact height where it stops |
| Door won’t move at all — no sound, no lights | No power reaching the opener, or a fault inside it | The outlet, breaker, and GFCI |
| Motor runs but the door doesn’t move | The trolley is disconnected (emergency release was pulled) | The release cord and carriage connection |
| Wall button works, remote or keypad doesn’t | A dead battery, lock mode, or a lost signal/programming issue | A fresh remote battery, then the lock feature |
| Door closes all the way, touches the floor, then reopens | The down travel limit is set a little too far | The close limit setting, in small increments |
| Door closes, then is found open later, or won’t stay closed | A limit or force problem, stray signal, or an opener logic fault | Whether it reopens immediately or minutes later |
The Door Reverses Right Away, or the Opener Lights Flash
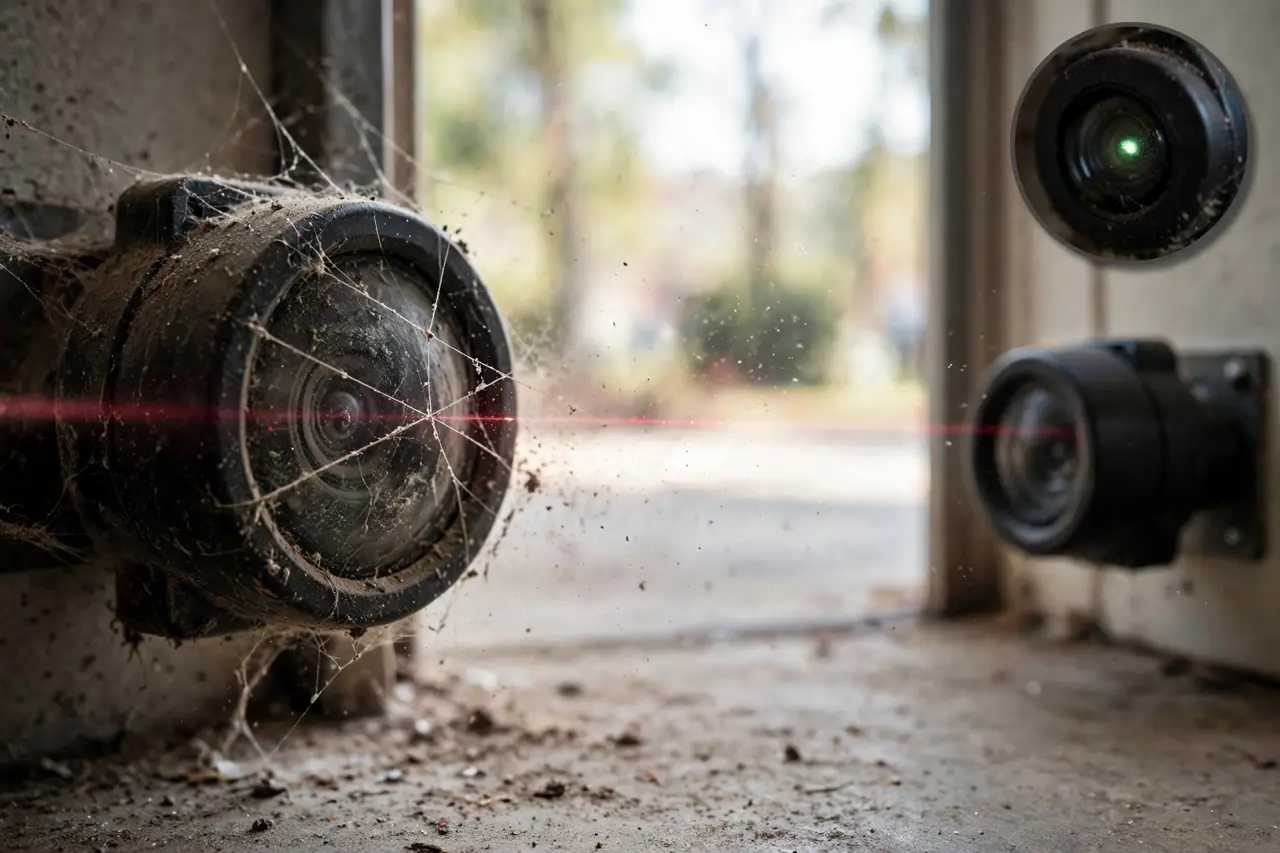
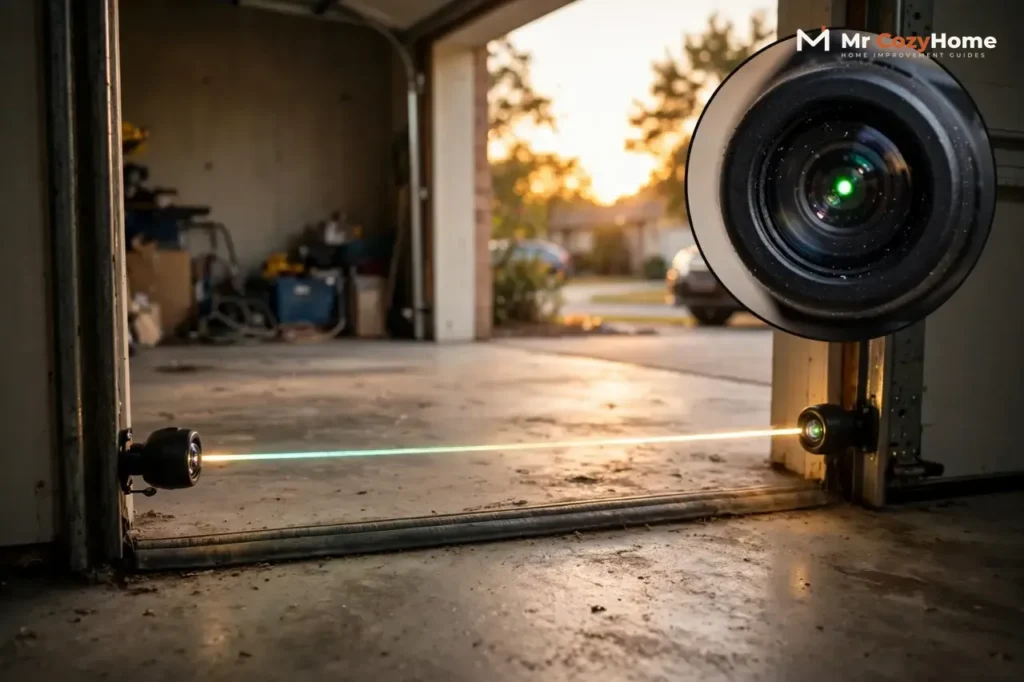
This is the most common version of the problem, and it almost always points at the safety reversing sensors — the two small photo eyes mounted low on each side of the door, no more than 6 inches above the floor. They shine an invisible beam across the opening. If anything breaks that beam while the door is closing, the opener stops the door and reverses it, by design. On Chamberlain and LiftMaster openers, the opener lights also flash 10 times when the beam is broken or the sensors are misaligned during a close.
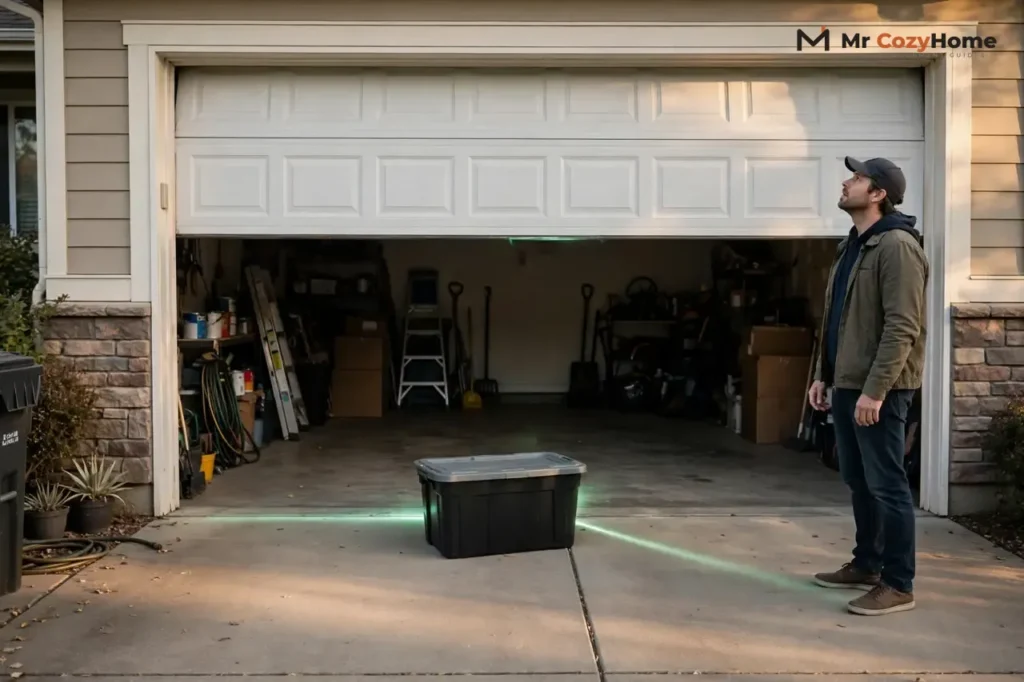
Start with the beam path itself. A storage bin, a broom, a bike tire, a dangling cord, even a thick cobweb in front of a lens can break the beam. Clear the doorway completely, then check the two sensor lights:
- On Chamberlain and LiftMaster sensors, the sending eye shows a steady amber light and the receiving eye a steady green light when the beam is connected.
- On Genie Safe-T-Beam sensors, both eyes should be lit and solid — one red, one green. A blinking red light is Genie’s diagnostic signal that the beam is obstructed or misaligned.
- A flickering or dark receiving light usually means dirt on the lens, sun glare hitting the eye, or a sensor that got bumped out of line.
Wipe both lenses with a soft, dry cloth. If sunlight is hitting the receiving eye — a common cause of a door that only misbehaves in the morning or late afternoon — shade it with your hand and test again to confirm glare is the culprit.
💡 Practical Home Tip: Press and hold the wall button. On most openers, constant pressure on the wall control closes the door even when the sensor system is faulting — Chamberlain’s and Genie’s manuals both describe this. If the door closes only while you hold the button, you have confirmed the problem is in the sensor system. Use this to diagnose and to get the door shut once — never as your everyday way of closing it.
If cleaning and clearing don’t restore a steady light, the sensors themselves need realigning, or a sensor or its wiring has failed. Those are step-by-step jobs of their own: follow our guide to aligning your garage door sensors for the full procedure, and if the lights still won’t hold steady afterward, work through how to fix a garage door sensor for wiring checks and replacement. Do not tape over, disconnect, or bypass the sensors to make the door close — they are a required safety device.
The Door Starts Down, Then Stops and Comes Back Up
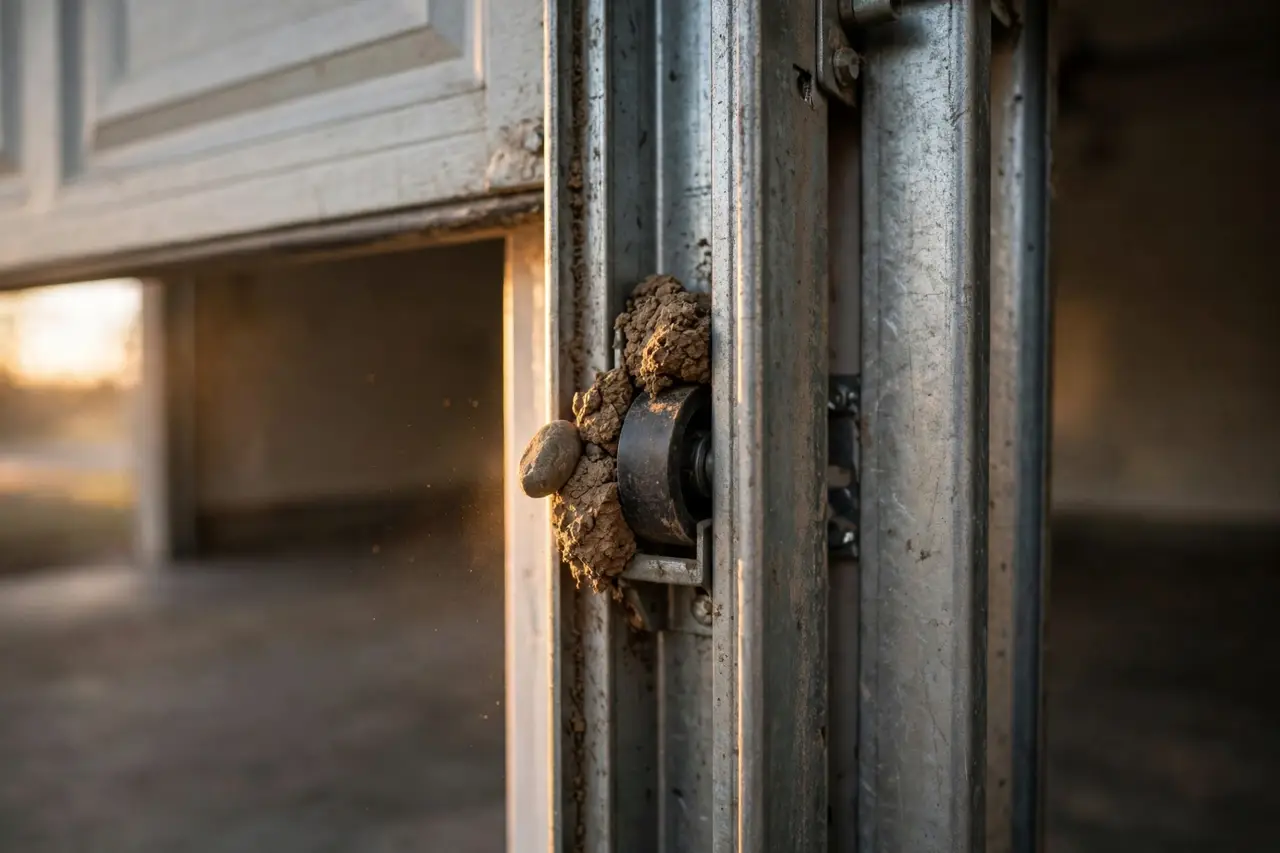
A door that travels partway, stops, and reverses is usually meeting resistance. The opener measures how hard it has to push, and when the effort spikes, it assumes it has hit something and reverses. The key clue is where it stops: if it reverses at the same height every time, the problem is at that height.
- Watch one full close attempt and note the height where the door stops.
- With the door stopped and the opener off, inspect both tracks at that height for a pebble, a chunk of hardened dirt, a bent spot, or a roller that has cracked or popped sideways.
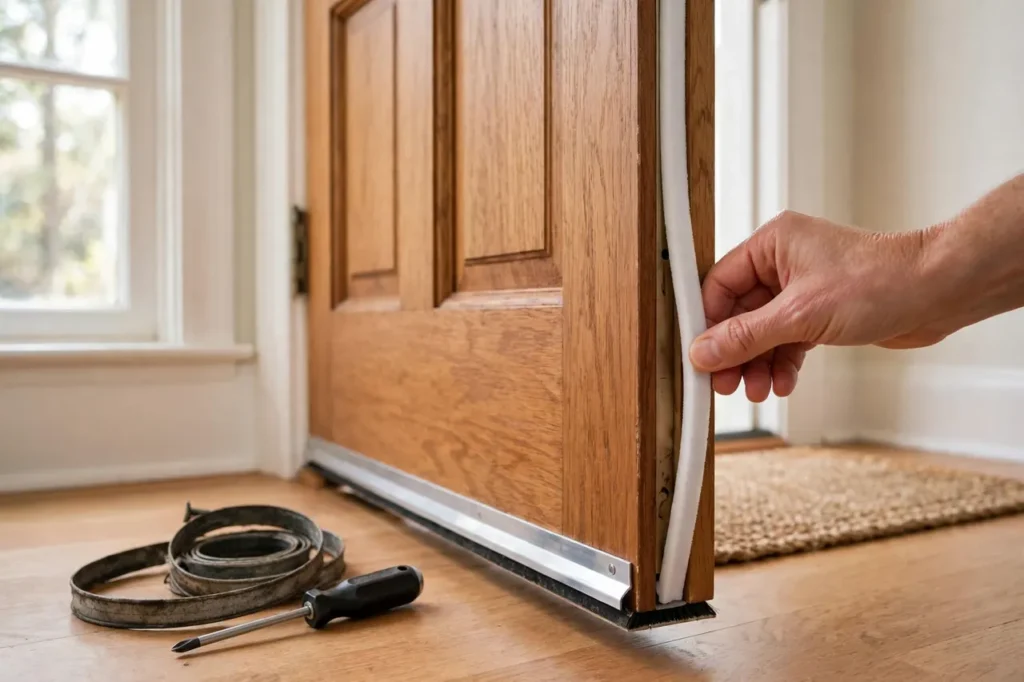
- Check the whole doorway at floor level too — a raised threshold edge, ice in winter, or a bottom seal sticking to fresh paint or sealant can all add enough resistance at the end of travel.
- Check the manual slide lock in the center of the door, if yours has one. If it has been bumped into the locked position, its bars hit the track and the door reverses. Chamberlain’s own diagnostic chart lists an engaged door lock as a cause of a door that stops or reverses.
Remove loose debris with a brush or vacuum — never reach into the track while the opener can run; unplug it first. Do not grease the tracks themselves; lubricant belongs on rollers and hinges, per manufacturer guidance, and a greasy track just collects grit.
Two stop signs in this section. If the door looks crooked in the opening, or a roller has come out of the track, do not try to force it back or run the opener again — a door off its track can drop or bind worse. And if the door feels very heavy when you lift it by hand after pulling the release cord, or you heard a loud bang from the garage before the trouble started, skip to the spring warning below before doing anything else.
The Door Won’t Move at All
Complete silence is actually good news: it narrows the search fast. Work through these in order.
- Power. Check that the opener is plugged in, then test the outlet with a lamp or phone charger. Check the breaker panel and any GFCI outlet in the garage — a tripped GFCI is a classic cause of a suddenly “dead” opener.
- Motor runs, door doesn’t. If you hear the motor but nothing moves, the trolley has probably been disconnected by the emergency release cord — someone may have pulled it during an earlier outage. Re-engage it following your manual; on most openers the carriage reconnects when you run the opener or pull the cord toward the door.
- Unplug and reset. If power is present but nothing responds — no light, no click, no hum — unplug the opener for a full minute, then plug it back in. A power surge can leave the electronics stuck in a fault state, and a clean power cycle sometimes clears it.
- Still dead? If the opener stays silent with power confirmed and a reset tried, the problem is inside the unit itself — see the logic board section below.
The Wall Button Works, but the Remote or Keypad Doesn’t
When the wall button runs the door normally, the opener and door are fine — the fault is in the signal path. Start with the cheapest check: a fresh battery in the remote. Then confirm lock mode is off, since it blocks remotes and keypads while leaving the wall button working.
If a fresh battery doesn’t fix it, the remote may have lost its programming after a surge, or something nearby may be interfering with the signal — newer LED bulbs and some electronics are known culprits. Our guide to the garage door opener remote covers batteries, reprogramming, and interference in order. If the outside keypad is the device that quit, follow how to reprogram a garage door keypad — the same steps also fix a keypad that stopped working after a battery change or outage.
The Door Closes, Then Reopens — or Won’t Stay Closed
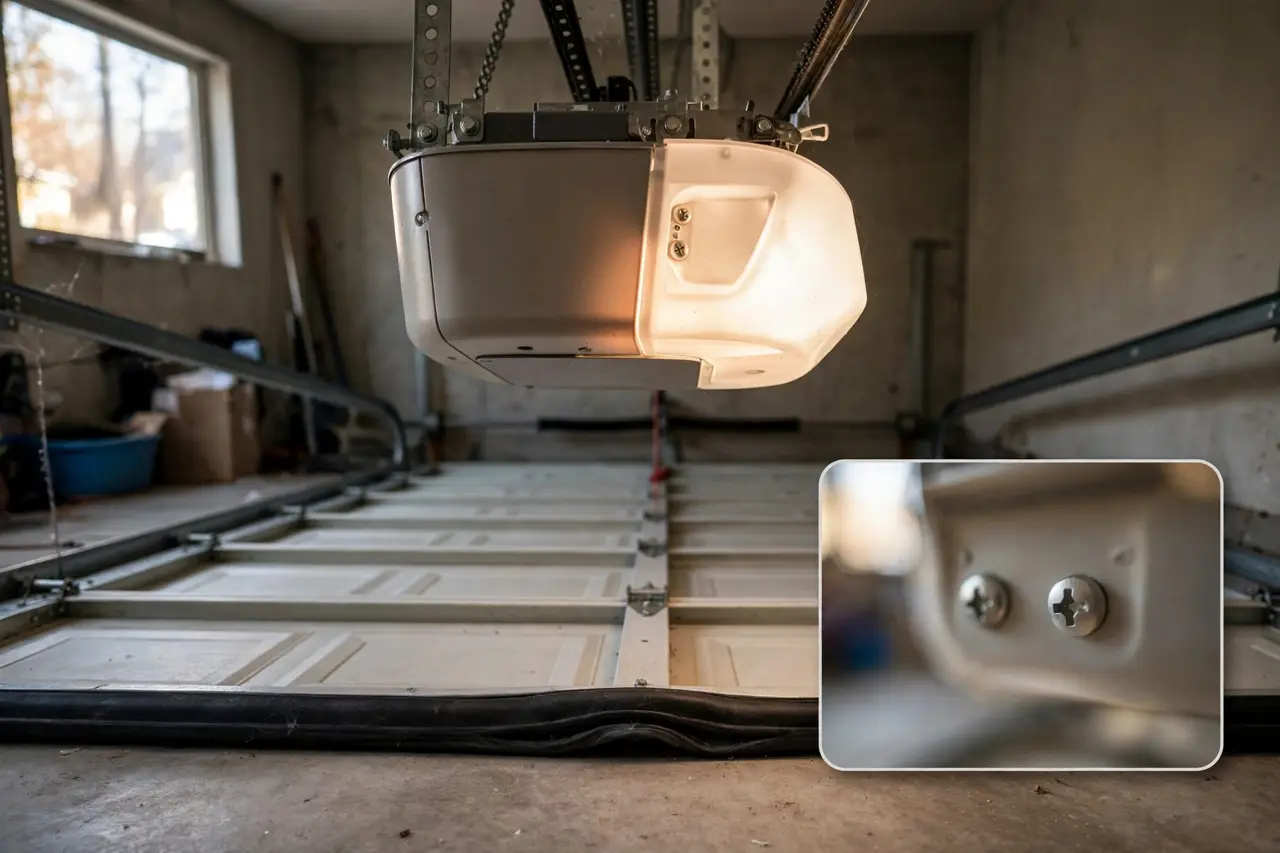
When the door travels all the way down, touches the floor, and immediately bounces back up, the opener is being told it went too far. The down travel limit — the setting that tells the opener where “closed” is — has drifted slightly, so the door presses into the floor, the opener reads that resistance as an obstruction, and it reverses. Genie’s operation and maintenance manual describes exactly this: if the door reverses after contacting the floor, the close limit needs to move back a small amount.
Travel limits and force are the two settings homeowners are allowed to adjust, but treat them with respect and adjust them in this order:
- Limits first. Find the travel adjustment for your model — screws or dials on older units, programming buttons on newer ones. Change the down limit in tiny increments (a quarter-turn on screw-type adjusters), and run a full test cycle after each change. The goal is a door that closes fully and just compresses the bottom seal.
- Force second, and barely. Force is how hard the opener pushes before deciding it hit something. If the door reverses mid-travel with a clear path and healthy tracks, a very small force increase per your manual may be the answer. Never use force to overpower a binding door — that defeats the safety system and can damage the door.
- Re-test safety after any change. Any limit or force change is not finished until the door passes the two safety tests at the end of this guide.
If the door closes and stays closed, but you later find it open — the “won’t stay closed” version — note the timing. Reopening within seconds is the limit or force problem above. Reopening minutes or hours later points elsewhere: a stray signal (a neighbor’s remote on an older fixed-code system, a stuck button on a remote in a drawer), a Timer-to-Close feature behaving unexpectedly on smart openers, or a logic fault. Clear the easy causes first — check every remote for a stuck button — before suspecting the opener itself.
Stop and Call a Pro: Broken Springs and Frayed Cables
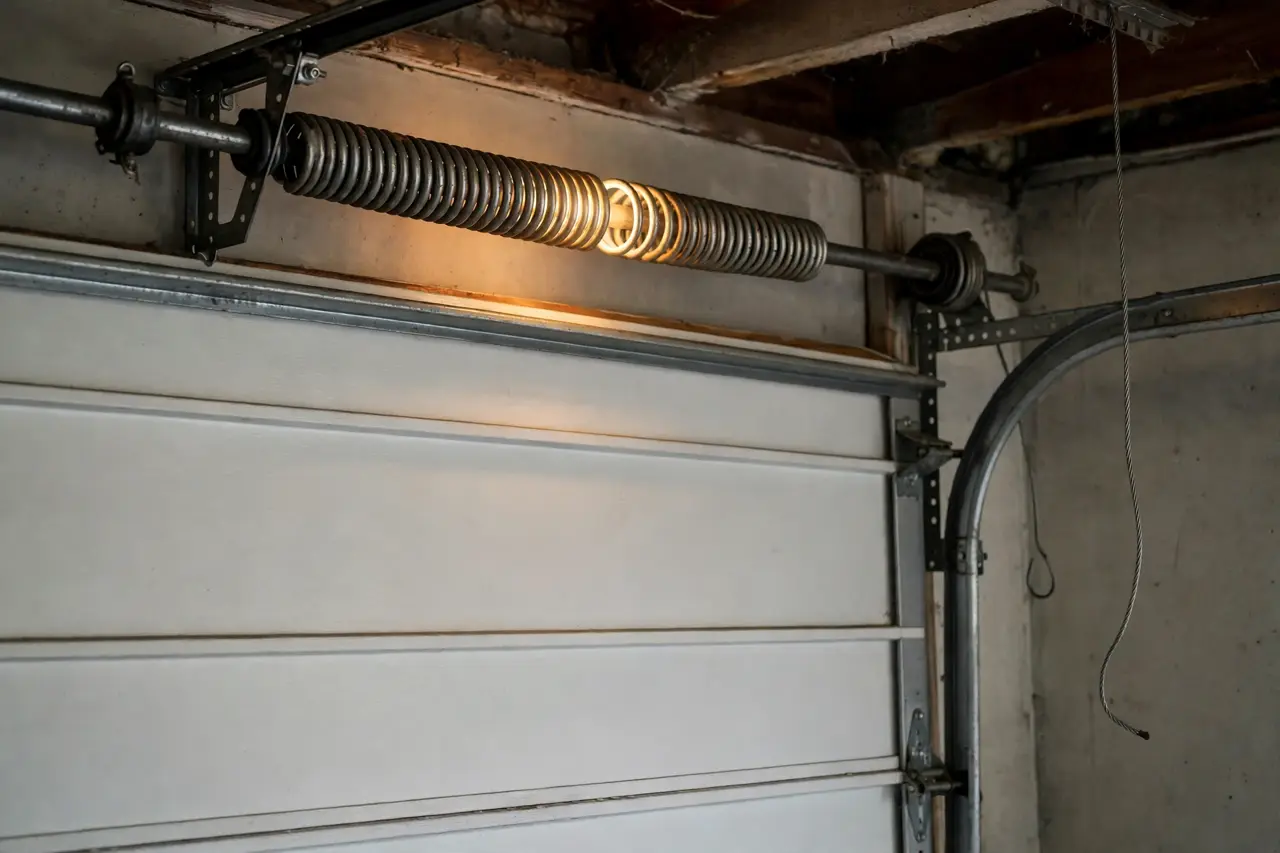
This is the hard boundary of this guide, and it matters more than any fix above. The springs — a torsion spring on a shaft above the door, or extension springs along the tracks — do the real lifting, and they work under extreme tension. The Door & Access Systems Manufacturers Association (DASMA) states it plainly: occupants should not attempt to remove, adjust, or repair doors or springs, because doors are large, heavy objects moved by springs under extreme tension that can cause serious injury or death, and only trained door systems technicians should do that work. Read DASMA’s garage door safety tips if you want the full picture.
Call a professional, and do not run the opener, if you see any of these:
- A visible gap in the coil of the spring above the door — the classic sign of a snapped torsion spring.
- A cable that is frayed, loose, slack, or hanging down on one side.
- A door that sits crooked, or that suddenly feels far heavier than usual by hand.
- A loud bang from the garage, like something snapping, before the door stopped working.
There are no spring or cable repair steps in this guide on purpose. The lift cables and the brackets they attach to are part of the same tensioned system, so “just the cable” is also a technician’s job. While you wait, keep people and pets away from the door, and treat a door stuck open as an open entry to your home. The manual-close section below explains what is safe to do — and what is not — in the meantime.
Power Outages and Battery Backup: What Is Normal and What Is Not
If the power is out, a plain opener does nothing at all — that is not a malfunction. An opener with battery backup keeps working, but it behaves differently, and the differences worry people. On Chamberlain openers running on battery, the door moves more slowly, the opener light does not work, and the unit beeps about every 2 seconds with a solid orange battery light. That is normal backup behavior, not a fault.
What is not normal: an opener that runs a few cycles on battery and then dies completely during a long outage (a battery at the end of its life), or one that never switches back to normal speed and full function when power returns. If outages are common where you live, or someone in the house depends on the garage as the main entry, a backup battery is worth having before the next storm rather than after it. Our guide to garage door opener battery backup covers which openers accept one, what the law in some states requires, and how to keep the battery ready.
When the Opener’s Logic Board Is the Problem
The logic board is the opener’s brain, and it is the last stop on this ladder, not the first. Suspect it only after sensors, path, limits, power, and signal all check out. Signs that point at the board or the opener’s electronics include: the opener responds to nothing despite confirmed power; it works some days and not others with no pattern; remotes repeatedly lose programming; or the door operates on its own with every remote accounted for. Chamberlain’s diagnostic chart also ties some stop-and-reverse faults to internal travel-module and board issues once binding is ruled out.
One free step is worth trying first: unplug the opener for a full minute, plug it back in, and test. If the fault returns, board replacement or a new opener is a judgment call based on the unit’s age — and board-level work inside the opener is where most homeowners reasonably hand the job to a technician.
How to Close and Secure the Door by Hand Tonight
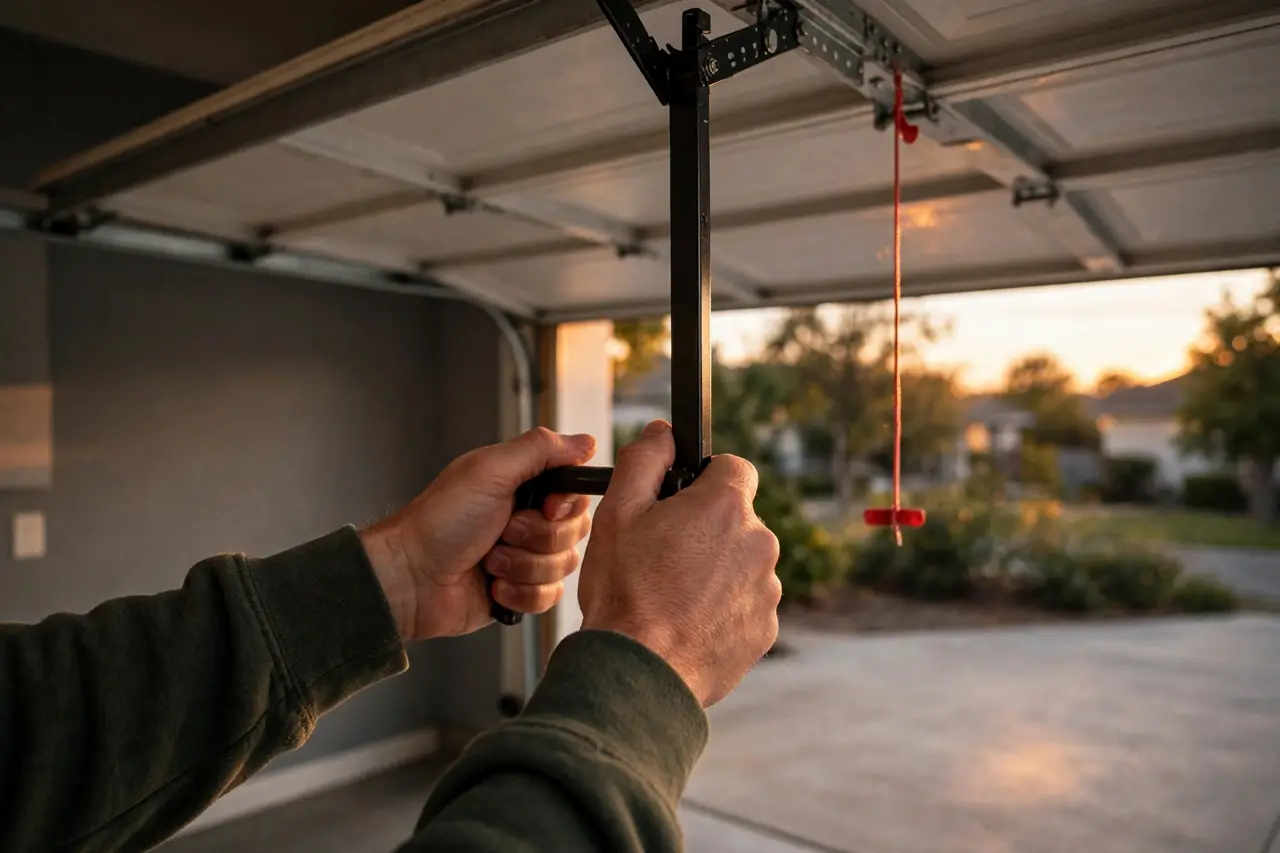
If the door is stuck open and a repair has to wait, you can usually close it manually — with one important condition. Pull the emergency release cord (the red handle hanging from the trolley) only with the door fully closed or fully supported. If the door is open and its springs are broken or weak, releasing it can let the full weight of the door slam down. If the door is stuck partway and feels heavy or unsteady, leave it, keep the area clear, and wait for the technician.
- With the door in a safe position, pull the release cord to disconnect the opener.
- Lower the door slowly by hand, using the lift handles — never your fingers between the door sections.
- Test the balance as you go: a properly balanced door can be lifted about halfway and will stay roughly in place. If it slams down or shoots up, the springs need a professional — stop and do not fight it.
- Once closed, secure it: engage the manual slide lock if your door has one, or pass a bolt or a locking clamp through a track hole above a roller so the door cannot be lifted from outside.
When the repair is done, reconnect the trolley before running the opener — on most models, running the opener or pulling the cord toward the door re-latches it.
Run These Two Safety Tests Before You Trust the Door Again
Any time you adjust limits or force, and once a month as routine maintenance, run both federal safety checks that manufacturers build these openers around:
- The contact reversal test. Lay a 2×4 board flat on the floor in the center of the doorway and close the door onto it. The door must reverse when it touches the board. If it doesn’t, back off the force and limit changes and retest — and if it still doesn’t reverse, call a professional.
- The photo-eye test. Start the door closing and pass an object through the sensor beam. The door must stop and reverse. If it keeps coming down, the sensor system is not protecting the doorway, and the door should not be used until it does.
When to Stop Troubleshooting and Call a Professional
Call a garage door technician when: you see any spring or cable damage from the warning section; the door is crooked or off its track; the door is too heavy to lift by hand; the opener fails the safety tests after your adjustments; or you have worked through the ladder for your symptom and the door still won’t close. A clear symptom description — when it reverses, where it stops, what the lights do — will make that visit shorter and cheaper.
Disclaimer: Garage doors are heavy, spring-loaded systems, and models vary. This guide covers homeowner-level checks and settings adjustments only; always follow your opener manufacturer’s manual for your model, and leave spring, cable, and track-structure work to a trained door systems technician.
Frequently Asked Questions
Why does my garage door close and then open back up?
Because the opener believes it hit something. The usual causes are a sensor beam broken at the last moment, resistance from a sticking bottom seal or track debris right at the floor, or a down travel limit set slightly too far, so the door presses into the floor and reverses. Match the timing — immediate bounce-back means limits; reversal higher up means binding.
Why is my garage door not closing and blinking?
The blinking lights are a diagnostic message, not just a warning. On Chamberlain and LiftMaster openers, lights flashing 10 times during a close attempt mean the safety sensor beam is broken or the sensors are misaligned; a separate diagnostic code (up arrow 4 flashes, down arrow 6) says the same thing — Chamberlain’s owner’s manual troubleshooting chart lists it as “safety reversing sensors are misaligned or were momentarily obstructed.” Clean and check the sensor eyes first — that is what the opener is asking for.
Can I just increase the force so it closes?
You can, but it should be your last adjustment, not your first. Force tells the opener how hard to push before reversing; raising it to overpower a binding track, a sticking seal, or a failing spring defeats a safety system and can damage the door. Clear the path, check the sensors, and set the limits first — then, if your manual allows, raise force only in the smallest step and re-run the safety tests.
What if my sensors look aligned but the light still blinks?
Clean the lenses even if they look fine — a film of dust can scatter the beam. Then check that both brackets are tight and at the same height, look for sun glare on the receiving eye, and inspect the thin sensor wires for pinches, chew marks, or loose connections at the opener. If one light stays out entirely, the problem is power or wiring to that eye, not alignment.
How do I close a garage door that is stuck open?
If the door is safe to move — not crooked, not off its track, and not suddenly heavy — pull the emergency release cord and lower it slowly by hand, then lock it with the slide lock or a bolt through the track. Only pull the release with the door closed or fully supported: with a broken spring, a released door can slam down. If it feels heavy or unsteady, leave it and call a technician.
Most doors that won’t close are stopped by a two-minute check, not a repair bill: a blocked beam, a bumped sensor, a quarter-turn of a limit screw. Work from your symptom, in the order above, and you will usually find it. And when the cause turns out to be a spring, a cable, or a door off its track, you now know the most valuable fix of all — recognizing the moment the job stops being yours.