Leak detection works by watching for something water changes. A sensor feels water touching it, a meter or flow monitor notices water moving when it should not, a listening device hears water escaping from a pipe, a thermal camera sees a temperature change, or a pressure test shows a drop. No single method finds every leak. The right method depends on what kind of leak you have and where it is hiding.
That is good news for a homeowner. You do not need to understand every tool. You only need to match the clue you already have — a puddle, a high bill, a damp stain, a sound in the wall — to the method that reads that clue. This guide explains each method in plain words, what it can and cannot find, and which one to try first.
The Short Answer: Every Method Watches for One Change
Think of leak detection as five different senses. Each method measures one thing, and each thing points to a different kind of leak. A spot sensor is like touch: it only knows water reached it. A flow monitor is like counting: it knows water is moving when nobody is using any. Acoustic listening is like hearing: it picks up the sound of water escaping under pressure. Thermal imaging is like seeing heat: it shows where wet material is cooler or warmer than dry material around it. A pressure test is like checking a tire: if the system cannot hold its pressure, something is letting water out.
Because each method reads a different signal, professionals often use two or three together. A meter test may prove a leak exists, while a thermal camera or listening device narrows down where it is. The table below gives you the whole picture at a glance.
Which leak detection method watches what
| Method | What it measures | Best for | Main limit |
|---|---|---|---|
| Spot sensor or alarm | Water touching the sensor | Appliances, water heaters, under sinks | Only detects water that reaches it |
| Wi-Fi and flow system | Water flow and use patterns | Whole-home leaks, leaks while you are away | Needs time to learn normal use |
| Water meter test | Water moving with everything off | Proving a hidden leak exists, free of charge | Does not show the leak’s exact spot |
| Infrared and thermal camera | Surface temperature differences | Damp walls, ceilings, and floors | Shows wet areas, not the pipe itself |
| Acoustic listening | Sound of water escaping under pressure | Underground and slab pipes | Struggles in noisy surroundings |
| Pressure test and moisture meter | Pressure drop and material dampness | Confirming a leak and mapping wet areas | Confirms a leak more than it pinpoints one |
Keep this table in mind as you read. Every section below is one row of it, explained in full.
Spot Sensors and Alarms: Water Touches the Sensor
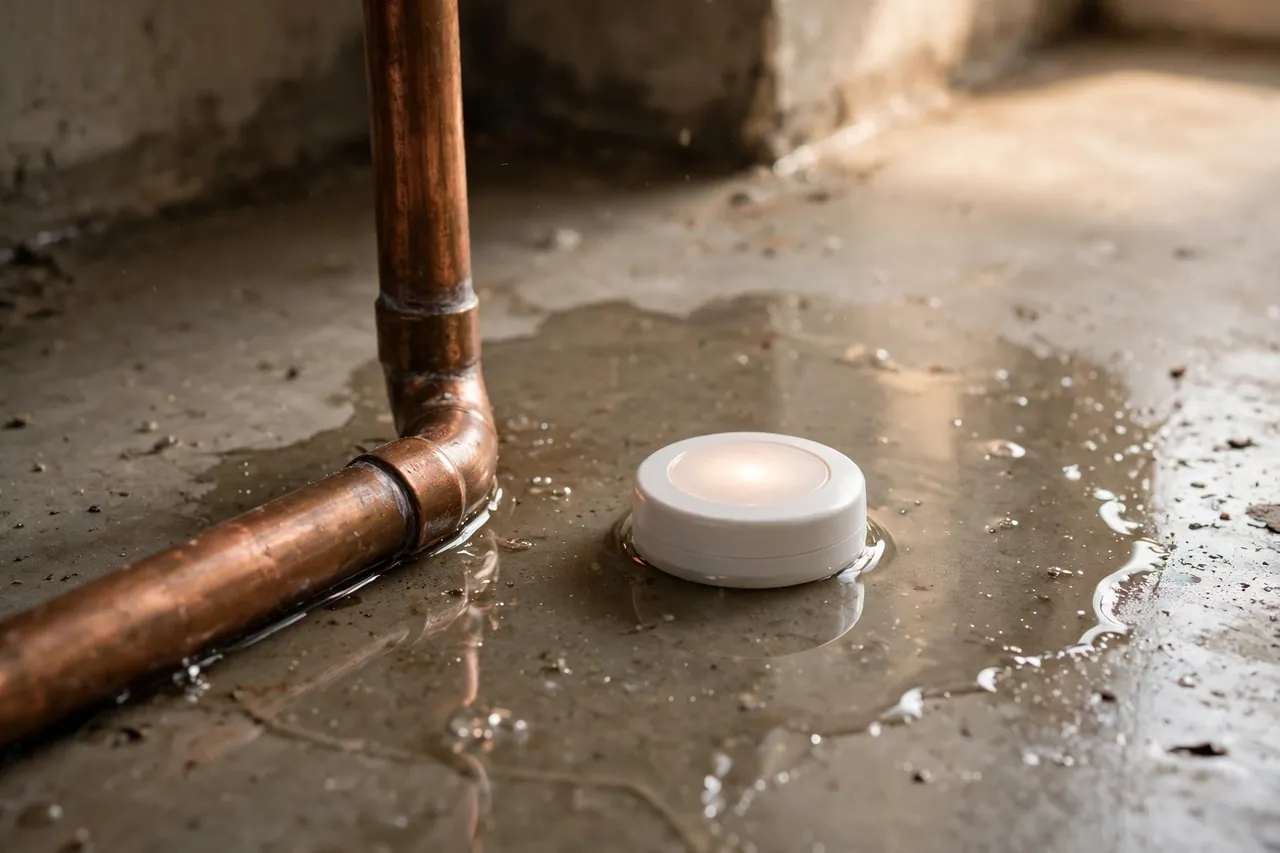
Spot sensors are the simplest form of leak detection, and the easiest to understand. Most use two small metal probes, set close together on the bottom of the device. While the floor stays dry, the gap between the probes stays open and no current flows. When water touches both probes, the water itself completes the circuit, and the device sounds an alarm or sends a phone alert. Some newer sensors work a different way, by sensing a change in an electrical field when water comes near, but the idea is the same: water arrives, the sensor notices, you get warned.
There are two common shapes. A puck sensor sits in one spot, for example under a sink or beside a washing machine, and only detects water that pools right under it. A rope or cable sensor runs along a stretch of floor, so it can detect water anywhere along its length, which suits a long run of pipe or the back of a row of appliances. Both are cheap to buy and simple to place, which is why they are often the first leak device a homeowner owns.
The honest limit is coverage. A sensor only knows about the square inches it touches. It will not catch a leak inside a wall two rooms away, and it will not catch a slow drip that evaporates before it reaches the floor. That is why placement matters more than the number of sensors you own: put them where water would land first, such as under the water heater, behind the washing machine, under the kitchen sink, and near the dishwasher. If you want the full picture on this type, read our guide to flood sensors and where each kind belongs.
Wi-Fi Systems and Flow Monitors: Watching How Water Moves
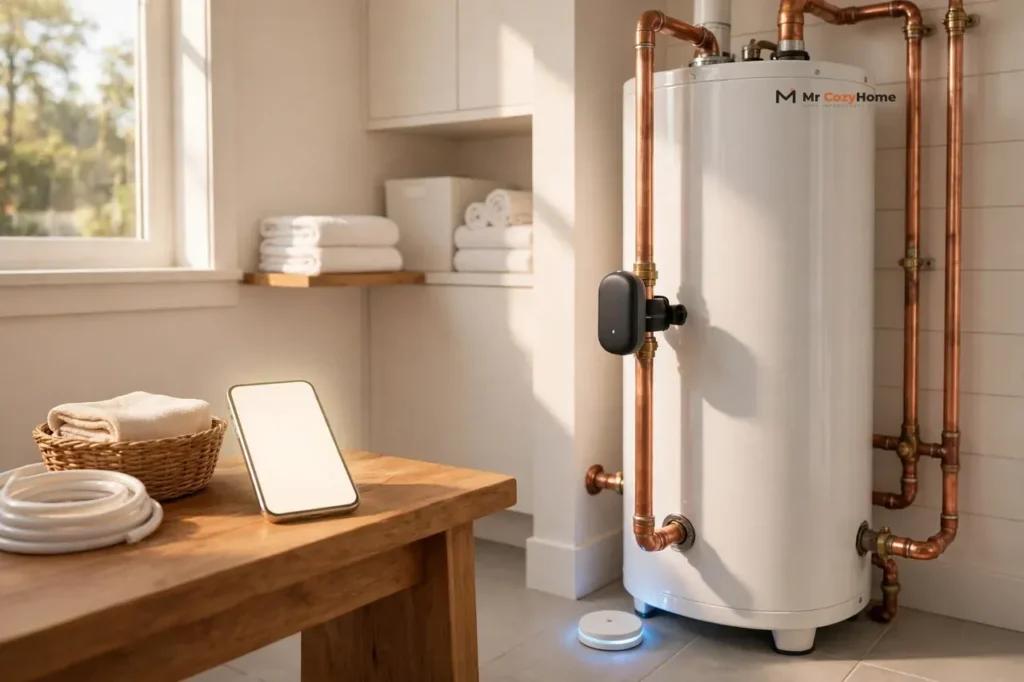
Wi-Fi leak systems work on a different principle: instead of waiting for water to touch them, they watch how water moves through your home. A flow monitor measures the water passing through your main supply line over time. When it sees flow that does not match normal life — water running in the middle of the night, or water flowing nonstop for hours — it sends an alert to your phone. Some systems go one step further and close an automatic shutoff valve, stopping the water before the damage grows.
This approach catches leaks that spot sensors miss. A pipe leaking inside a wall may never wet a sensor, but it still moves water, and a flow monitor sees that movement. It also protects you when you are away from home, which is when a leak does the most damage, because nobody is there to notice a puddle or a sound.
The trade-off is learning time. A flow system needs to see your normal patterns first — showers in the morning, laundry on weekends, irrigation in the evening — before it can tell normal use from a problem. Early on, it may flag something unusual that turns out to be harmless, such as a guest using extra water. Over weeks, its alerts get sharper. For a full explanation of the types, the alerts, and the shutoff feature, see our guide to Wi-Fi water leak detectors.
The Water Meter Test: A Free Check Anyone Can Do
The water meter test is the one leak check that costs nothing and needs no device. It answers a simple question: is water moving through my home when nothing should be using any? The U.S. Environmental Protection Agency’s WaterSense program recommends comparing your meter reading before and after a two-hour period with no water use. If the reading changes at all, you probably have a leak.
Here is how to run it, step by step:
- Turn off everything that uses water: faucets, showers, toilets, the dishwasher, the washing machine, the ice maker, and the irrigation system. Tell everyone in the house not to use water during the test.
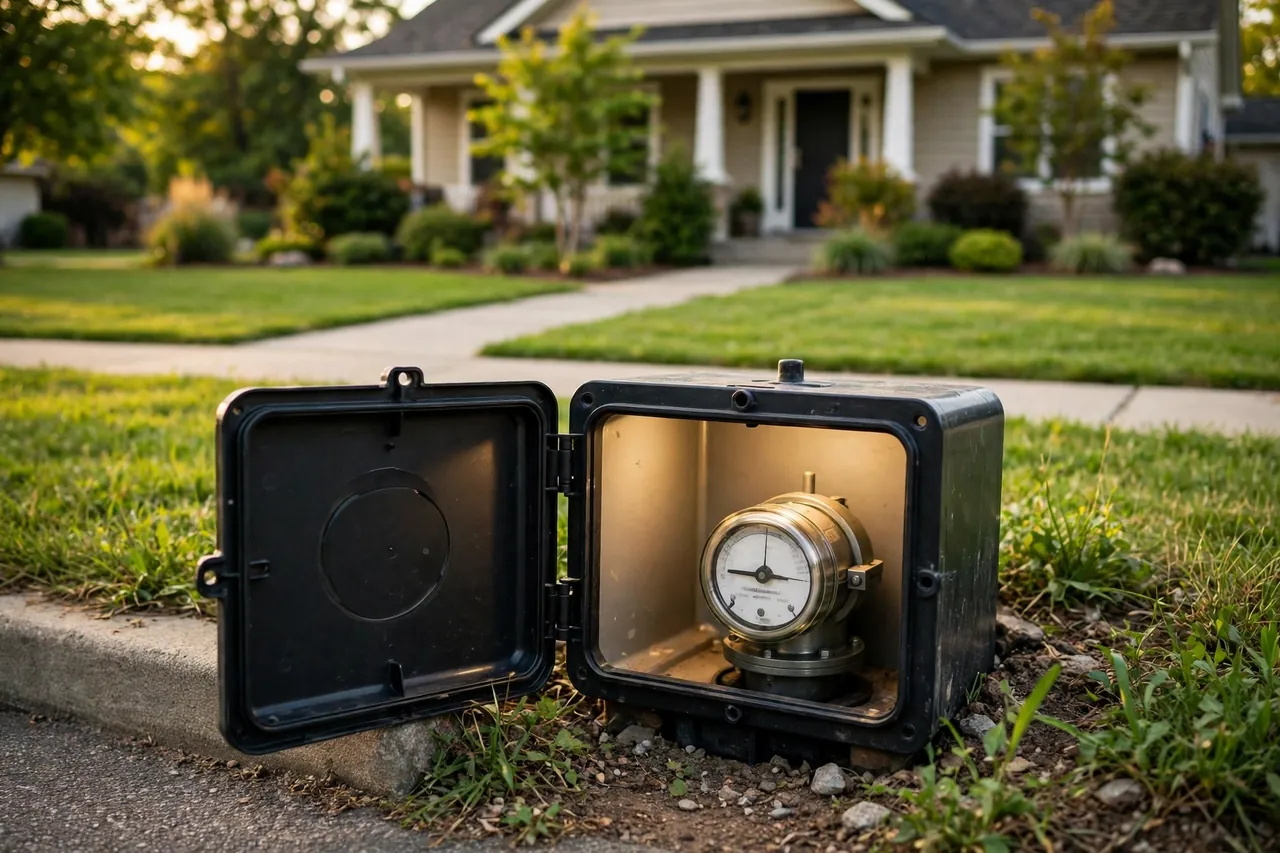
- Find your water meter, usually in a box near the curb or in the basement, and write down the reading. If your meter has a small leak indicator dial or triangle, note its position too.
- Wait two hours without using any water.
- Read the meter again and compare. If the numbers moved, or the leak indicator turned, water flowed somewhere in a system you believed was closed.
A moving meter proves a leak exists, but it does not show where the leak is. That is still a valuable result: it turns a suspicion into a fact, and it tells you the next step is worth taking. You can narrow it down further by repeating the test with your home’s main shutoff valve closed. If the meter stops moving, the leak is inside the house. If it keeps moving, the leak is between the meter and the house, often in the buried supply line. Our step-by-step guide to water meter leak detection walks through the reading, the indicator dial, and what each result means.
Infrared and Thermal Cameras: Seeing Temperature, Not Water
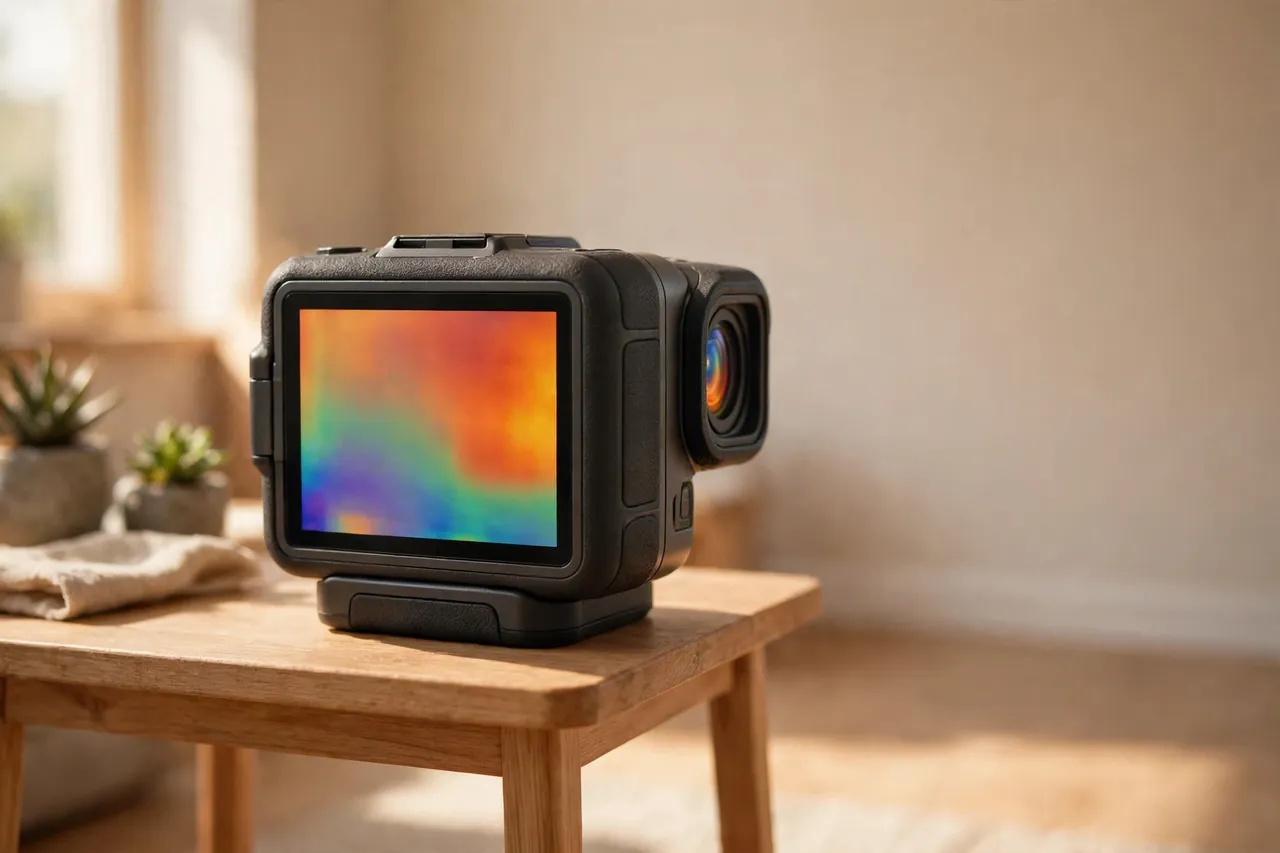
An infrared camera does not see water. It sees heat. Every surface gives off infrared energy, and the camera turns tiny temperature differences into a picture. When water leaks into a wall, ceiling, or floor, it changes the temperature of that material. A hot water leak warms the area around it, while a cold water leak, or water cooling as it evaporates from a surface, leaves a cooler patch. On the camera’s display, that patch stands out from the dry material around it.
This is why thermal imaging is so useful for hidden leaks. A technician can scan a whole wall in minutes without opening it, and the cool or warm patch shows roughly where the moisture sits. It also shows how far the dampness has spread, which matters because water often travels along framing or under flooring before it shows up as a stain. The stain you see is not always above the leak.
There are two limits to respect. First, the camera reads surface temperature, not the pipe itself, so it shows a wet area rather than an exact hole in a pipe. Second, other things change surface temperature too, such as missing insulation, a cold draft, or sunlight on a wall, so a thermal image alone is a clue, not a verdict. Professionals confirm it with a moisture meter, which measures dampness inside the material directly. For the full explanation, including what a thermal image looks like and when it misleads, read our guide to infrared water leak detectors.
Acoustic Listening: Hearing a Leak You Cannot See
When water escapes from a pressurized pipe through a crack, it makes a sound. It may be a hiss, a rush, or a faint vibration, often too quiet for an unaided ear, especially through concrete, soil, or a finished wall. Acoustic leak detection uses sensitive microphones and ground sensors to amplify that sound and follow it to its source. A technician moves the listening device along the suspected pipe run, and the sound grows louder as the device gets closer to the leak.
This method shines where eyes cannot reach: pipes under a concrete slab, buried supply lines in the yard, and pipes inside walls. It is non-invasive, which means it locates the leak before anyone cuts into a floor or digs up a yard. Service providers describe combining acoustic, thermal, and pressure methods to confirm the exact leak location before any repair work begins. That matters because the visible symptom is often far from the real leak. Water can travel along a slab or a pipe trench for several feet before it appears as a damp spot.
The main weakness is noise. In a busy street, near running appliances, or where several pipes run close together, background sound can mask the leak’s sound or confuse the reading. Skilled technicians filter the sound and compare readings at several points, but no listening device is perfect in a noisy setting. Acoustic listening is also a professional tool in most cases: the equipment is sensitive, and reading it well takes training. If you want to know what the equipment looks like, how it is used, and when a homeowner version makes sense, see our guide to water leak detector tools.
Other Professional Tools: Pressure Tests, Moisture Meters, and Tracer Gas
Beyond the five methods above, professionals carry three more tools, and it helps to know what each one does, even if you never buy one yourself.
A pressure test isolates a section of plumbing and watches its pressure over time. If the pressure drops and no fixture is open, water is escaping somewhere in that section. This confirms a leak exists and narrows it to one section of pipe, but it does not show the exact spot. Think of it as a yes-or-no test for a whole run of pipe.
A moisture meter measures how damp a material is, such as drywall, wood, or concrete. A pin-type meter pushes two small pins into the surface, while a pinless meter scans without holes. Technicians use it to map how far dampness has spread and to confirm what a thermal camera suggested. It answers “how wet is this, and where does the wetness stop?” rather than “where is the hole?”
Tracer gas detection is the specialist’s tool for stubborn leaks. A safe, light gas is put into the drained pipe, and a sensitive sniffer outside the pipe detects where the gas escapes. Because gas escapes through even a tiny opening and rises through soil or wall cavities, it can pinpoint leaks that sound and heat methods miss. It needs training and special equipment, so it is a hire-a-professional method, not a weekend purchase. Our guide to water leak detector tools explains which of these tools suit a homeowner and which belong to a pro.
Which Method Fits Your Leak?
Start from the clue you already have, not from the tool you already own. The table below matches common clues to the method to try first.
Match your clue to the first method to try
| What you notice | Try this first | Why it fits |
|---|---|---|
| Water pooling near an appliance or heater | Spot sensor or alarm | The water has already reached a surface the sensor can touch |
| Water heater dripping or rusty at the base | Water heater leak detector | The risk is one appliance, and it needs its own watcher |
| Water bill jumped, but nothing looks wet | Water meter test | It proves a hidden leak exists before you spend anything |
| Damp stain, bubbling paint, or musty smell on a wall | Thermal camera, then moisture meter | The leak is hidden, and you need to map the damp area first |
| Sound of running water when nothing is on | Acoustic listening | A pressurized pipe is leaking somewhere you cannot see |
| Wet floor or soft spot with no clear source | Pressure test, then a professional visit | The leak is confirmed but its section is still unknown |
Two examples show how this works in practice. Suppose your bill jumped but the house looks dry. Run the meter test first. If the meter moves, repeat it with the house shutoff closed. If it stops, the leak is indoors, and a thermal scan of suspect walls is the next step. If it keeps moving, the leak is in the buried line, and acoustic listening is the method that finds it.
Suppose instead you find a puddle beside the water heater. A sensor would have warned you earlier, but right now the job is different: shut off the water to the heater, mop up, and check whether the leak comes from a fitting, the drain valve, or the tank itself. A tank leak usually means replacement, not repair, and that is a plumber’s call. Our guide to water heater leak detectors covers the warning signs and the right sensor placement for that one appliance.
What to Do the Moment a Leak Is Found
Finding a leak is only half the job. The first minutes matter, because water keeps spreading while you decide. Work through these steps in order:
- Shut off the water. Use the fixture shutoff valve if the leak is at one appliance, or the home’s main shutoff valve if you cannot tell where it comes from. Know where your main shutoff is before you ever need it.
- Protect anything the water can reach. Move rugs, boxes, and electronics away from the wet area, and mop up standing water so it does not soak further into floors.
- Stay away from water near electricity. If water has reached outlets, switches, or appliances, do not touch them and do not step into the water. Turn off power to that area from the breaker panel only if you can do so from a dry place.
- Take photos of the damage and the leak’s location. They help a plumber, and they help later if you file an insurance claim.
- Call a licensed plumber for anything inside a wall, under a slab, on the main supply line, or involving a water heater tank. Small visible leaks at a fitting or a supply hose are often homeowner-fixable, but hidden leaks are not a guessing game.
One more caution: do not ignore a leak that seems small. A slow drip inside a wall can soak framing and feed mold growth for weeks before it shows on the surface. The EPA’s WaterSense program notes that the average household’s leaks can waste more than 9,300 gallons of water every year, and that fixing easily corrected household leaks can save about 10 percent on water bills. Early action is cheaper than late repair, and it is the whole point of detection in the first place.
Frequently Asked Questions
How does water leak detection work?
Water leak detection works by measuring something water changes: a sensor feels water touching it, a meter or flow monitor notices water moving when nothing is in use, a listening device hears water escaping under pressure, a thermal camera sees a temperature change, or a pressure test shows a drop. Each method reads a different signal, so the best choice depends on the leak.
How do professionals find hidden water leaks without damaging property?
Professionals use non-invasive tools first: acoustic listening devices to hear escaping water, thermal cameras to spot temperature changes from moisture, moisture meters to map dampness, and sometimes tracer gas to pinpoint a stubborn leak. These tools narrow the leak to a small area, so any cutting or digging happens only where it is truly needed.
How does acoustic leak detection work to find leaks?
Acoustic leak detection uses sensitive microphones to amplify the sound of water escaping from a pressurized pipe. The technician places the listening device on walls, floors, or the ground above the pipe run and follows the sound, which grows louder near the leak, until the location is pinpointed.
Can thermal imaging cameras detect water leaks behind walls or under floors?
Yes, in most cases. A thermal camera reads surface temperature, and leaking water changes the temperature of the material around it, creating a warm or cool patch the camera can show. It reveals the wet area rather than the pipe itself, so professionals usually confirm the finding with a moisture meter before opening anything.
What tools do leak detection specialists use to find leaks?
Specialists use acoustic leak detectors with ground microphones and listening discs, thermal imaging cameras, moisture meters for mapping dampness, pressure testing equipment for confirming a leak in a pipe section, and tracer gas equipment for leaks that other methods cannot pin down. Most jobs use two or more of these together.
Disclaimer: Homes, plumbing, and budgets vary, so treat this guide as general information, not a diagnosis of your home. Water near electricity, leaks inside walls or under slabs, main supply line leaks, and water heater tank leaks should be handled by a licensed plumber. If water damage is already spreading, shut off the water and get professional help promptly rather than waiting.
Leak detection sounds technical, but its logic is simple: find what the water changed, and follow that change back to its source. Start with the free meter test if you only suspect a leak, place sensors where water would land first, and bring in a professional with listening and thermal tools when the leak stays hidden. The sooner you find it, the smaller the repair, and the drier your home stays.