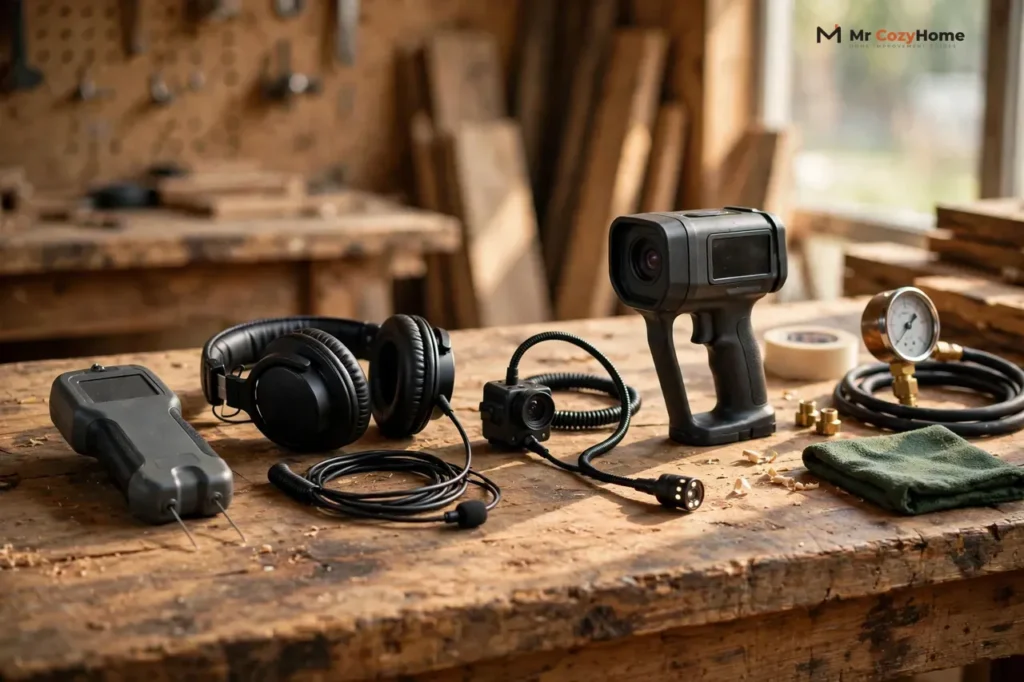
A water leak detector tool is any tool that helps you find water you cannot see, and the best first tool for most homeowners is a handheld moisture meter. It tells you where a wall, floor, or ceiling is wet, so you can narrow the search before anyone cuts into drywall. Before you buy anything, though, run two free checks first: the water meter test proves a leak exists, and a moisture meter shows where the wet area is.
This guide covers the leak-finding toolkit in the order a careful homeowner would use it, from the free checks to the tools worth owning, the tools best left to a plumber, and the warning signs that mean it is time to stop and call one. It is not a sensor-buying guide. Sensors that sit on the floor and sound an alarm when they get wet are a different job, and they only guard the spot where they sit.
First, Prove There Is a Leak
A finding tool is only useful once you know there is something to find. Two simple checks answer that question, and both cost nothing.
The water meter test
Your water meter is the most honest leak detector in the house. The U.S. Environmental Protection Agency’s WaterSense program recommends this check: turn off every tap, appliance, and irrigation zone, read the meter, and then use no water for two hours. If the meter reading has changed at all, you probably have a leak somewhere in the system.
Write the reading down, and take a photo of the meter face so you do not have to trust your memory. Make sure nobody flushes, runs the dishwasher, or starts the washing machine during the two hours, because any of those will move the meter and ruin the test. Also check whether your meter has a small leak-indicator dial or triangle. On many meters, that little dial spins with even a tiny flow, which makes a slow leak easier to spot than the numbers alone.
One honest limit: the meter test proves a leak exists, but it cannot tell you where it is. A moving meter with no visible drip is exactly when the tools below earn their keep. It is also worth knowing why this matters. According to the EPA’s WaterSense program, the average household’s leaks can waste more than 9,300 gallons of water a year, and nine percent of homes have leaks that waste 50 gallons or more per day.
The toilet dye test
Toilets are the most common silent leakers in a home, usually because of a worn flapper, and a dye test finds one in minutes. Put a few drops of food coloring in the toilet tank, do not flush, and wait 10 minutes. If color shows up in the bowl, the flapper is leaking and water is slipping from the tank into the bowl around the clock. Flush right after the test so the dye does not stain the tank.
If the dye test is positive, you have found your leak, and it is usually a cheap flapper replacement rather than a hidden-pipe hunt. If every toilet passes and the meter still moves, the leak is somewhere else, and it is time to map the wet areas.
The Moisture Meter: The One Tool Worth Owning
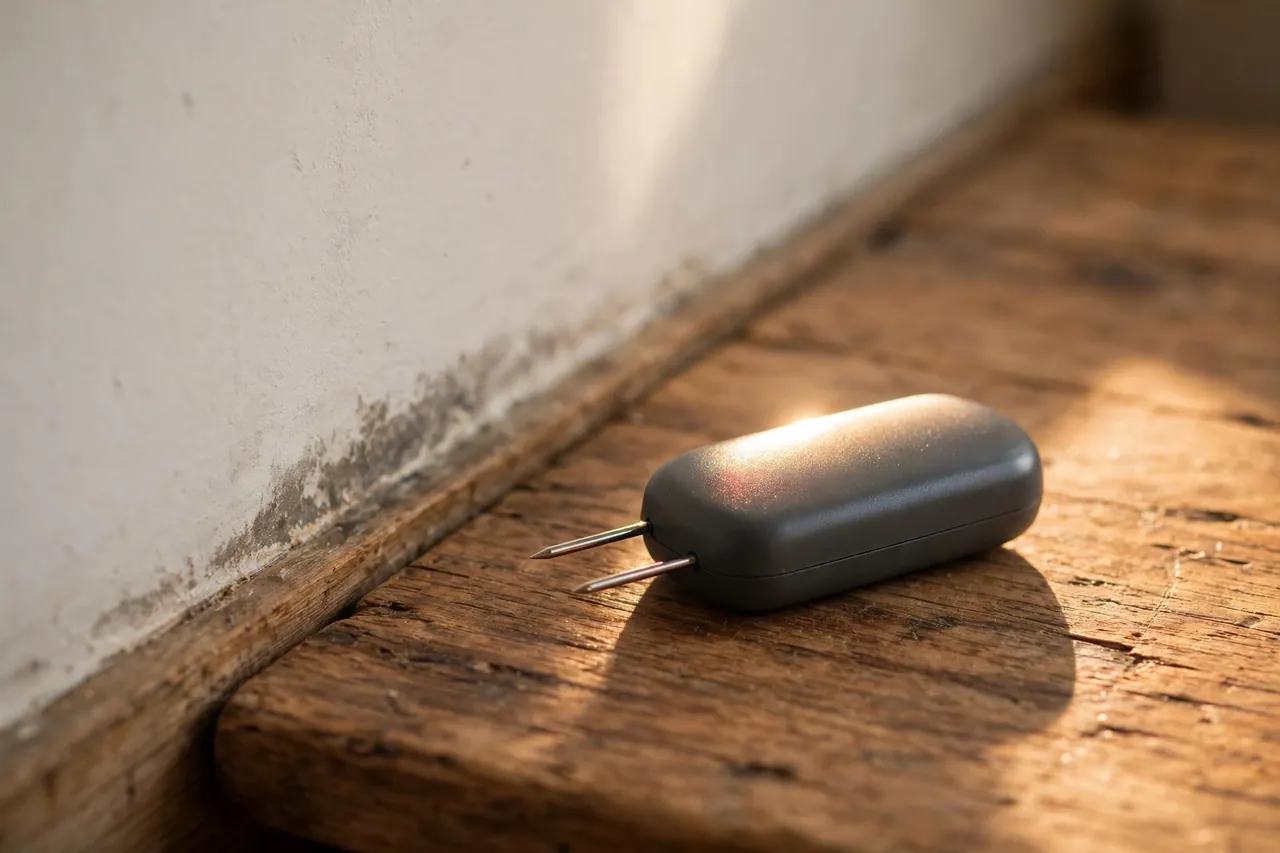
If you buy one leak-finding tool, make it a moisture meter. It measures how much moisture is in a building material such as drywall, wood, or concrete, and it turns a vague damp patch into a map you can follow. Plumbers use one on nearly every hidden-leak visit, and for a homeowner it is the most useful tool in this whole guide.
Pin meters and pinless meters
There are two kinds, and they do not measure the same thing. A pin meter pushes two small probes into the material and measures the electrical resistance between them. Water conducts electricity, dry material does not, so lower resistance means wetter material. The reading is local and exact at the depth the pins reach, but it leaves two tiny holes.
A pinless meter sits flat against the surface and sends an electromagnetic field into the material. Wet material changes that field, and the meter turns the change into a relative moisture reading. It leaves no mark and scans a large area fast, which makes it the right tool for sweeping a wall to find where to look closely. Most pinless meters read to a depth of about three-quarters of an inch, so they report the outer layer of drywall rather than what sits deep behind it.
The table below sums up the trade-off, because choosing the wrong kind is the most common beginner mistake.
Pin meters compared with pinless meters
| Feature | Pin meter | Pinless meter |
|---|---|---|
| How it measures | Electrical resistance between two probes pushed into the material | Electromagnetic field sent into the material from a flat sensor pad |
| Best use | Confirming an exact wet spot and its depth | Scanning a large wall or floor quickly to find wet areas |
| Damage to the surface | Two small pinholes | None |
| Typical reading depth | The depth the pins reach | About three-quarters of an inch |
| Main weakness | Slow for scanning; only tests one point at a time | Metal in the wall, such as nails or foil-backed insulation, can skew readings |
How to use a moisture meter on a wall
Start with a baseline. Take readings on a wall you know is dry, in the same room and the same material, and write those numbers down. A reading means little on its own. It means a lot when the suspect wall reads clearly higher than the dry wall next to it.
Next, work in a grid. Move the meter slowly across the suspect area in rows, about a foot apart, and mark the spots where readings jump. Do not chase a single high number. A real leak leaves a pattern: readings rise as you move toward the wettest area and fall again as you move away. Sketch that shape on paper, with the numbers beside it. That sketch is what a plumber wants to see, and it is what keeps you from cutting open the wrong part of the wall.
Set the meter to the right material mode if it has one, because drywall, wood, and concrete do not read on the same scale. A number taken on the wrong mode is a guess, not a measurement. Take several readings in the same spot and trust the pattern, not one spike.
What a moisture meter cannot tell you
A moisture meter finds wet material. It does not find the pipe that is leaking, and it does not prove the water came from a pipe at all. A high reading near a bathroom could come from a supply leak, a drain leak, condensation, rain coming in from outside, or an old leak that never fully dried. The meter narrows the search. It does not finish it.
That is why a moisture reading is always paired with another check in this guide. A wet area plus a moving water meter points to a plumbing leak. A wet area with a still meter points to something else, such as rain, condensation, or a drain problem, and that changes who you call and what gets fixed.
Listening for the Leak: Acoustic Tools

Water escaping from a pressurized pipe makes a sound, usually a hiss or a rushing noise, even when the pipe is buried in a wall or under a floor. Acoustic tools amplify that sound so you can follow it to its loudest point. This is the standard method professionals use for pressurized supply lines and slab leaks, and it is the one tool in this guide where skill matters more than the device itself.
Simple listening devices for homeowners exist, shaped a bit like a doctor’s stethoscope with a flat disk that presses against the wall or floor. You move the disk slowly along the suspected pipe run and listen for the spot where the hiss is strongest. That only works in a quiet house. Turn off the television, the washing machine, and anything else that hums, and listen at a quiet time of day. Appliances cycling on, pipes expanding as they warm up, and outside noise all travel through the structure and can sound like a leak.
Be honest about the limits here. A listening device cannot tell a supply leak from normal water movement if someone is using water elsewhere in the house, and it struggles with slow drain leaks, which are not under pressure and often make no sound at all. If the sound is unclear, if every spot sounds the same, or if the suspected leak is under a concrete slab, that is a sign to hire a leak detection specialist rather than buy a more expensive listening set. Professionals use far more sensitive ground microphones and, just as important, they know how to filter out the noise that fools beginners.
Seeing Inside Without Opening the Wall: Inspection Cameras
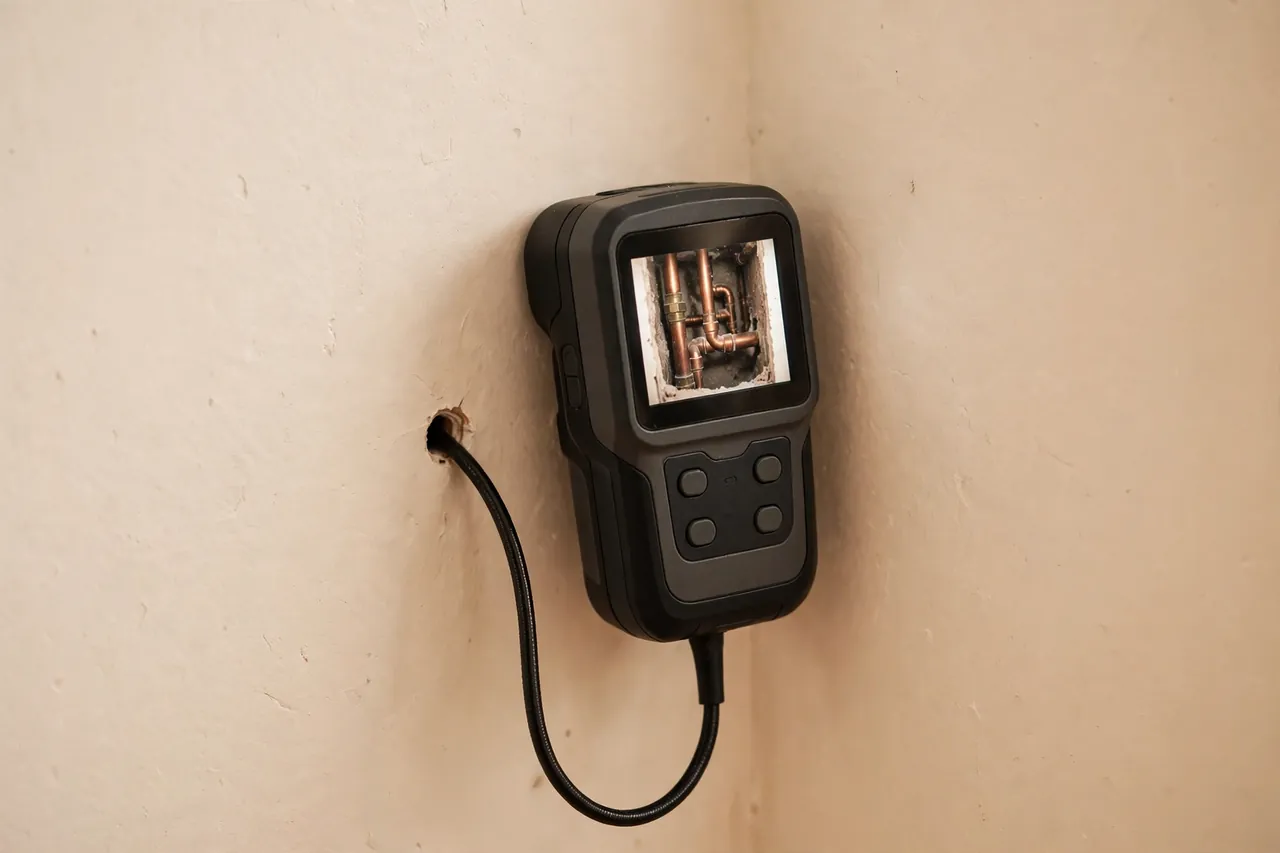
An inspection camera, also called a borescope, is a thin camera on a flexible cable that lets you look inside a wall cavity, under a floor, or behind a cabinet through a very small hole. It answers a question no other homeowner tool can: what does the inside of this space actually look like?
Use it after the moisture meter has marked the wet area, not before. Drill or cut the smallest opening you can, in a spot that is easy to patch, and feed the camera in slowly while you watch the screen. You are looking for dripping water, wet insulation, stained framing, or a visibly damaged pipe. Move the camera a little at a time. A rushed pass shows a blur, and a blur proves nothing.
Before you open anything, stop and check two things. First, make sure there is no electrical wiring, gas line, or other pipe in the exact spot you plan to open. A stud finder with live-wire detection helps, but it is not a guarantee, and if you are unsure what is behind that surface, do not cut. Second, remember that a drain camera and a borescope are different tools. A plumber’s drain camera travels inside a drain pipe itself and is the right tool for sewer and drain line problems. A handheld borescope looks into open cavities. Neither one belongs inside a pressurized supply pipe, and a camera cannot repair anything. It only shows you where the problem is.
Thermal Tools: One Short, Honest Section
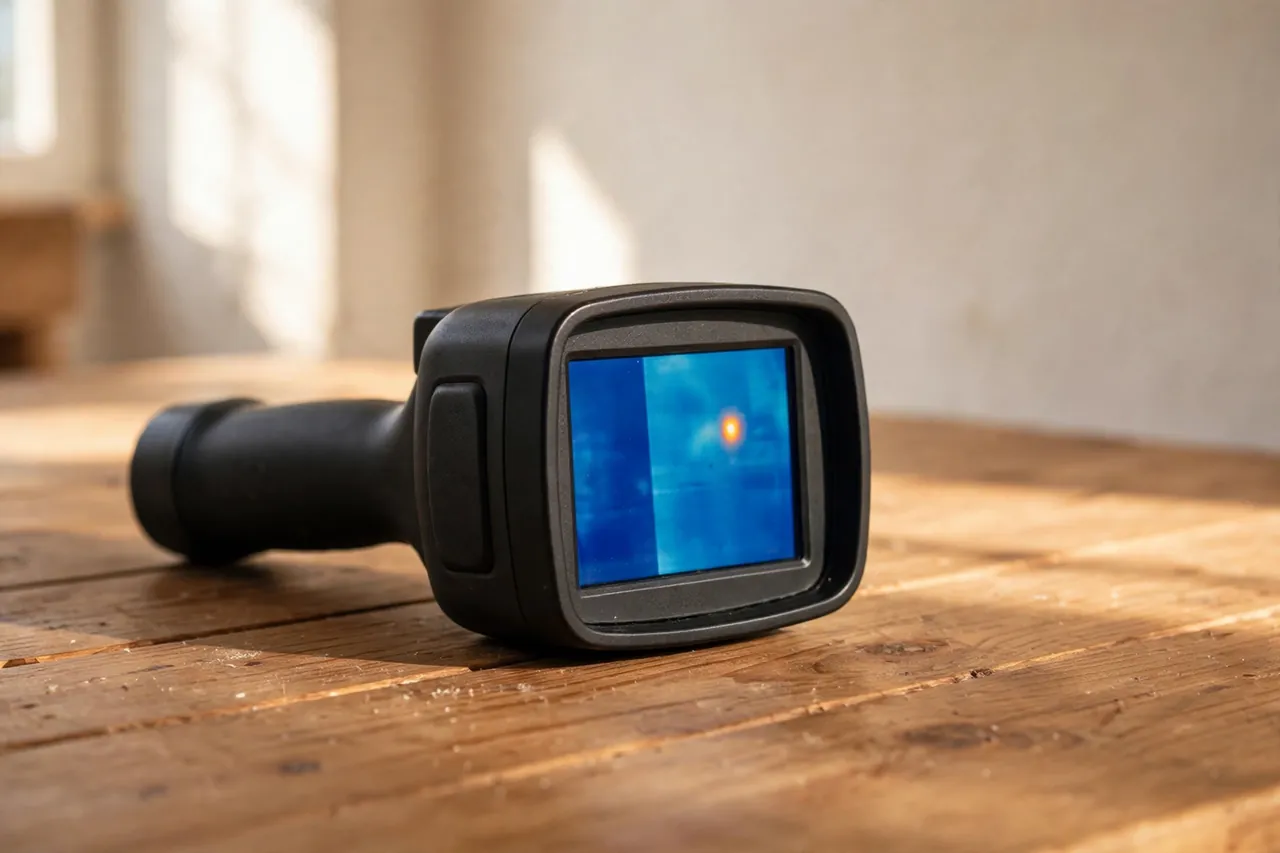
A thermal camera reads surface temperature, and wet material usually reads cooler than dry material because evaporation cools it. A hot-water line leak, on the other hand, can read warmer than its surroundings. That temperature difference is what the camera shows, and it lets you scan a whole wall in seconds.
Treat thermal images as a lead, not proof. Drafty window frames, missing insulation, sun-warmed outside walls, and heating ducts all create cool or warm patches that look just like moisture. Always compare a suspect patch with a known dry section of the same wall, and always confirm a thermal patch with a moisture meter before you act on it. Budget thermal attachments for phones are easy to misread, which is why a full thermal survey is usually a job for a professional with a proper camera and the training to read it. This article keeps thermal tools short on purpose: for most homeowners, the moisture meter does the real work, and the camera only points to where to check next.
Pressure Gauge: Confirm, Do Not Pinpoint
A simple pressure gauge screws onto an outdoor faucet and tells you the water pressure in your system. Used the way plumbers use it, it is a confirmation tool. A plumber closes off one section of pipe at a time, watches the gauge, and learns which section is losing pressure. A section that holds pressure is not the leaking section. A section that falls is.
For a homeowner, a single gauge reading is still useful, just in a narrower way. If your normal pressure has dropped noticeably and the meter test says water is escaping, a gauge reading gives the plumber a starting number when they arrive. The Building America Solution Center’s guide to leaks in water-using fixtures describes a similar pressure-loss test used when checking homes for leaks. What a gauge cannot do is point to a spot on a wall. It answers “is there a leak, and roughly which branch?” It never answers “cut here.” Do not drain your system or close off sections yourself unless you know exactly how your shutoff valves work, because a mistake can leave the house without water or stress old valves into leaking.
A Sensible Order to Use Them
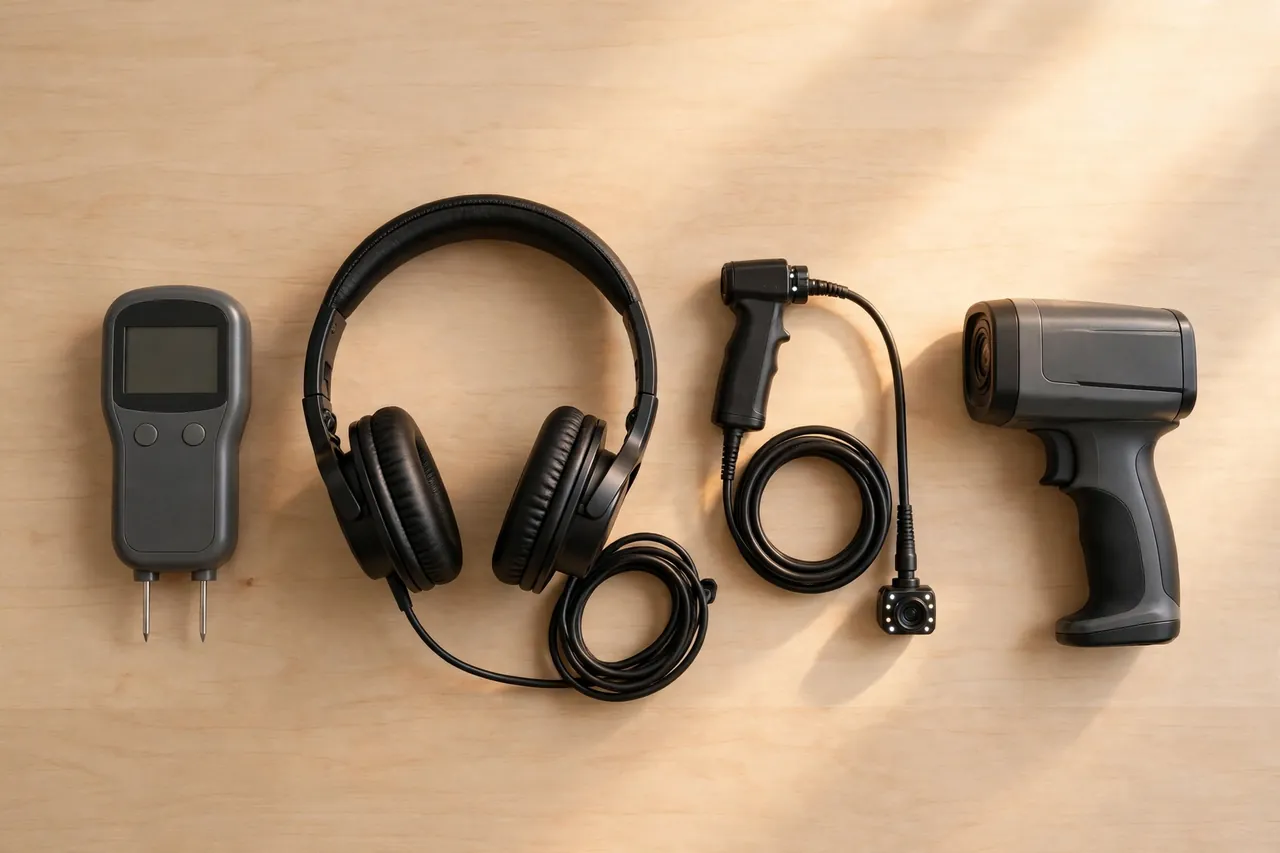
Tools work best in a fixed order, cheapest and least damaging first. Skipping ahead to cutting or to expensive gear is how small leaks turn into big repair bills.
- Run the water meter test. If the meter does not move, you likely do not have a plumbing leak, and the damp patch needs a different explanation, such as rain or condensation.
- Run the toilet dye test on every toilet. A positive test is the cheapest fix in this whole guide.
- Walk the house and look. Check under sinks, around toilets, behind the washing machine, and at every visible pipe joint for drips, stains, bubbling paint, warped flooring, and musty smells. Write down what you find and where.
- Sweep the suspect area with a pinless moisture meter, then confirm the wettest spots with pin readings. Sketch the wet area with its numbers.
- Listen in a quiet house along the suspected pipe run. Mark the loudest spot, but do not cut based on sound alone.
- Confirm any thermal patch with the moisture meter, and use an inspection camera only through a small, safe opening after the wet area is mapped.
- Call a plumber with your notes in hand: the meter test result, the dye test result, the moisture sketch, and the loudest listening spot. That packet saves the plumber time, and it usually saves you money.
When to Stop and Call a Plumber
Some leaks are beyond do-it-yourself detection, and knowing that line is part of using these tools well. Stop and call a licensed plumber if any of these are true: the water meter test confirms a leak but you cannot find its source; water is actively escaping and you cannot stop it; the wet area is growing, sagging, or smells strongly of mold; the leak is under a concrete slab; your water pressure has dropped throughout the whole house; or the suspected pipe is near electrical work, a gas line, or an old, brittle system.
If water is escaping fast, shut off the main water supply if you can do so safely, and then call. Do not wait for a tool delivery while water is running. Also call promptly if you see mold growth or if anyone in the home has breathing trouble around the damp area. A detection tool cannot judge whether mold is present or whether a wall is safe to open, and guessing wrong costs far more than a service visit.
One more caution before any cutting: never open a wall or ceiling where you suspect wiring or a gas line, and never work on a wet electrical fixture or outlet. Water and electricity are a dangerous pair, and a damp wall near an outlet or a light switch is a job for a professional, not a first cut.
Water damage is not a small problem, and this guide cannot cover every home, pipe, or situation. Use these tools to find and document a leak, get a qualified plumber for repairs, and act quickly when water is spreading or damage is getting worse.
Disclaimer: This guide covers general information about leak-finding tools. Cutting into walls, working near wiring or gas lines, and handling sewage or mold-affected materials carry real risks. If you are unsure about any step, stop and consult a qualified plumber or other licensed professional.
Related Guides
For how each detection method works, see how leak detection works; for thermal imaging in depth, our infrared water leak detector guide; and for the free meter test, our water meter leak detector guide.
Frequently Asked Questions
How do you find a water leak in your home?
Start with the water meter test: turn off all water for two hours and see if the meter moves. Then check toilets with a dye test, look at every visible pipe, and sweep suspect walls with a moisture meter to map the wet area. Listening tools and inspection cameras come after the wet area is mapped, not before.
How do I know if I have a leak hidden inside my walls?
Look for bubbling or peeling paint, stains, warped flooring, a musty smell, or a wall that feels cooler than the walls around it. Then confirm it: a moving water meter plus high moisture readings on the same wall strongly suggest a hidden leak. One sign alone is a hint, not proof.
Can a moisture meter detect a leak?
Yes, with an important limit. A moisture meter detects wet material, which tells you where water has collected, but it cannot name the leaking pipe or prove the water came from a pipe. Pair it with the water meter test. Wet material plus a moving meter points to a plumbing leak.
Is there a device that detects moisture in walls?
Yes. A pinless moisture meter is made for exactly this job. It scans drywall and other materials without leaving holes, usually to a depth of about three-quarters of an inch. For a precise reading at one spot, a pin meter is the follow-up tool.
Is there a tool that can detect water leaks?
There is no single tool that does it all. Moisture meters map wet areas, acoustic tools listen for pressurized leaks, inspection cameras look inside cavities, thermal cameras spot temperature differences, and pressure gauges confirm which section is losing water. Finding a hidden leak is a job for several tools used in order.
When should you call a professional plumber?
Call one if the meter test confirms a leak you cannot find, if water is escaping fast, if the wet area is growing or smells of mold, if the leak is under a slab, or if the pipe is near wiring or gas. Shut off the main water supply first if it is safe to do so, then call.
The Bottom Line
A water leak detector tool earns its place by saving you from guesswork. Run the free meter test, check the toilets, map the wet area with a moisture meter, and use listening, camera, and thermal tools only to confirm what the map already suggests. Write everything down, and hand those notes to a plumber the moment the search goes past what you can safely check yourself. The cheapest leak repair is the one found early, in the right spot, on the first try.