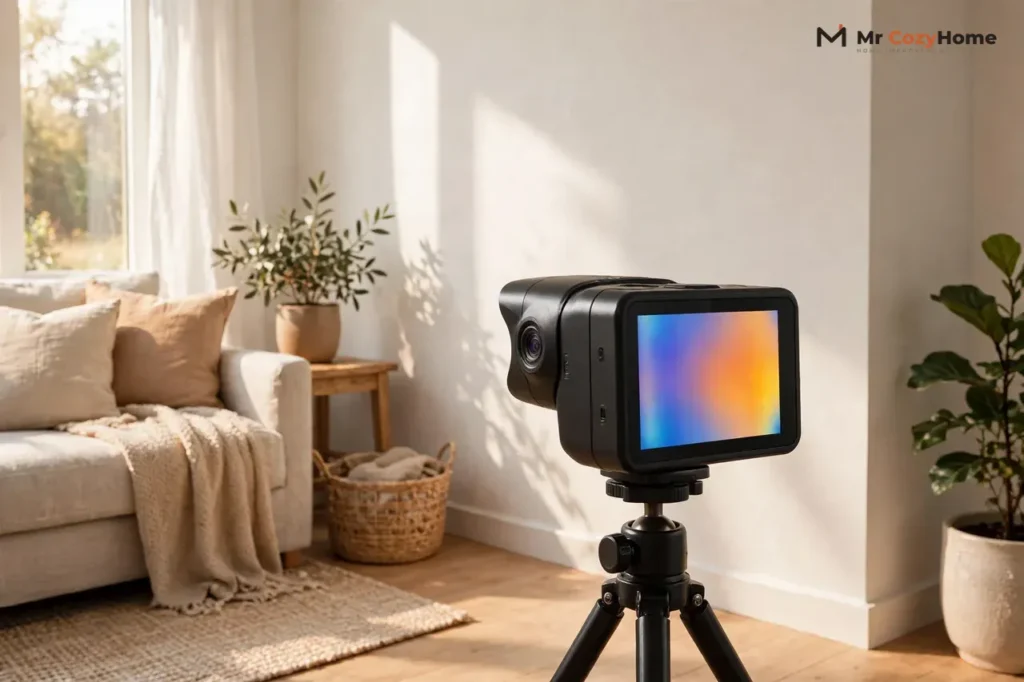
An infrared water leak detector is a thermal camera that turns surface temperatures into a color picture. A wet patch behind a wall or under a floor usually shows up cooler than the dry wall around it, because the water cools the surface as it evaporates. So the camera can point you to a hidden leak without opening the wall. But it never shows the water itself. It shows heat patterns, and those patterns still need a second check before you cut anything open.
This guide explains how the tool works, what it can and cannot find, and when to call a professional. One rule comes first: never tear open a wall because of a colored patch alone. A cool patch can also mean missing insulation, a draft, or a cold pipe that is working exactly as it should.
How an Infrared Water Leak Detector Actually Works
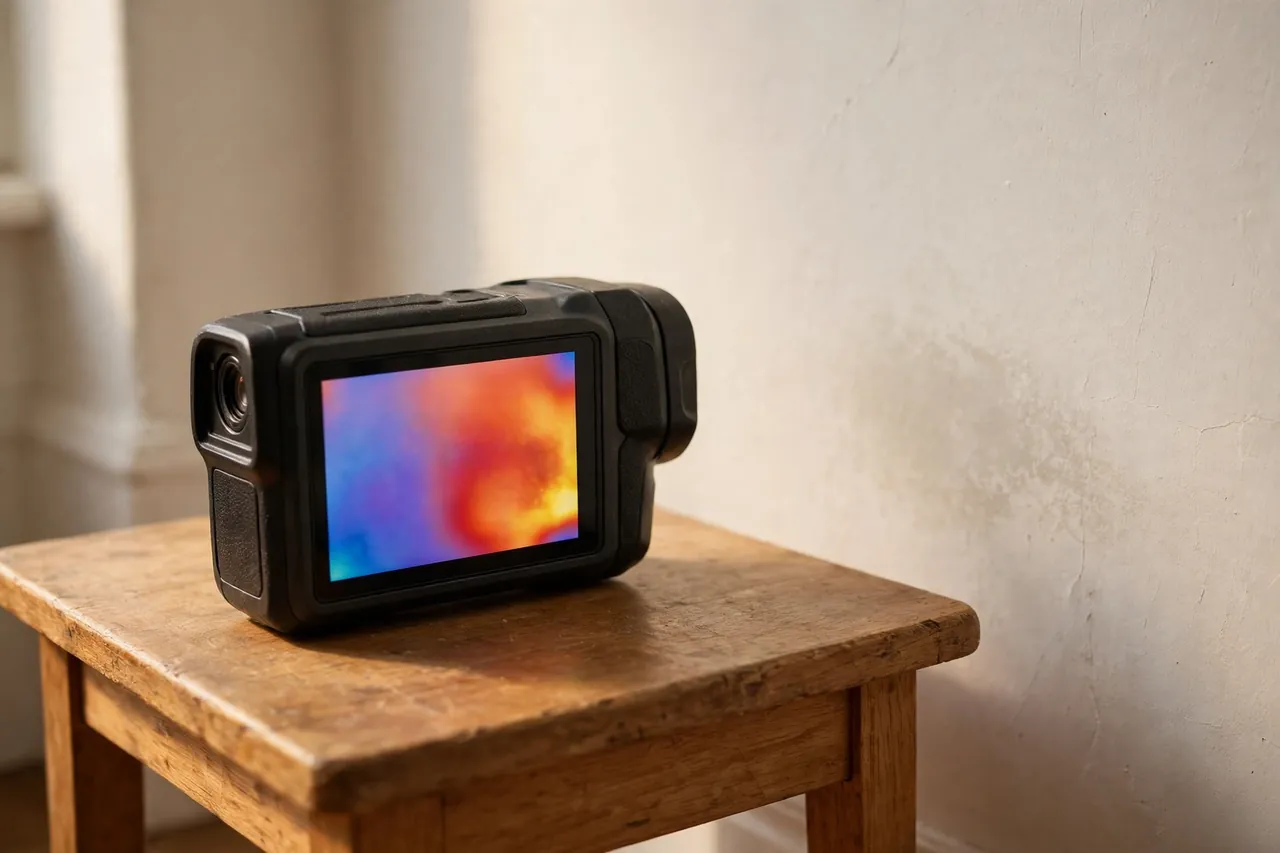
Every object gives off invisible infrared energy, and the amount depends on how warm its surface is. A thermal camera reads that energy and paints it as a picture, often called a thermogram. Warmer areas show up in yellows, oranges, or whites, and cooler areas in blues or purples, depending on the color palette you pick.
The camera does not look through a wall. It only reads the temperature of the surface it can see. That is still useful, because a leak changes the temperature of the surface above it. Water escaping from a pipe soaks into drywall, wood, or concrete, and as that water evaporates, it cools the surface. A hot water line leak works the other way: it warms the floor or wall around it.
That is why the tool is best at finding a pattern, not a pipe. A long, cool streak along a wall may follow the path of a leaking pipe. A round, cool patch on a ceiling may sit below a slow drip from the bathroom above. The shape of the pattern tells the trained eye where to look next, and that is the whole job of the camera.
Professionals often make the pattern clearer on purpose. They run hot or cold water through the pipes to create a sharp temperature difference, then scan the walls and floors while that difference is fresh. This is called creating a controlled temperature difference. Without some difference between the water and the wall, there is nothing for the camera to see.
A phone attachment camera and a professional camera do the same basic job, but they are not equal. The professional tool is usually more sensitive, which means it can show smaller temperature differences. Small differences matter here, because a slow leak may only cool a wall by a small amount. One thermal imaging guide recommends a sensitivity below 60 millikelvin for tracing moisture, and notes that entry-level cameras with very low resolution are better at flagging big problems than at tracing a leak to its source.
What It Can Find (and What It Cannot)
A thermal camera is a screening tool. It is very good at answering one question: where is this surface warmer or cooler than it should be? It is not good at answering the next question on its own: why? That second question is where most mistakes happen.
The table below keeps the two questions apart. Read it before you trust any single image.
What the camera shows, and what it really means
| What you see on screen | What it may mean | What to do next |
|---|---|---|
| A cool patch on a wall or ceiling | Wet material, missing insulation, or a cold draft | Check it with a moisture meter before you open anything |
| A warm streak on a floor | A hot water line, a heating pipe, or a leak from one | Compare it with the same spot in a dry room |
| A cool line following a wall | A pipe run carrying cold water, or water escaping from it | Trace the line to its start and check for dampness there |
| A bright spot on a shiny surface | A reflection of something warm nearby, not heat from the surface | Move two steps to the side and scan again; a reflection moves, a real pattern stays put |
| Nothing unusual at all | No temperature difference right now, or a leak too deep to reach the surface | Do not call the wall dry on this alone; use a moisture meter or another method |
Notice what is missing from that table: the camera never tells you how deep the water is, how much water is there, or whether mold is growing. It cannot see mold, because mold has no temperature of its own. It can only find the damp conditions mold likes, which is still useful, but it is not a mold test.
The camera also cannot see through thick masonry. A leak deep inside a thick brick or stone wall may never change the surface temperature enough to show up. In that case, a moisture meter or a probe is still the better tool, even though it covers a smaller area.
How Pros Use It: Step by Step
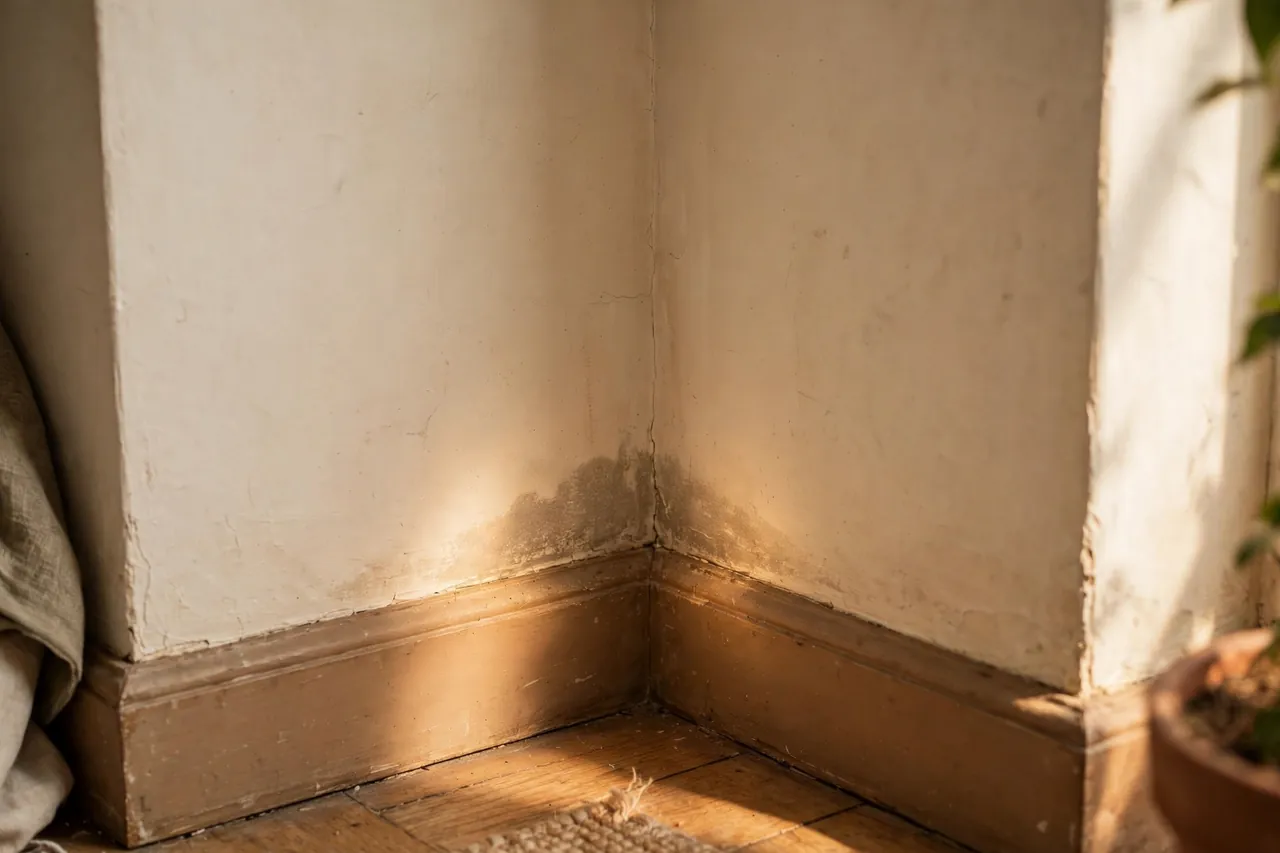
A professional leak hunt with a thermal camera follows a steady order. The camera is only one step in it, and skipping the confirmation steps is how walls get opened for no reason.
- Set a baseline first. The technician scans a dry, healthy area of the same material first, so the camera has an honest comparison. A wall that is cool everywhere tells you nothing. A wall that is cool in one spot, next to warm dry wall, tells you where to look.
- Make the leak show itself. If the pipes are at the same temperature as the walls, the technician may run hot or cold water through the system to create a difference, then scan while the difference is still there.
- Scan from the suspected source outward. The sweep starts near the likely source, such as a bathroom or a water heater closet, and moves into the rooms next to it. Every odd patch gets marked on a floor plan instead of judged on the spot.
- Confirm each flag with a moisture meter. A pin meter presses two small probes into the material, and a pinless meter scans without holes. Either one answers the question the camera cannot: is this exact spot actually wet? FLIR, the best-known thermal camera maker, gives the same advice in its own building audit guidance: a cool spot does not have to be an air leak, it can be moisture, and a moisture meter should confirm water intrusion.
- Open only the marked spot. Once a wet area is confirmed, the repair opens the smallest area that gives access to the leak. The camera’s job was to shrink that opening from a whole wall down to one patch.
- Scan again after drying. After the repair and drying, a second scan checks that the wall is back to the same temperature as the dry baseline. That final scan is the proof that the job is done, not just the repair itself.
Notice the pattern: the camera narrows the search, and the meter confirms it. Neither tool does the whole job alone, and any report that leans on thermal images without meter readings should be treated as unfinished.
When to Try It Yourself, and When to Call a Pro
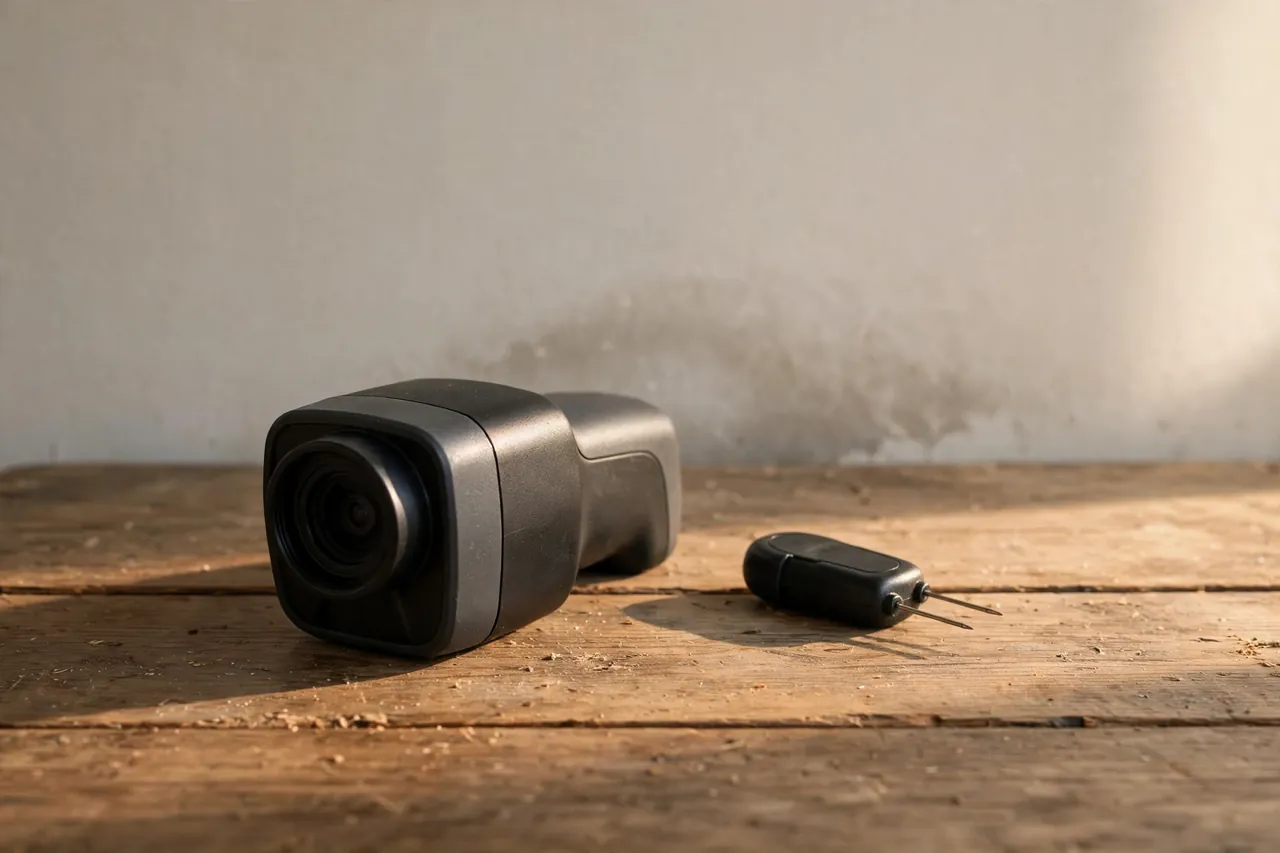
A homeowner can use a thermal camera well for one job: finding where to look. A phone attachment camera is enough to scan a ceiling stain, check whether a damp patch is spreading, or compare a suspect wall with a dry one. If you already own one, or can borrow one, a careful scan costs nothing and can save you from guessing.
But there are clear lines where a professional earns their fee. Call one when the leak is under a slab or a tiled floor, when water is near wiring or an electrical panel, when the ceiling is sagging, or when you smell sewage. A slab leak may show almost no surface cooling, and a sagging ceiling can come down. Those are not learning exercises.
Call a pro, too, when the first scan finds nothing but the signs of a leak are still there: a rising water bill, a musty smell, paint that keeps bubbling, or a floor that feels soft. A clean thermal image never proves a wall is dry. It only proves there was no temperature difference at the moment you scanned.
What to ask before you hire: whether the technician confirms thermal findings with a moisture meter, and whether you will get the images and the meter readings in writing. A good report shows both. If a company offers to open walls based on thermal images alone, get a second opinion first.
Reading the Image Without Fooling Yourself
Most bad thermal readings come from the same handful of traps. Knowing them in advance is worth more than a better camera.
First, shiny surfaces lie. Metal, glass, glazed tile, and polished stone reflect infrared energy instead of giving off their own. A polished pipe can look cold or hot purely because it is reflecting a window, a lamp, or your own body heat. Matte surfaces like painted drywall and wood read far more honestly. If a suspicious reading sits on anything smooth or shiny, move two steps sideways and scan again. A real temperature pattern stays put. A reflection slides across the surface as you move.
Second, the house itself makes patterns. Missing insulation looks like a cool patch. A heating vent blowing across a wall makes a cool zone that can mimic moisture. Sunlight warming one side of a room, and wind cooling the other, can both paint false patterns. That is why one inspection guide recommends turning the heating and cooling off for about an hour before scanning, so the house settles into a steady temperature.
Third, timing matters. A leak that has just started may not have cooled the surface yet. A surface that has already dried may look normal while the inside of the wall is still wet. And a room at full humidity hides the cooling effect of evaporation, because wet air slows evaporation. The best scans happen when indoor and outdoor temperatures differ, and the air is not saturated.
Finally, compare, do not admire. A single colorful image proves nothing. The useful comparison is always the same material, in the same house, in a spot you know is dry. If the suspect patch and the dry patch look the same, you have no finding, no matter how dramatic the colors look.
Infrared vs Other Leak-Finding Tools
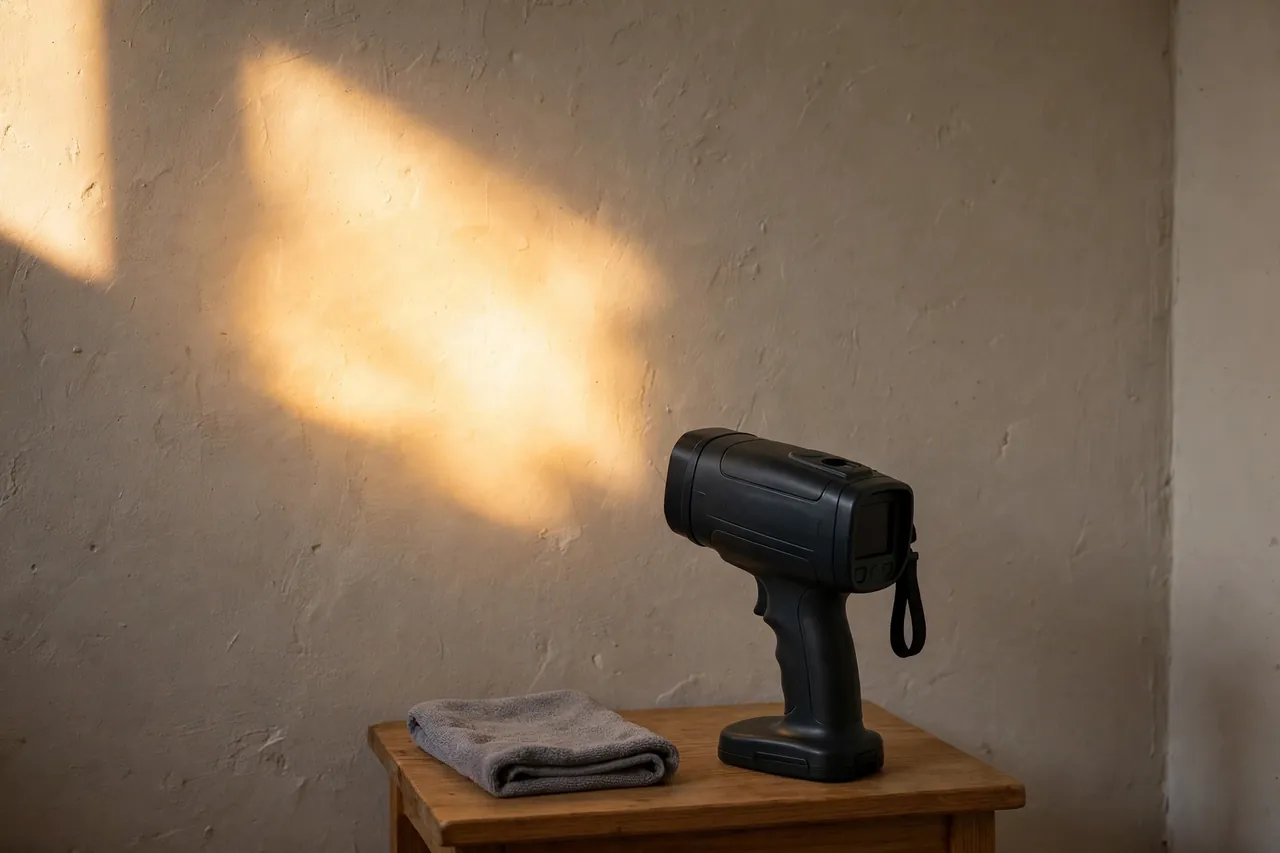
Thermal imaging is one tool in a small kit, and each tool reads a different clue. A moisture meter reads the material itself: is this exact point wet? Its coverage is narrow, but its answer is direct, which is why it is the standard confirmation step after a thermal scan.
Acoustic listening equipment reads sound: pressurized water escaping from a pipe makes a noise that a trained ear and a sensor can follow. It works well under slabs and for irrigation lines, where a leak may cause little surface cooling at all. But it is less useful when the line is not pressurized or the leak is quiet.
A water meter check reads the whole house at once. If the meter moves while every tap is off, water is going somewhere it should not. That test tells you a leak exists, but it cannot tell you where. That is exactly the gap a thermal camera fills: it turns “somewhere in this house” into “this patch of this wall.”
The honest way to use them together is in that order. The meter check proves there is a leak. The thermal scan narrows it to a zone. The moisture meter confirms the zone is wet. The acoustic tool, where it fits, pins down a pressurized pipe. No single tool replaces the rest, and any company that sells you one tool as a complete answer is overselling it.
Your Checklist Before You Scan
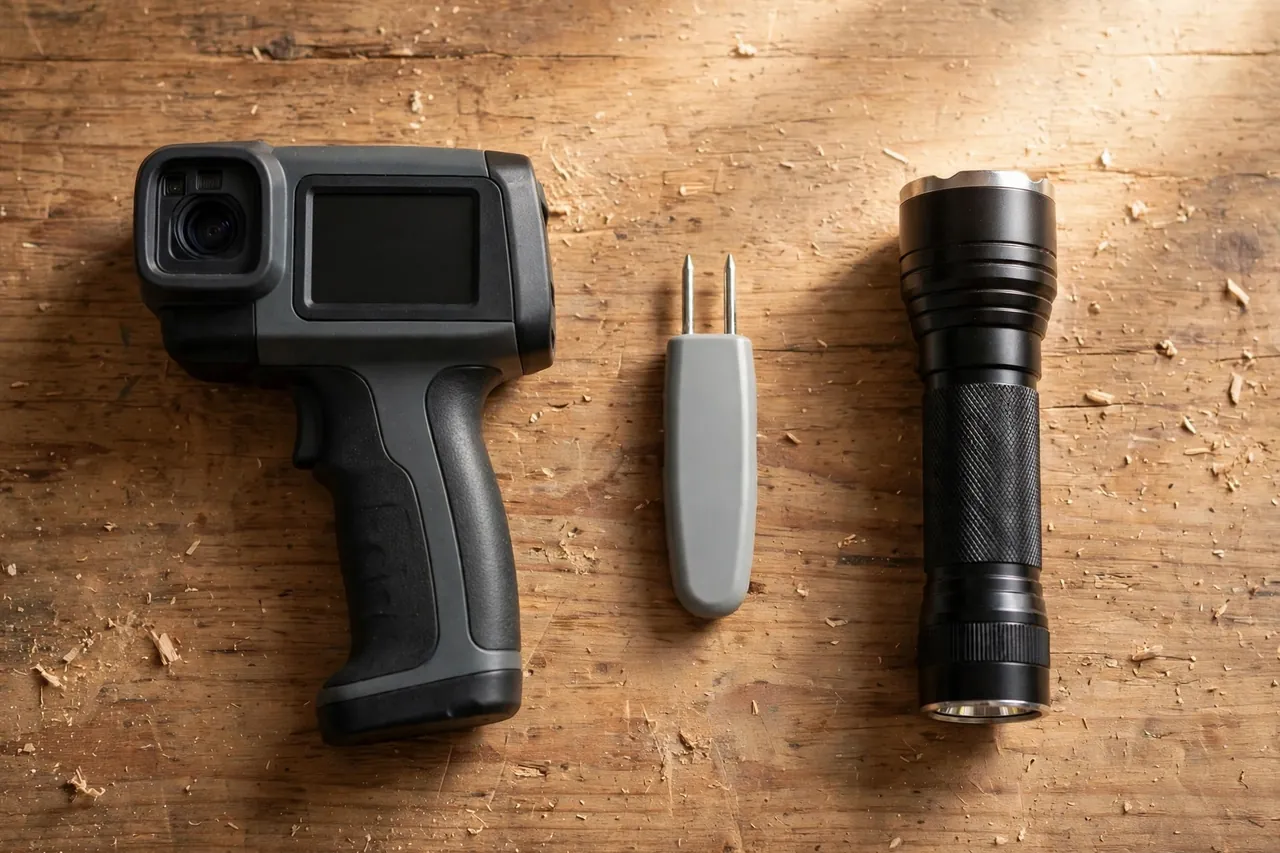
If you are scanning your own home, run through this short list first. It takes ten minutes and prevents most false readings.
- Turn the heating and cooling off for about an hour, so the house settles to a steady temperature.
- Pick a dry reference spot made of the same material, and scan it first.
- Scan in the same light each time, and keep direct sunlight off the wall you are checking.
- Note anything shiny in the frame, and re-scan those spots from a different angle.
- Mark every odd patch, then check each one with a moisture meter before you decide anything.
- Take a normal photo of each patch next to the thermal image, so you can find the spot again later.
If you find a confirmed wet patch, shut off the water to that area if you can do it safely, and move anything valuable out of the way. Then decide whether the repair is yours or a plumber’s. A visible pipe joint is a fair homeowner repair. A leak inside a wall, under a slab, or near wiring is a professional’s job.
Related Guides
To see how thermal imaging fits beside the other methods, read how leak detection works, and for the full finding toolkit, our water leak detector tool guide.
Frequently Asked Questions
Can a thermal camera see water inside a wall?
Not directly. It sees the cool patch that evaporating moisture creates on the wall’s surface. If the water has changed the surface temperature, the camera maps it well. If it has not, the camera sees nothing, which is why a clean scan reassures you but never certifies that a wall is dry.
Can a thermal camera detect water leaks behind walls?
Yes, it can help, by showing temperature differences caused by hidden moisture in drywall or insulation. When water seeps in, it often creates cooler or warmer areas than the dry surface around it. The camera narrows the search without opening the wall, but a moisture meter should still confirm the finding.
Can thermal imaging detect mold?
No. Mold has no temperature signature of its own, so the camera cannot see it. What thermal imaging finds is the moisture that mold grows in, which makes it an early warning tool. Confirming mold needs an inspection and, where warranted, sampling at the spots the moisture pattern points to.
What are the best conditions for finding moisture with a thermal camera?
You need a temperature difference between the material and its surroundings, plus active evaporation. That usually means scanning when indoor and outdoor temperatures differ, and the room is not saturated with humidity. A recently dried surface, or a room at full equilibrium, hides the signature.
Do I need a special thermal camera to find moisture?
You need a sensitive one. Moisture gradients are subtle, and one specialist guide recommends a sensitivity below 60 millikelvin, with enough resolution to show the patch’s shape, since shape helps separate moisture from its look-alikes. Entry-level cameras flag big problems well, but tracing a leak to its source needs the mid-tier and up.
An infrared water leak detector earns its place by shrinking the search: from a whole house, to one wall, to one patch. Used that way, with a moisture meter as its partner, it saves cut drywall, guesswork, and repair bills. Used alone, as proof of water, it will eventually fool you. Respect what it shows, confirm what it suggests, and call a professional when the water is deep, hidden, or anywhere near wiring.
Disclaimer: This guide is general information, not a diagnosis of your home. Conditions, materials, and leak sizes vary, and a thermal image alone cannot confirm water, mold, or structural damage. Do not cut into walls, floors, or ceilings near wiring, gas lines, or load-bearing structure. For leaks under slabs, near electrical panels, or where ceilings sag or sewage is involved, call a licensed plumber or restoration professional.