Permanent outdoor Christmas lights are LED lights fixed under your eaves in a slim track, so they stay up all year and change color from an app. A DIY kit for a typical 100–150 ft roofline costs about $300–$900 in materials, while professional installation runs about $2,000–$6,000 for the same home (prices checked October 2026).
That price gap is the whole decision. This guide breaks down the honest per-foot math, what you actually get for the pro price, how a DIY install really goes, and the year-round uses that decide whether the lights are worth it at all.
What Are Permanent Outdoor Christmas Lights?
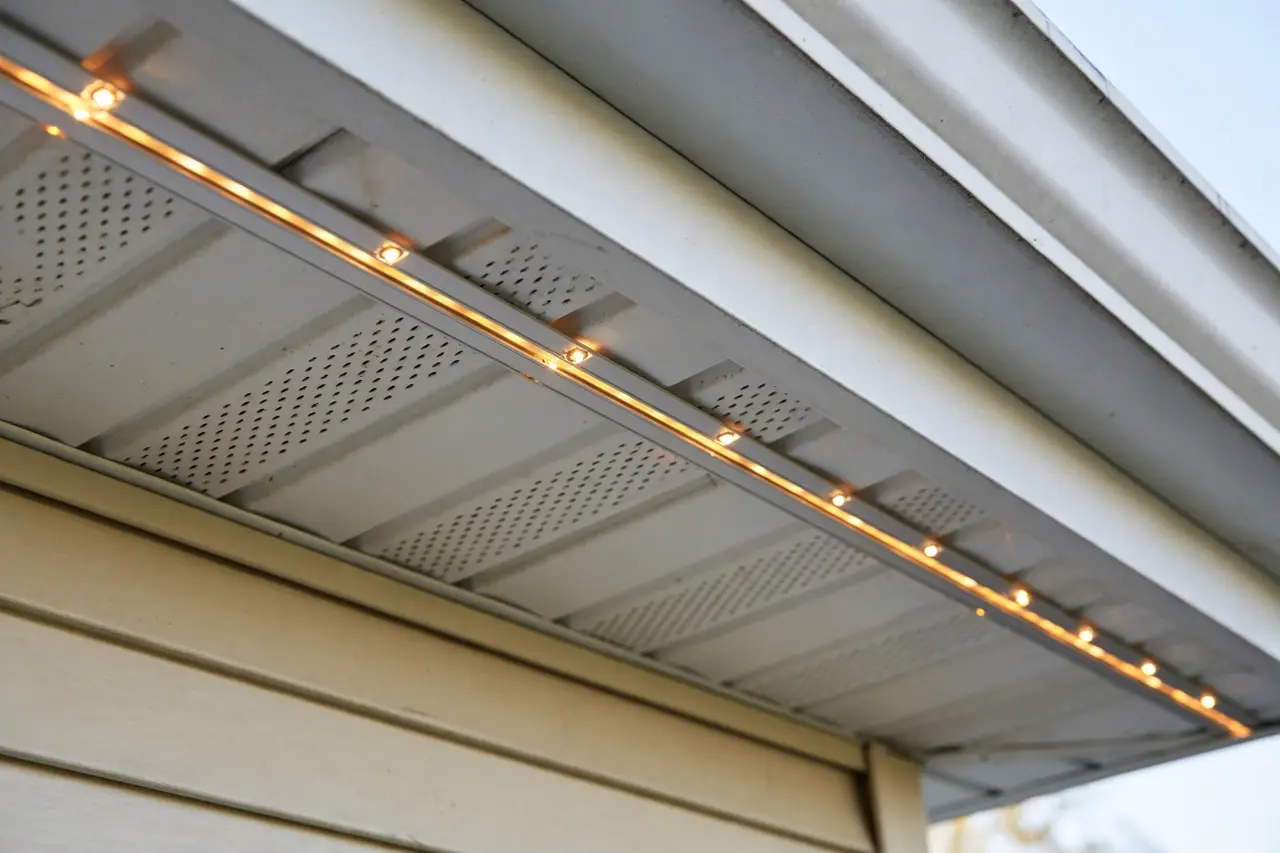
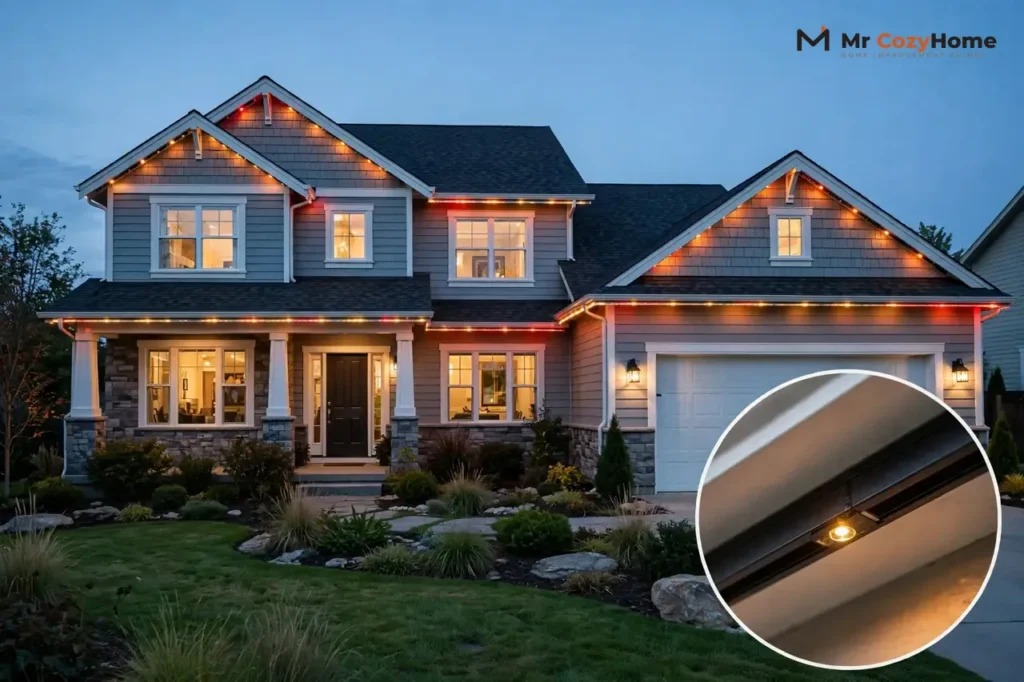
A permanent system is a string or strip of small LED bulbs mounted in a fixed channel along your roofline, usually tucked under the eaves or behind the fascia board. Unlike seasonal string lights, it is wired once, sealed against weather, and left in place for years.
By day, a good system is nearly invisible. The track is often color-matched to your trim, and the small bulbs face downward, so most neighbors never notice them until they light up at night.
At night, you control everything from your phone: colors, brightness, patterns, timers, and schedules. One tap turns the same lights red and green for Christmas, orange for Halloween, or a soft warm white for an ordinary Tuesday.
There are two very different ways to buy them:
- DIY kits from brands like Govee and eufy. You measure, mount, and connect them yourself.
- Pro-installed track systems from local dealer networks such as Trimlight, JellyFish, EverLights, and Gemstone. A crew designs, installs, and warranties the system for you.
Both routes give you app-controlled, year-round lights. They differ in cost, finish, warranty, and how much ladder time you personally sign up for.
How Much Do Permanent Outdoor Christmas Lights Cost?
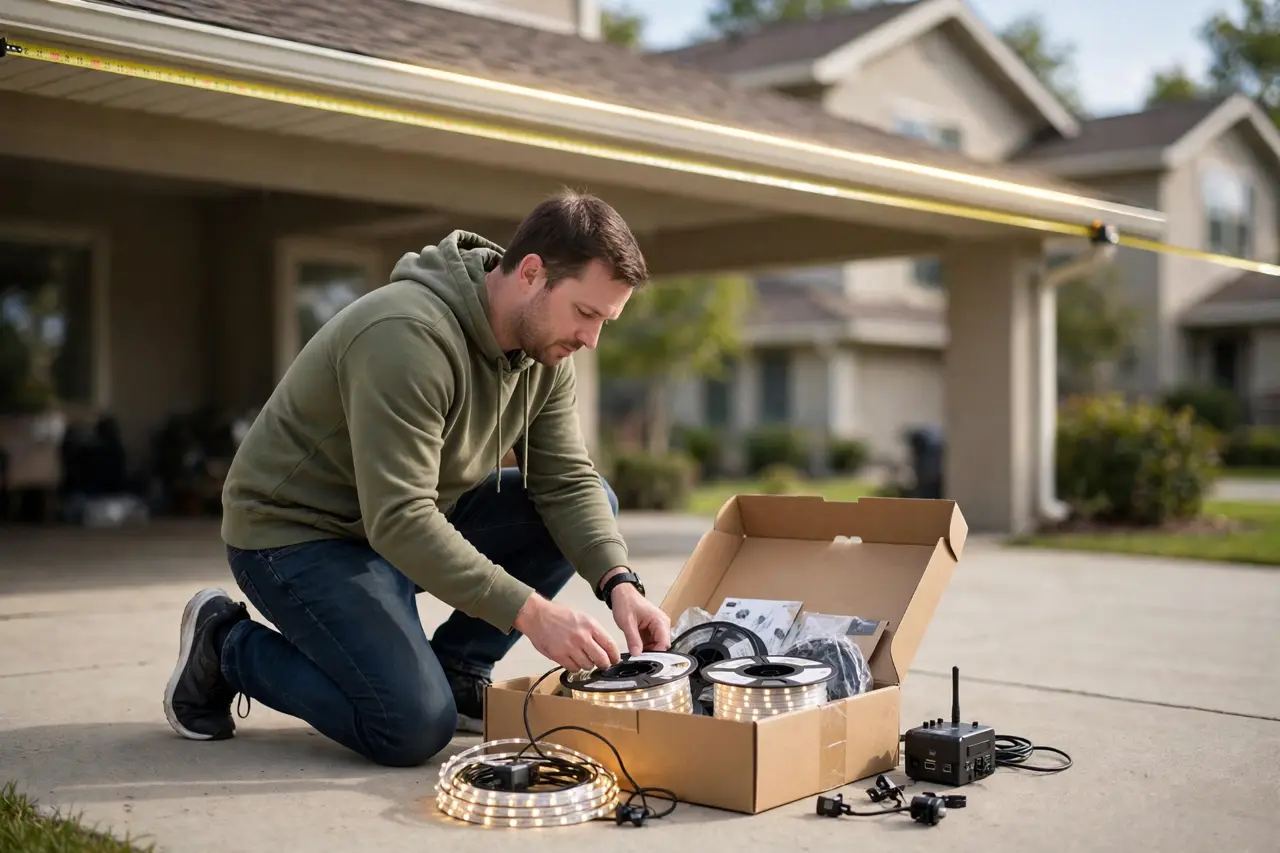
Almost every price in this category is quoted per linear foot of roofline, so your first job is knowing your number. A typical single-story home needs about 100–150 ft to cover the front and sides. Measure yours before you compare anything, because a quote means nothing until it is multiplied by your footage.
DIY kit costs
DIY kits run about $3–$6 per foot for materials, according to eufy’s permanent lighting cost guide (checked October 20, 2026). Real kits match that range. The eufy Permanent Outdoor Lights E22 lists at $299.99 for 100 ft on eufy.com, and the Govee Permanent Outdoor Lights 2 lists at $330 for 100 ft (prices checked October 21, 2026). Both work out to roughly $3–$3.30 per foot, with no labor cost because the labor is you.
Premium DIY kits cost more. The Govee Permanent Outdoor Lights 2 Pro, launched in September 2026, is $499.99 for 100 ft and $799.99 for 200 ft at Govee.com and Amazon (checked October 20, 2026) — about $4–$5 per foot. EverLights sells its DIY kits at flat prices from $750 to $2,700, depending on size and features (manufacturer-published, checked October 20, 2026).
Pro-installed costs
Professional systems cost far more because you are paying for the crew, the commercial-grade track, and the warranty, not just the lights. Trimlight’s own 2026 pricing guide puts installed cost at $18–$35 per linear foot, with a typical home landing between $2,000 and $6,000 (checked October 20, 2026). JellyFish Lighting cites $25–$35 per foot and an average job of about $4,600. eufy’s guide gives a similar pro range of $20–$40 per foot.
Here is the same roofline priced both ways, using $3–$6 per foot for DIY materials and $20–$40 per foot for a pro install:
Cost comparison for a typical roofline (USD, checked October 2026)
| Roofline length | DIY kit (materials only) | Pro-installed system |
|---|---|---|
| 100 ft | $300–$600 | $2,000–$4,000 |
| 125 ft | $375–$750 | $2,500–$5,000 |
| 150 ft | $450–$900 | $3,000–$6,000 |
Budget a little beyond the headline price, too. eufy’s cost guide notes that long runs may need power boosters, low-voltage extensions, or an extra weatherproof outlet, and that pro installers usually fold those parts into their quote while DIY buyers purchase them separately. If your only outdoor outlet is far from where the run starts, price that fix in before you compare totals — it narrows the gap slightly, and it is better to know now.
Two honest warnings about pro pricing. First, some brands publish no price at all: Gemstone Lights, for example, works through dealers who quote each home individually, so you cannot comparison-shop it online (checked October 20, 2026). Second, the lowest per-foot quote is not always the best deal — ask what the warranty covers and for how long, because Trimlight’s guide, for instance, separates a lifetime product warranty (parts) from a shorter dealer labor warranty.
DIY Kit vs Pro-Installed System: What the Extra Money Buys
The lights themselves are similar LEDs. The price difference buys finish, support, and your own weekend back.
What DIY does well:
- Lowest total cost by a wide margin — often one-tenth of a pro quote.
- Full control: you choose the exact kit, spacing, and layout.
- Easy upgrades, because mainstream kits from Govee and eufy keep adding app features.
- No installer scheduling — most owners finish in a weekend.
What the pro price adds:
- A rigid aluminum track that hides wires completely and looks like part of the trim.
- A crew that handles two-story peaks, steep roofs, and tricky corners.
- One company to call when a section fails, with parts and labor warranties.
- Custom cutting and fitting around gables, dormers, and returns.
The honest middle ground: if your roofline is a simple single-story run and you are comfortable on a ladder, a DIY kit gives you 90% of the result for about 10% of the price. If your home has high peaks, an HOA with strict appearance rules, or you simply will not climb a ladder, the pro track earns its premium.
How to Install Permanent Outdoor Lights Yourself
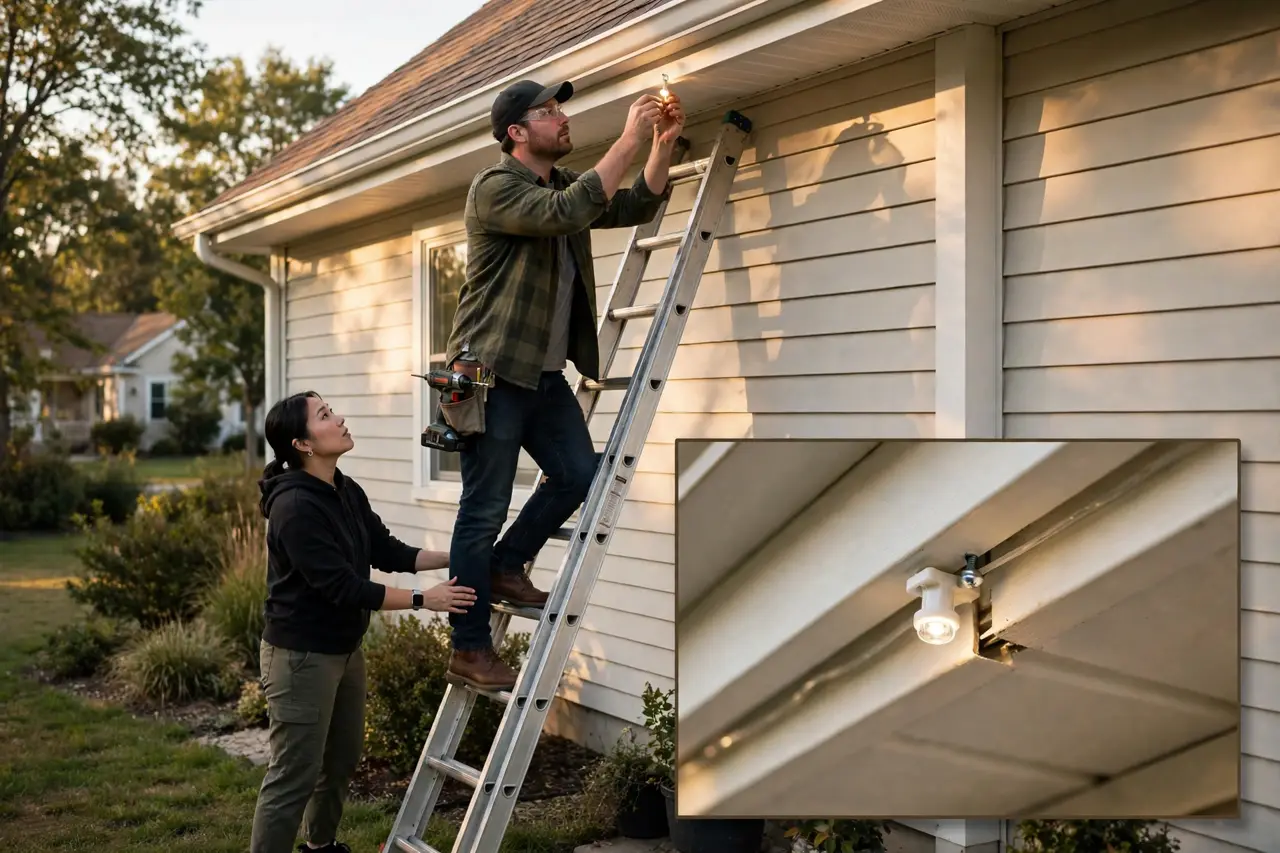
Most DIY installs follow the same pattern, whether the box says Govee, eufy, or another brand. Govee’s kits are the most common starting point, so here is how a typical Govee permanent outdoor lights installation goes.
Before you start: work on a dry day, use a sturdy ladder with a helper spotting you, and keep both hands free on the climb. If any part of your roofline cannot be reached safely from a ladder, stop and hire that part out.
- Measure the roofline. Walk the eaves with a tape or use a measuring app, and add a little extra for corners. Kits come in fixed lengths such as 50, 100, 150, and 200 ft, and most can be cut at marked points or extended with a second strand.
- Plan the power source first. The whole run feeds from one controller and power adapter, which must reach a covered outdoor outlet. Decide where the run starts before you mount anything, and keep the adapter sheltered from direct rain.
- Test the full strand on the ground. Plug everything in, connect the app, and confirm every light works before a single clip goes up. Replacing a dead strand on the ground takes minutes; on a ladder, it ruins your day.
- Clean the mounting surface. Wipe the underside of the eave or fascia where the lights will sit. Dust and peeling paint are the main reasons adhesive mounts let go later.
- Mount the lights, working away from the outlet. Most kits use strong adhesive pads, with screws or clips as the permanent hold. A common approach is adhesive to position each light, then screws or clips for long-term security. Keep even spacing — about 2–4 inches out from the wall gives the smooth wall-wash glow these systems are known for.
- Run and secure the wire neatly. Tuck slack into the eave, keep the cable straight between lights, and avoid sharp bends at corners.
- Connect the controller and set up the app. Pair the lights to your 2.4 GHz home Wi-Fi, name the zones, and test colors, brightness, and timers from the ground.
- Check the look after dark. Walk to the street and look for dark gaps, uneven spacing, or one section brighter than the rest, then adjust before you call it done.
Three mistakes make DIY installs look cheap, and all three are easy to avoid. Mounting lights flush against the wall creates harsh scallops instead of a smooth wash — keep the 2–4 inch offset. Trusting adhesive alone on rough or dusty surfaces leads to sagging strands by spring — add the screws or clips. And daisy-chaining strands past the kit’s stated maximum run length dims the far end or kills it — check the manual’s limit before you plan a 200 ft run on one controller.
The Govee Permanent Outdoor Lights 2 Pro (100 ft, $499.99, checked October 20, 2026) adds an IP68-rated light string — the strongest weather rating in this class — plus Matter support, so it works with Alexa, Google Home, and other Matter platforms instead of only the Govee app. The standard Govee 2 and eufy E22 are IP67-rated, which still handles rain and snow fine for eave mounting.
💡 Practical Home Tip: Mount one short section and view it from the street at night before doing the whole house. Spacing and distance from the wall change the look completely, and it is far easier to move three lights than thirty.
What About HOAs and Neighbors?
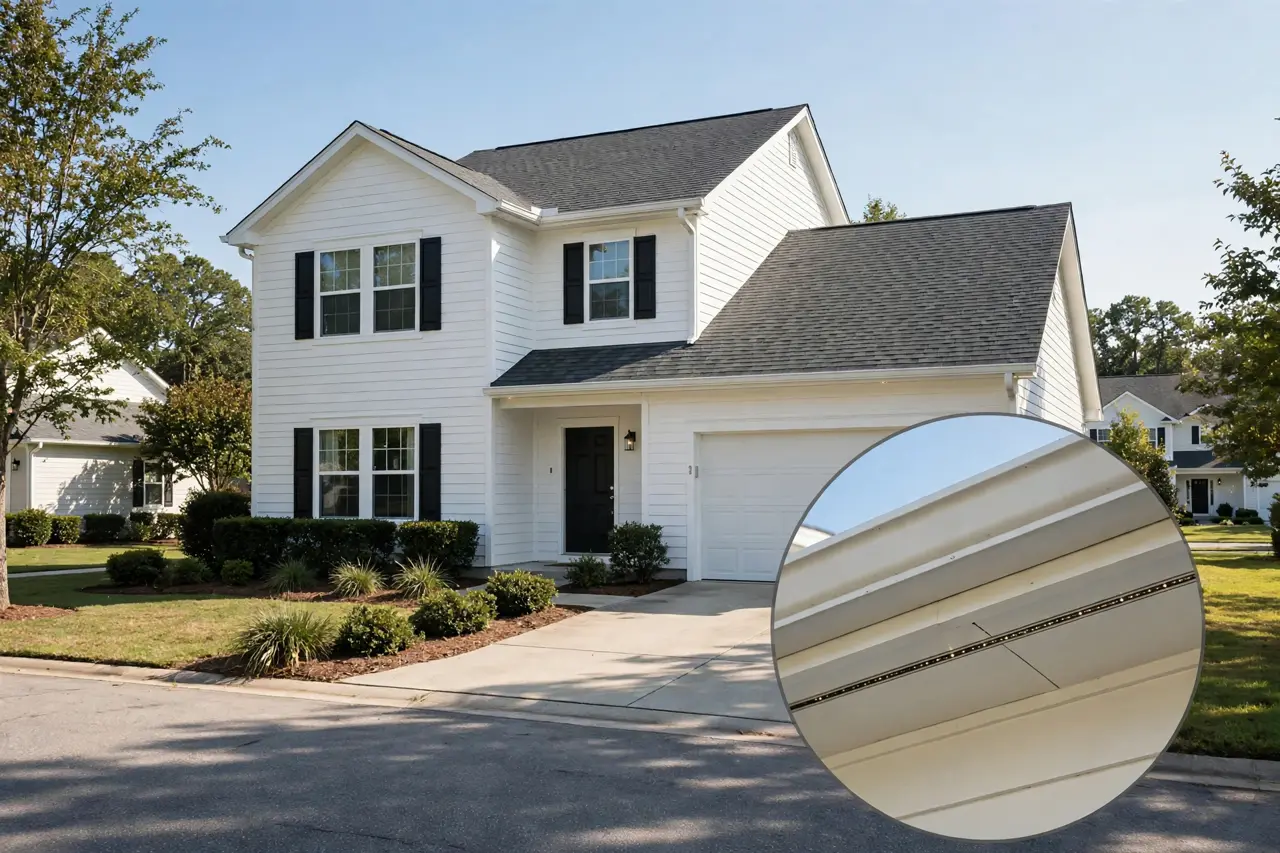
Many buyers worry that permanent lights will upset a homeowners association. In practice, these systems are easier to defend than seasonal strings, for one simple reason: they are designed to disappear.
The track mounts under the eaves, the bulbs point down, and the hardware is usually color-matched to your trim. From the street in daylight, most people see nothing at all. Compare that with clip-on seasonal lights, hooks, and cords hanging visibly for two months a year.
Still, check before you spend:
- Read your HOA rules for anything about exterior fixtures, permanent attachments, or lighting.
- Some HOAs restrict when colored or animated lights may run, even if the hardware itself is fine.
- Get the answer in writing if your rules are vague — approval for a $400 kit matters less than approval for a $4,000 pro install you cannot remove easily.
For neighbors, the courtesy rules are simple. Use timers so lights go off at a reasonable hour, keep brightness moderate on weeknights, and point lights at your own walls, not across the street. A warm white glow rarely bothers anyone; a strobing color show at midnight might.
Year-Round Use: Where the Real Value Is
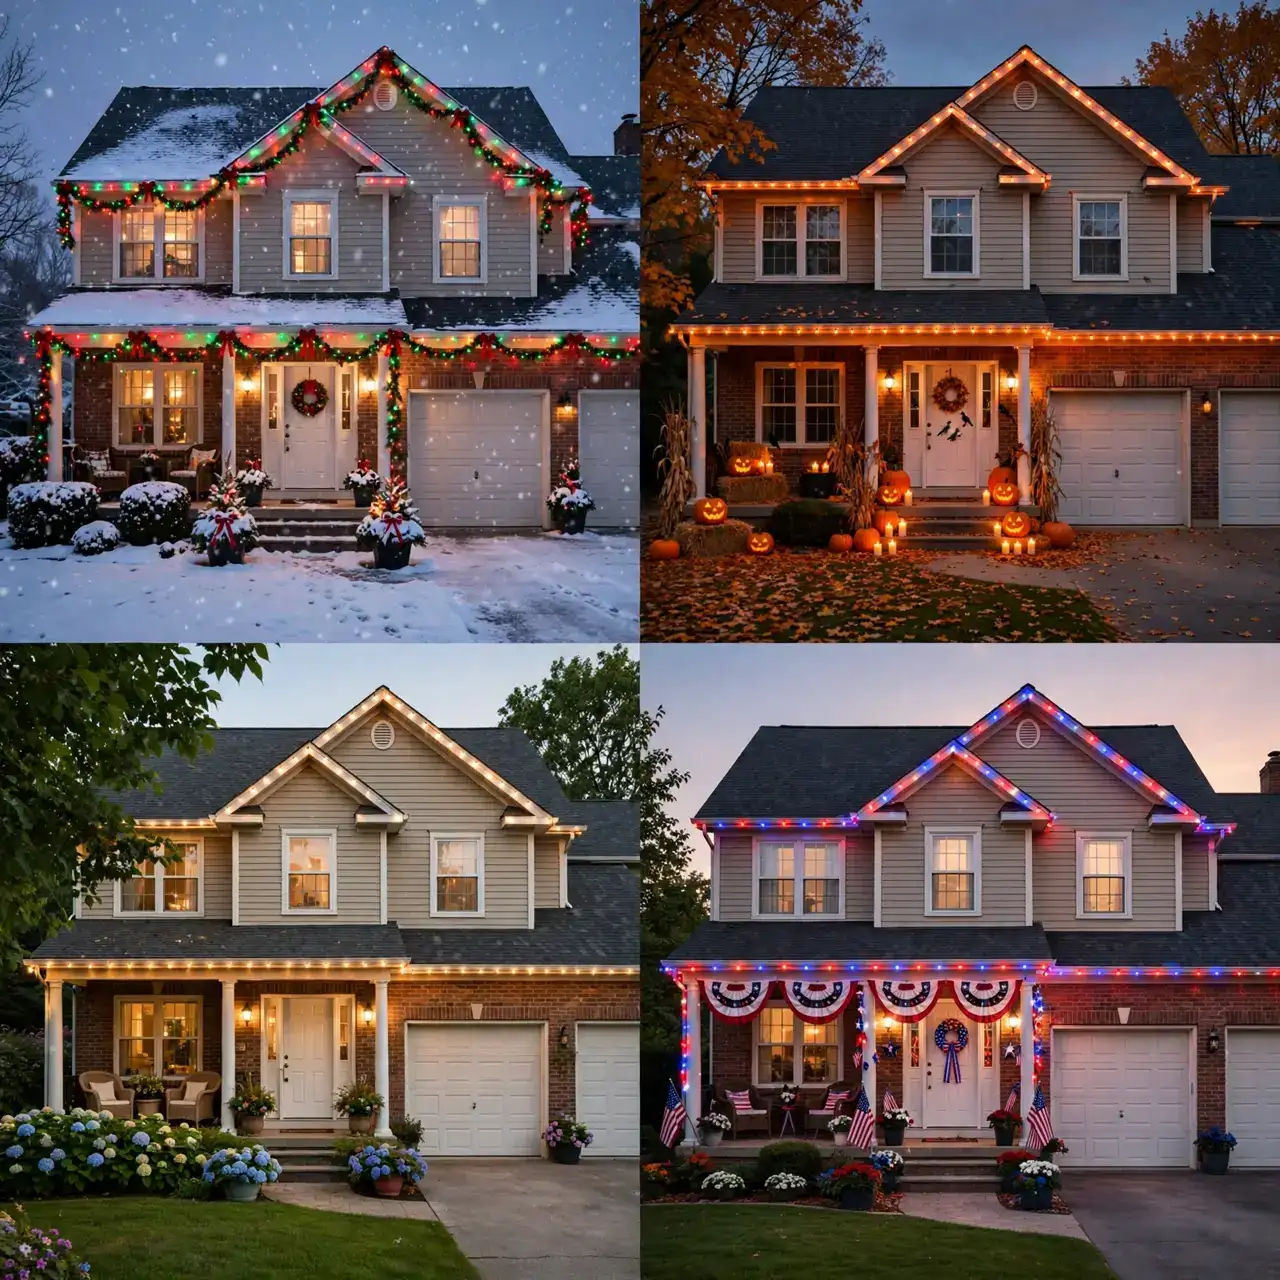
If these lights only lit up for three weeks in December, the math would be hard to defend. The real case for permanent lights is the other eleven months.
The same system covers every occasion without another ladder trip:
- Every holiday: Halloween orange, Thanksgiving warmth, Fourth of July red-white-and-blue, Easter pastels, game-day colors for your team.
- Everyday accent lighting: a soft warm white wash that makes the house look finished and cared-for, on a nightly timer.
- Security lighting: a lit perimeter discourages prowlers, lights the driveway and entry for your family and guests, and some systems (like eufy’s) can react to camera motion events.
- Events: birthdays, graduations, and parties get custom colors in seconds.
Now run the honest value math. A $330–$500 DIY kit used nightly costs pennies in electricity, because LEDs sip power. Spread over the system’s life, Govee’s own buying guide estimates quality LED systems last 10–15 years, or 50,000–100,000 hours of use — that is a manufacturer estimate, not a tested guarantee, but even half of it puts a DIY kit at roughly $30–$60 per year of ownership. Hiring a crew to hang and remove seasonal lights every year, or replacing cheap strings every few seasons, closes much of that gap — and the permanent system still wins on effort, because the ladder never comes out again.
For a pro system at $2,000–$6,000, the payback argument is weaker on cost alone. You are buying the invisible finish, the warranty, and zero effort. That is a fair purchase — just buy it for those reasons, not because anyone promises it pays for itself quickly.
How to Choose: A Quick Decision Guide
Answer these five questions and the right route usually picks itself:
- How high and complex is your roofline? Simple, single-story, easy ladder reach → DIY. Two stories, steep peaks, or awkward gables → pro, or DIY only on the reachable sections.
- What is your real budget? Under $1,000 all-in → DIY kit. $2,000+ and you value a factory finish → get two or three pro quotes, because per-foot prices vary a lot between dealers.
- Does your HOA regulate fixtures? If yes, favor the most invisible option — a color-matched pro track — and get approval first.
- Which smart home do you run? If you use Alexa, Google Home, or Matter, pick a kit that supports them; the Govee 2 Pro’s Matter support (checked October 20, 2026) is the safest long-term bet today.
- Who fixes a dead section in year four? With DIY, you do — though individual strands are replaceable. With pro, check whether the warranty covers labor as well as parts before you sign.
Safety note: Installing permanent lights involves ladder work and outdoor electricity. Keep the power adapter and connections within their weather ratings, plug into a GFCI-protected outdoor outlet, and never modify wiring you are not qualified to touch. If your roofline needs roof climbing rather than ladder reach, hire a professional — no lighting project is worth a fall.
Frequently Asked Questions
How much does permanent Christmas light installation cost per foot?
DIY kits cost about $3–$6 per foot for materials, based on eufy’s cost guide (checked October 20, 2026). Professional installation runs about $18–$40 per foot installed, depending on the brand and dealer — Trimlight’s 2026 guide cites $18–$35 per foot, with typical homes at $2,000–$6,000 total.
Are permanent Christmas lights worth the cost?
They are easiest to justify when you use them year-round — holidays, nightly accent lighting, and security — rather than only in December. eufy’s guide argues they can pay for themselves in 2–3 years versus paying for seasonal hanging (that is the brand’s claim). A DIY kit reaches value fastest, because its total cost is lowest.
How long do permanent outdoor Christmas lights last?
Manufacturers rate these systems in hours: Govee’s buying guide estimates 10–15 years, or 50,000–100,000 hours, for quality LED systems, and eufy rates its E22 at a 55,000-hour average life (checked October 2026). These are manufacturer figures, not independent test results, and real life depends on weather exposure and how many hours you run them nightly.
How hard is it to install DIY permanent Christmas light kits?
Most kits are designed for homeowners with basic tools: mount the strand under the eaves, run the wire, and connect one controller and power supply. A simple single-story run typically takes a weekend. The hard parts are ladder safety, high peaks, and neat spacing — not the wiring, which is low-voltage and plug-in.
Can you see permanent Christmas lights during the day?
Barely. The bulbs are small, face downward, and sit in a slim track under the eaves that is usually color-matched to your trim. From street level in daylight, most systems are effectively invisible until they turn on at night — one reason they clear HOA rules that seasonal strings often fail.
Your next step: measure your roofline this week, while the season is young. That single number tells you your DIY kit size or your pro budget within a few hundred dollars — and October installs beat December ladder work in the cold every time.