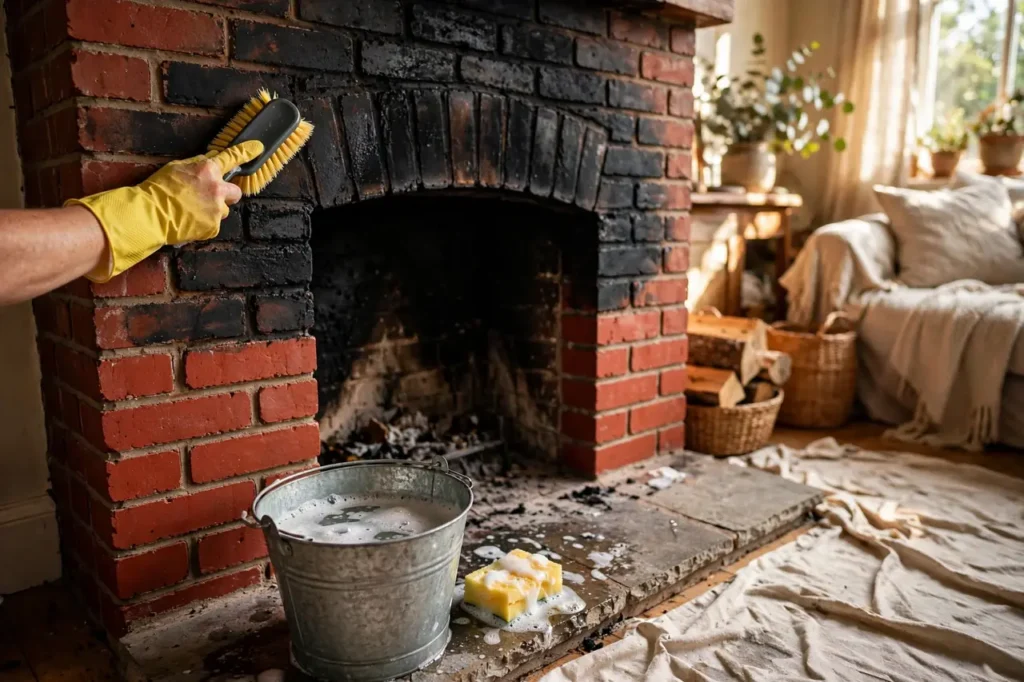
If you want to know how to clean a brick fireplace without damaging it, the safest method is simple: remove all loose ash and soot while the brick is dry, soak the brick with plain water, then scrub with the gentlest cleaner that works — warm water with dish soap handles most soot — working from the top down in small sections. Only step up to a stronger cleaner if a stain stays. One limit matters more than any product: scrubbing brick is a fine DIY job, but the creosote inside your chimney is not. Thick or shiny creosote always means a professional chimney sweep.
This works because brick is porous, like a hard sponge: soot settles into the pores and into the softer mortar joints between bricks. The Brick Industry Association’s rule for cleaning brickwork is to use the gentlest effective method first — and this guide follows that order on purpose: mild cleaners first, strong cleaners last, and a clear line where DIY stops.
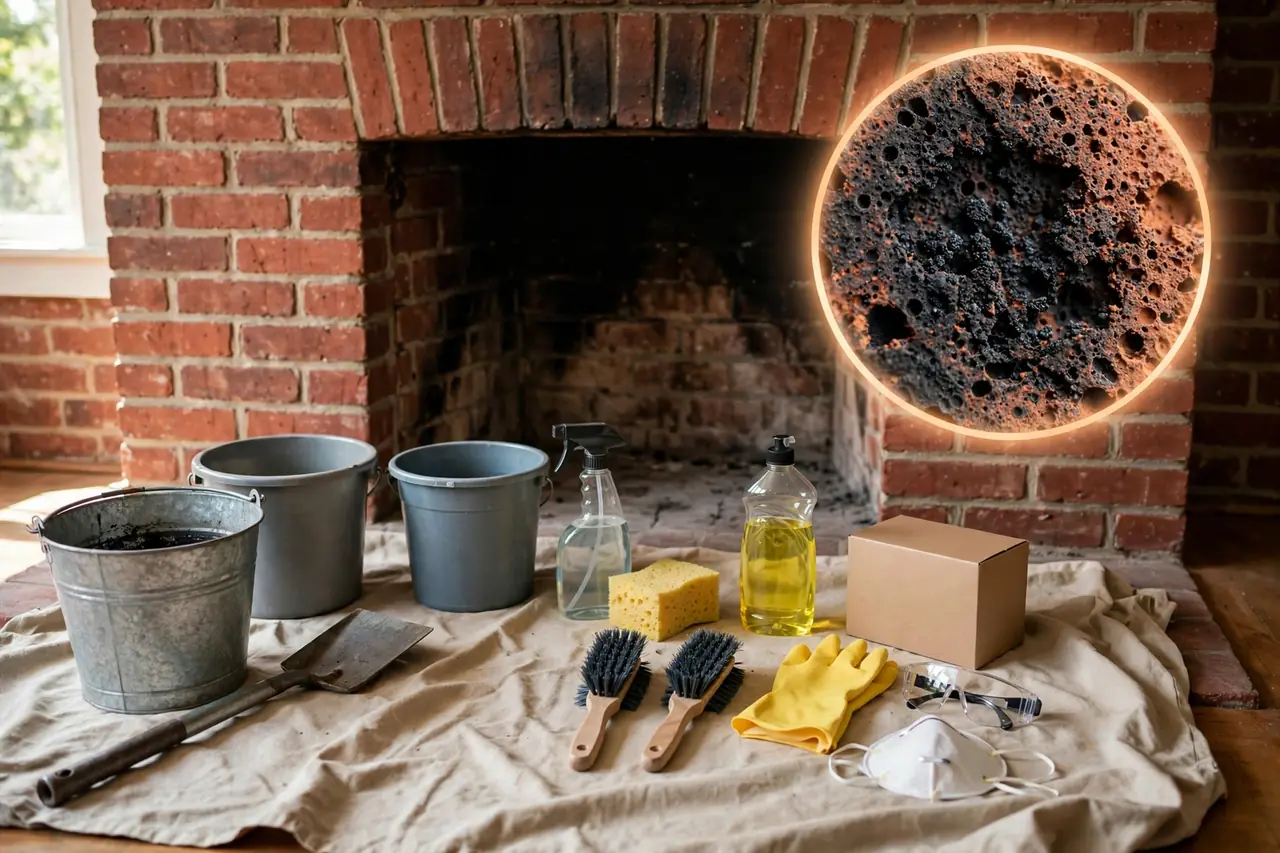
What You’ll Need
You probably own most of this already. The stronger cleaners are optional — buy them only if the gentle methods leave stains behind.
- Drop cloth or plastic sheeting
- Metal container with a tight-fitting lid, for ash
- Fireplace shovel and a hand brush
- Vacuum with a brush attachment, or an ash vacuum
- Two buckets and a spray bottle
- Masonry sponge or a large regular sponge
- Stiff nylon or natural-bristle scrub brush, plus an old toothbrush for mortar lines
- Dish soap
- Baking soda
- Distilled white vinegar (optional, for newer brick only)
- Trisodium phosphate (TSP) or a commercial brick and fireplace cleaner (optional, for stubborn stains only)
- Rubber gloves, safety glasses, and a dust mask
- Old towels or rags, and painter’s tape
Before You Start: Safety and Prep
Make sure the fireplace is fully cold. Wait at least 24 hours after the last fire before you clean. Ash looks harmless, but it can hide live embers for a surprisingly long time, and warm brick plus cleaning water is a bad mix.
Scoop the cold ash into your metal container, put the lid on, and set it outside, at least 10 feet from your home and any other building. The U.S. Fire Administration adds two rules people often skip: never empty ashes straight into a trash can, and pour water over the ashes in the container to kill any hidden heat.
Next, take out the grate, any leftover logs, and your fireplace tools. Spread the drop cloth over the hearth and the floor in front of it, and tape plastic sheeting over nearby flooring or furniture if you plan to use a stronger cleaner later. Soot travels farther than you expect.
Put on your gloves, safety glasses, and dust mask before you start brushing. Dry soot is fine, dusty, and easy to breathe in without noticing.
Finally, inspect the brick before any water touches it. If bricks are loose, cracked, or powdery, or the mortar crumbles into sand when you rub it, stop here: that is a masonry repair, not a cleaning job, and soaking damaged brick makes it worse. On sound brick, test your cleaner on one hidden brick near the floor first, rinse, and check the color has not changed.
How to Clean a Brick Fireplace, Step by Step
Work through these steps in order. Most fireplaces come clean by step 5 or 6; the later steps exist only for stains that refuse to move.
- Remove loose soot while the brick is dry. Brush the whole surround and firebox opening from top to bottom with your dry scrub brush, then vacuum up what falls with the brush attachment. Do this first because wet soot turns into a black slurry that smears deeper into porous brick instead of lifting off.
- Saturate the brick with clean water. Use the spray bottle and sponge to wet the brick until it darkens evenly. Filling the pores with plain water first keeps your cleaner sitting on the surface, where the soot is, instead of soaking in and getting trapped.
- Mix the gentlest cleaner. Stir ¼ cup of dish soap into 4 cups of warm water in one bucket. Fill the second bucket with clean water for rinsing. For most fireplaces, this mild mix is the only cleaner you will need.
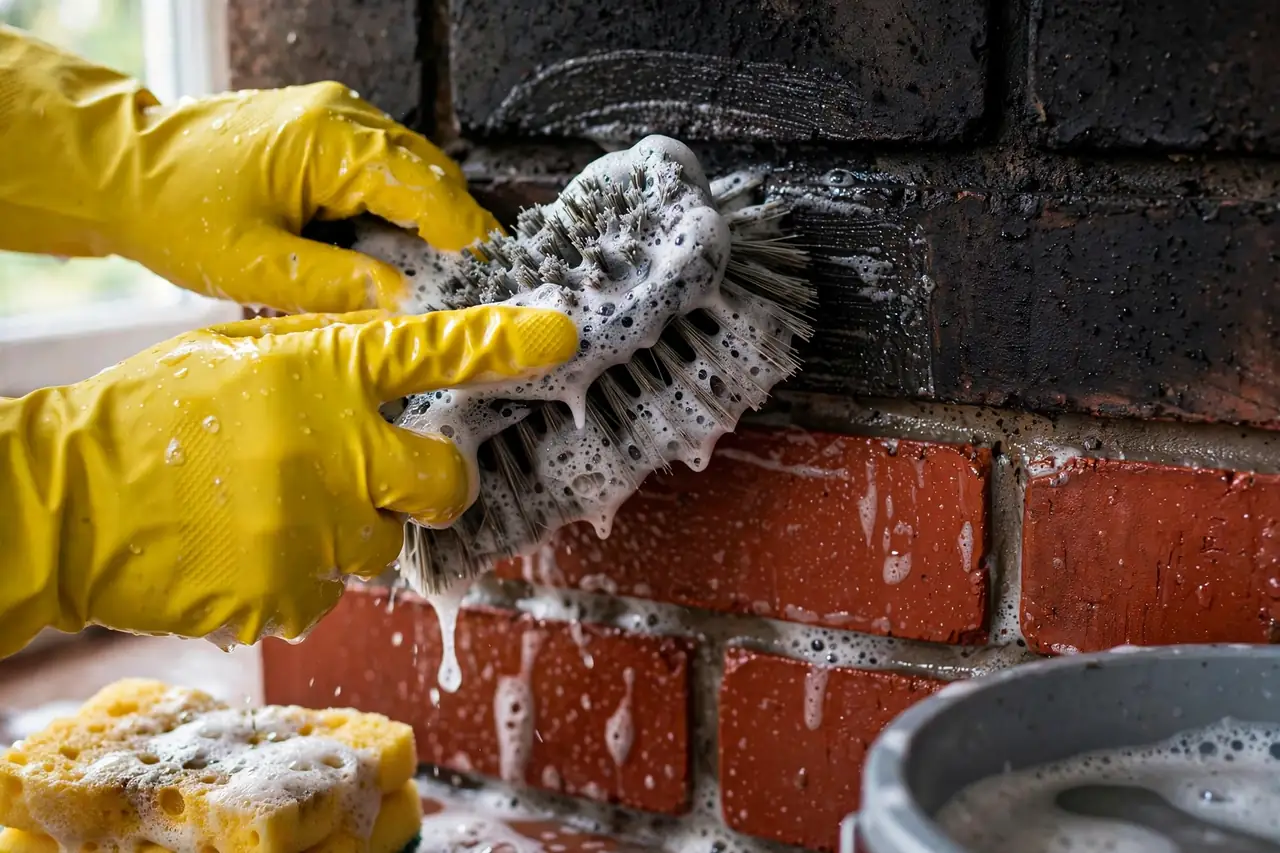
- Scrub from the top down, in small sections. Dip your brush or sponge in the soapy water, wring it so it is wet but not dripping, and scrub one small area at a time in small circles. Working down means dirty water never runs over brick you have already cleaned. Use the toothbrush along mortar lines, and rinse your sponge in the clean bucket often — change that water when it turns grey.
- Rinse with clean water. Wipe each section with the sponge and clean water until no soap remains. Never let a cleaning solution dry on brickwork; dried cleaner can leave its own marks and keep working on the mortar.
- Let the brick dry, then judge the result. Wet brick looks several shades darker and cleaner than dry brick, so decide nothing yet. Let the wall dry fully, then check it in normal daylight and note any stains still there.
- Spot-treat leftover stains with baking soda paste. Mix baking soda with a little water — or a spoonful of dish soap — into a thick paste, spread it over the stain, and leave it for 10 to 15 minutes. Scrub gently, rinse, and repeat if the stain fades but does not vanish. Repeating a gentle method beats pressing harder, which can wear the face off soft brick.
- Step up one level only if stains remain. Caution first: wear your gloves and safety glasses, open a window for ventilation, pre-wet the brick again, and never mix two products together — some combinations release dangerous fumes. Use either the vinegar solution (newer brick only), or TSP or a commercial brick cleaner mixed exactly as its label directs. Work in small sections, keep the brick wet, and rinse twice.
💡 Practical Home Tip: Judge your results only after the brick is completely dry, never while it is still damp. Wet brick hides stains and looks freshly cleaned even when it is not, so a patient dry-check in daylight saves you from reaching for a harsh cleaner you never actually needed.
Refreshing the Look After Cleaning
Once the brick is clean and dry, you will see its true color again — sometimes for the first time in years. If the brick itself is sound but the color still feels dated, a surface finish can change the whole room without replacing anything. Our guide to limewash vs whitewash for a brick fireplace compares how each finish looks, how it ages, and how removable it is, so you can decide with the soot already gone.
Brick Fireplace Cleaning Methods Compared
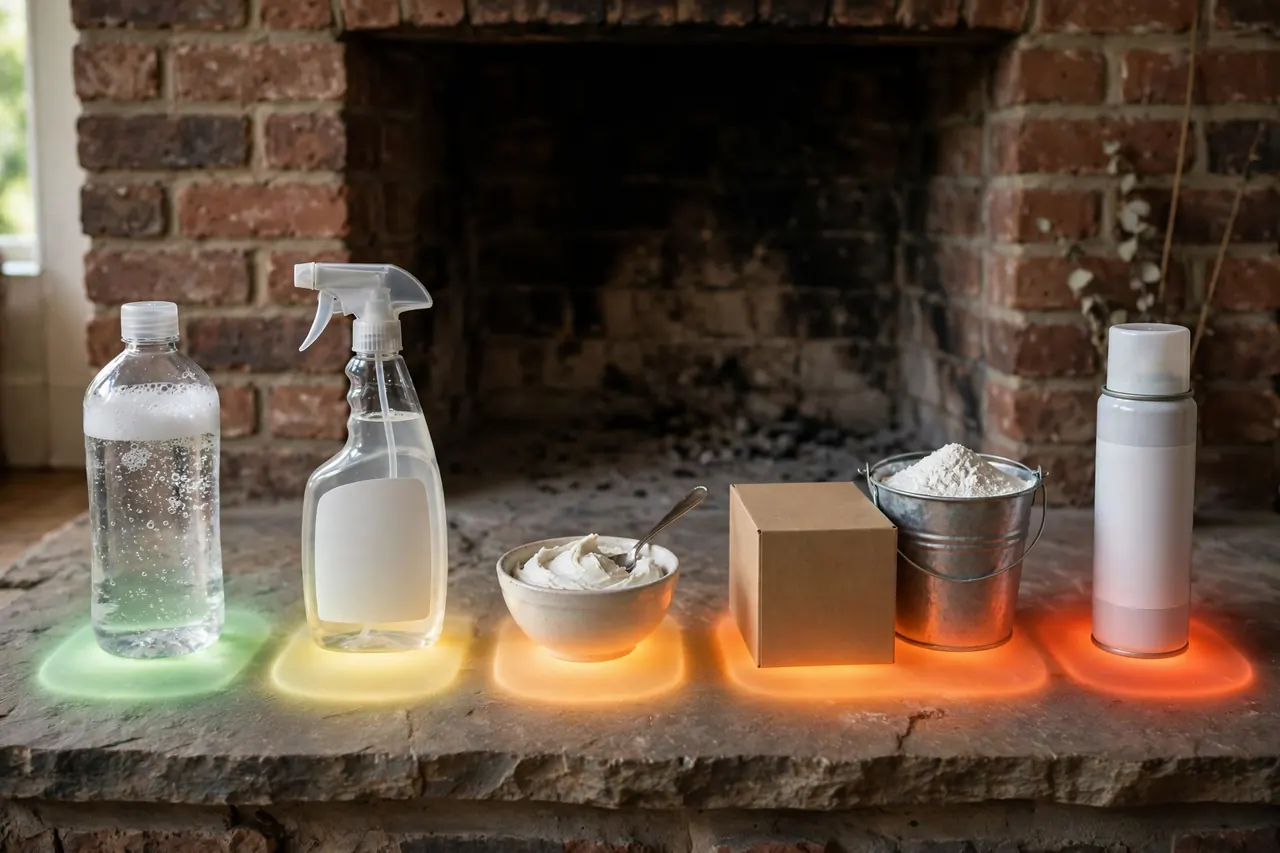
Every cleaner below has a place. The skill is matching the cleaner to the stain instead of starting with the strongest bottle in the house. Work down this list, not up it.
Cleaning methods compared: mix, best use, strength, and cautions
| Cleaner | How to Mix It | Best For | Strength | Watch Out For |
|---|---|---|---|---|
| Dish soap solution | ¼ cup dish soap in 4 cups warm water | Everyday soot, dust, and light smoke film on the surround and hearth | Gentle | Rinse well — leftover soap film can attract fresh dirt |
| Vinegar solution | Equal parts distilled white vinegar and water, in a spray bottle | Light soot and mild staining on newer brick | Gentle to medium | It is an acid: it can damage brick older than about 20 years and soften old lime mortar. Skip it if mortar is crumbling, and never mix it with bleach |
| Baking soda paste | Baking soda plus a little water or a spoonful of dish soap, mixed to a thick paste | Stubborn soot spots, dark smoke stains, and hearth grime | Medium | Needs 10 to 15 minutes of dwell time to work. Rinse fully or it dries into a white haze |
| TSP solution | About ½ cup TSP powder in 1 gallon of warm water — but follow your product’s label first | Heavy, greasy, years-old soot that gentler methods leave behind | Strong | Harsh chemical. Gloves, eye protection, and ventilation are required. Keep it off skin, metal, and flooring, rinse twice, and follow local rules for disposing of the rinse water |
| Commercial brick or fireplace cleaner | Ready to use, or diluted exactly as the label directs | Mixed or unknown stains when homemade mixes fall short | Medium to strong, varies by product | Choose a product made for interior brick or fireplace use, test it on a hidden brick, and never combine it with another cleaner |
How to Clean Inside the Firebox
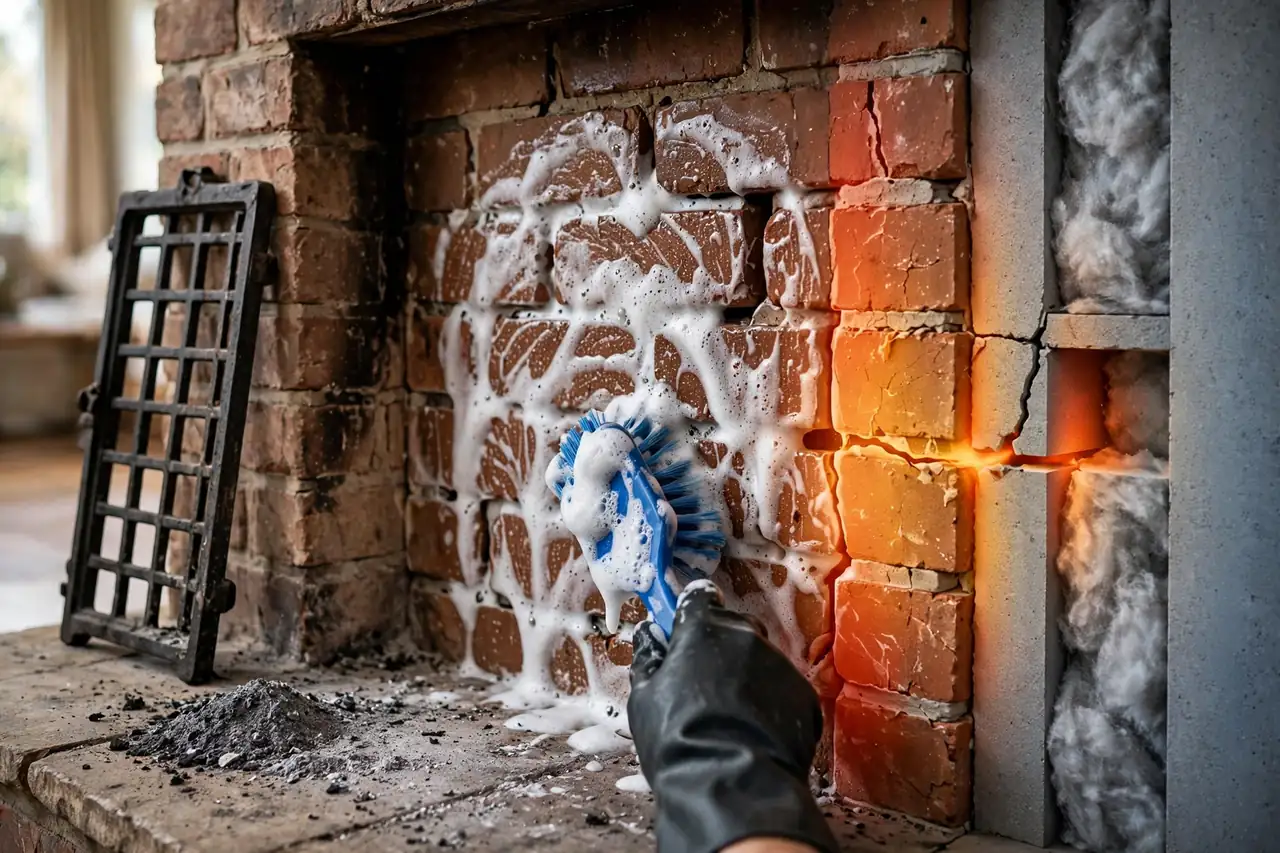
The firebox — the chamber where the fire actually burns — needs a different mindset. Its walls are firebrick, built for heat, and some dark staining inside is normal and mostly cosmetic. Your goal in there is a clean, safe box, not a showroom finish.
Start only when everything is stone cold. Scoop out all the ash using the metal-container routine from the prep section, and lift the grate out. Take the grate outside and knock the crust off with a stiff brush; cast iron can take a wire brush, but keep wire brushes off your brick faces, where they scratch and can leave rust marks.
Back inside, brush the walls down dry, then scrub with your stiff nylon brush and the same dish soap solution, top down, wiping with a damp sponge as you go. Avoid soaking the firebox floor, and skip strong chemicals on the inner walls: residue left in the pores can bake the next time you light a fire and fill the room with a chemical smell.
While you are in there, check the firebrick itself. Cracked firebricks, missing chunks, or joints where mortar has fallen out are repairs to make before you burn again — gaps in the firebox let heat reach parts of the structure that were never meant to take it.
Creosote: Warning Signs and When to Call a Chimney Sweep
Creosote is the tar-like residue that wood smoke leaves on the inside walls of your chimney flue as it cools. It is highly flammable, and it is the main fuel in chimney fires. Cleaning the brick you can see does nothing about the creosote you cannot — which is why this section matters more than any cleaning tip in this guide.
The three stages of creosote
- Stage 1 — flaky soot. A dusty, flaky coating. It brushes off easily and is the least dangerous stage, but it still counts as buildup.
- Stage 2 — hard, shiny flakes. The deposit turns into hard black flakes that cling to the flue. A normal brush will not shift it; a sweep uses stronger mechanical tools.
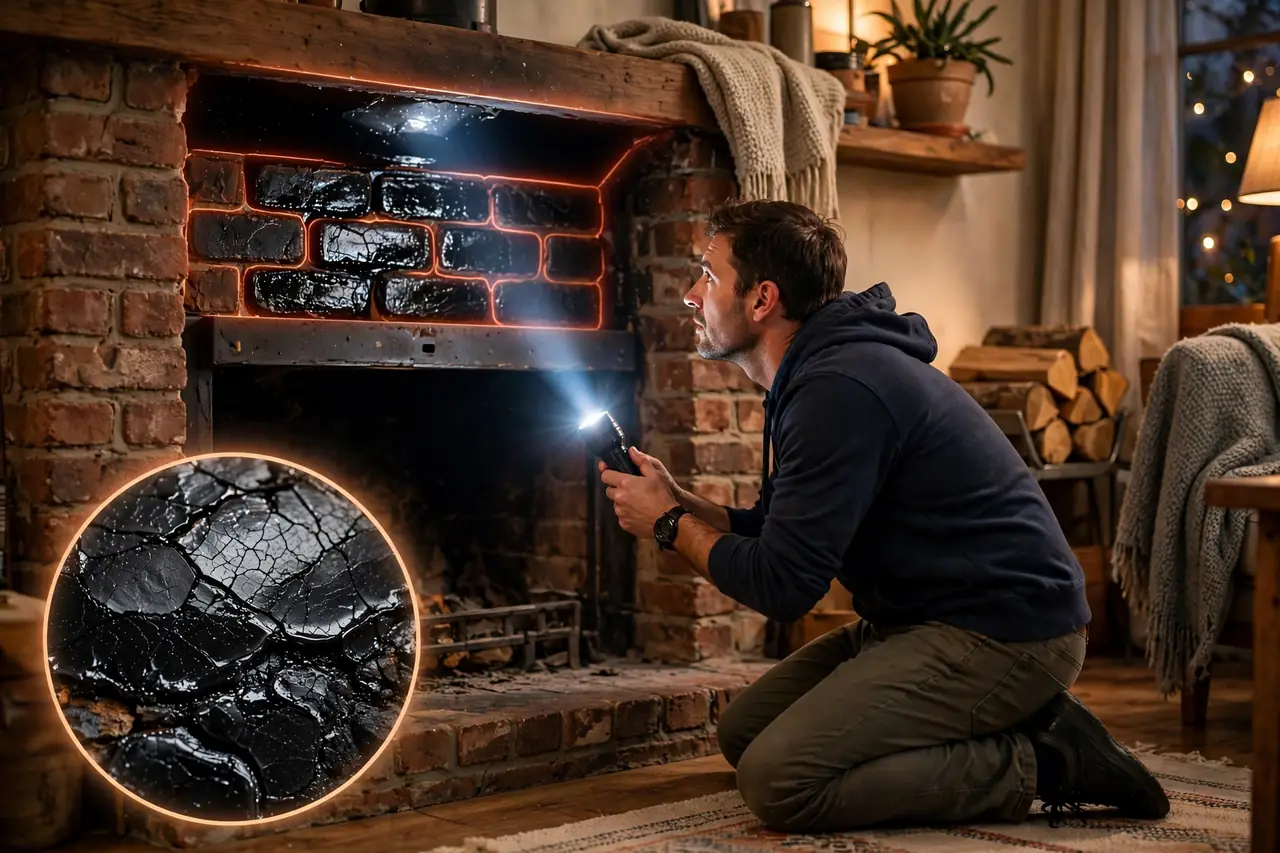
- Stage 3 — glazed creosote. A thick, shiny, tar-like coating baked onto the flue wall. It is the most flammable stage and the hardest to remove. This is never a DIY job.
Signs it is time to call a sweep
- A thick black, shiny, or sticky coating you can see on the flue walls above the damper with a flashlight
- Oily spots or streaks on the firebox walls
- A strong campfire smell around the fireplace even when it is cold and clean
- Smoke spilling into the room instead of rising up the chimney
- Fires that are suddenly hard to start or burn strangely
- Black flakes or soot falling down into the firebox
The rule from the Chimney Safety Institute of America is clear: an open masonry fireplace should be swept once soot and creosote buildup reaches 1/8 of an inch — and sooner if any glaze is present at all. On top of that, the NFPA 211 standard calls for every chimney, fireplace, and vent to be inspected at least once a year, even if you rarely light a fire, because animals, nests, and quiet deterioration do not check your burning habits.
So the division of labor is simple. You clean the surround, the hearth, and the firebox. A certified chimney sweep inspects the system and removes creosote from the flue. If you see glaze, book the sweep before your next fire, not after it.
What Not to Use or Do
Most fireplace brick damage does not come from soot. It comes from the cleaning. Avoid these common mistakes:
- Do not reach for muriatic acid. The Brick Industry Association warns against unbuffered muriatic (hydrochloric) acid on brickwork, and Family Handyman notes it can stain or bleach many colors of brick and corrode nearby metal. It is a professional last resort — not a beginner’s fireplace cleaner.
- Never mix cleaners. Bleach mixed with vinegar or ammonia creates toxic fumes. Pick one product, finish, rinse, and only then consider another.
- Do not scrub face brick with a wire brush. Wire bristles scratch the fired surface of the brick and can leave rust marks behind. Nylon or natural bristles do the job without the damage.
- Do not use a pressure washer. The jet blasts out mortar joints and forces water deep into the wall. A brush, a sponge, and patience clean brick better.
- Do not flood the brick with water. Brick absorbs water quickly and dries slowly. Use a wrung-out sponge and small sections instead of soaking the whole wall at once.
- Do not clean a warm fireplace. Wait until everything is fully cold — at least 24 hours after the last fire — before ash, water, or chemicals go anywhere near it.
- Do not use vinegar on old or fragile brickwork. On brick older than about 20 years, or any fireplace with soft, crumbling mortar, the acid can quietly eat the joints. Stay with dish soap and baking soda there.
How Often Should You Clean a Brick Fireplace?
For the brick itself, plan on one proper deep clean a year — the dish soap method above, with the baking soda paste for spots. The easiest time is just before your first fire of the season. During the burning season, a quick ash tidy every few fires keeps soot from settling in and getting harder to remove.
Two habits slow the buildup between cleanings: burn seasoned, dry firewood, which makes less smoke — and smoke is where soot and creosote come from — and burn clean, hot fires with the damper fully open instead of slow, smoldering ones, which coat the flue faster. Keep the professional part on the same rhythm: one inspection every year, and a sweep whenever buildup reaches that 1/8-inch mark or any glaze shows up.
Frequently Asked Questions
How often should I clean a brick fireplace?
Deep clean the brick surround and firebox about once a year, ideally before the burning season starts, and scoop out cooled ash every few fires in between. Separately, have the chimney inspected every year without fail, and swept whenever creosote buildup reaches 1/8 of an inch.
Can I use vinegar to clean my brick fireplace?
Yes, with limits. Mix equal parts distilled white vinegar and water, spray it on, wait a few minutes, scrub, and rinse. Use it only on newer brick with sound mortar — on brick older than about 20 years, or crumbling mortar, the acid can do real damage. And never mix vinegar with bleach.
What is the best homemade cleaner for fireplace bricks?
For most soot, warm water with dish soap — about ¼ cup of soap in 4 cups of water — is the best homemade cleaner: cheap, gentle, and safe on mortar. For stubborn dark spots, a thick baking soda paste left on for 10 to 15 minutes works harder without harsh chemicals.
How do I remove smoke stains from brick?
Work in this order: brush the stain dry, saturate the brick with clean water, scrub with the dish soap solution, then rinse. If a shadow of the stain remains once the brick dries, apply baking soda paste for 10 to 15 minutes and scrub again. Move to TSP or a commercial cleaner only if both gentle methods fail.
Can I vacuum up ashes with my regular household vacuum?
Only cold, loose dust — and even then, fine ash can clog a household vacuum and blow through its filter into the room. Never vacuum ash that might hide an ember; ash can stay hot far longer than it looks. Scoop ash into a lidded metal container instead, or use an ash-rated vacuum on a fully cold firebox.
Can I use a pressure washer to clean my fireplace bricks?
No. A pressure washer can blast out mortar joints, crack soft brick faces, and drive water deep into the wall — and indoors, it makes an enormous mess on top of the damage. Brick rewards the slow tools: a stiff nylon brush, a sponge, and the right cleaner for the stain. Save the pressure washer for the driveway.
What is creosote, and why is it dangerous?
Creosote is the flammable, tar-like residue wood smoke leaves inside your chimney flue. It builds in stages — flaky soot, hard flakes, then a thick, shiny glaze — and every stage can burn. That is why the Chimney Safety Institute of America sets the sweep point at 1/8 inch of buildup, sooner if any glaze appears, and why glazed creosote is always a professional’s job.
Disclaimer: This guide is for general information on cleaning a brick fireplace surround and firebox; it is not a substitute for a professional chimney inspection. Creosote removal inside the flue, glazed creosote, and any structural masonry damage are jobs for a certified chimney sweep or mason. Always follow the safety instructions on any cleaning product you use.
The Short Version
Clean dry first, wet the brick before any cleaner touches it, start with dish soap, and let baking soda paste handle the stubborn spots. Keep strong chemicals as the last resort, and keep them off old mortar entirely.
Your next step takes two minutes: grab a flashlight, open the damper, and look up. If you see only light, dusty soot, your yearly cleaning plan is on track. If you see anything thick, shiny, or tar-like, your next step is not a stronger cleaner — it is booking a certified chimney sweep before your next fire.